Leitfaden für Benutzerplätze in Pumble
Mit dem Leitfaden kannst du besser verstehen, wie Benutzerplätze in kostenpflichtigen Pumble-Abonnements funktionieren. Wir haben nun alles Wichtige zu den Plätzen erklärt – wie du sie hinzufügst, entfernst und deine Benutzer effektiv verwaltest.
Benutzerplätze #
Ein Benutzerplatz ist ein aktiver oder eingeladener Benutzer in deinem Arbeitsbereich. Sowohl aktive Benutzer als auch Benutzer mit ausstehenden Einladungen zählen zur Gesamtanzahl der Plätze.
Ein aktiver Benutzer ist jeder Benutzer im Arbeitsbereich, unabhängig von der Rolle und verwendeten Funktionen.
Wenn du zum ersten Mal ein kostenpflichtiges Abonnement abschließt, musst du für jeden aktiven Benutzer einen Platz erwerben. Weitere Informationen zum Upgrade deines Plans findest du in diesem Artikel. Zusätzlich hast du die Option, weitere Benutzerplätze zu kaufen, falls du planst, in Zukunft mehr Benutzer einzuladen.Zusätzlich hast du die Option, weitere Benutzerplätze zu kaufen, falls du planst, in Zukunft mehr Benutzer einzuladen.
Bundle-Plätze sind die Anzahl von aktiven Mitgliedern in Pumble-, Clockify- und Plaky-Arbeitsbereichen, die mit dem Bundle-Abonnement in der CAKE.com-Produktivitätssuite erworben sind. Ausführliche Informationen dazu, wie du Bundle-Plätze verwalten kannst, findest du in diesem Artikel.
Benutzerplätze hinzufügen und entfernen #
Nur Besitzer und Administratoren im Arbeitsbereich haben die Berechtigung, Plätze hinzuzufügen und zu entfernen.
So fügst du Plätze hinzu:
- Navigiere zu Arbeitsbereicheinstellungen und öffne die Abrechnungsseite
- Klicke auf Hinzufügen

Die Fortschrittsleiste zeigt die Anzahl der verfügbaren Benutzerplätze in deinem Arbeitsbereich an.
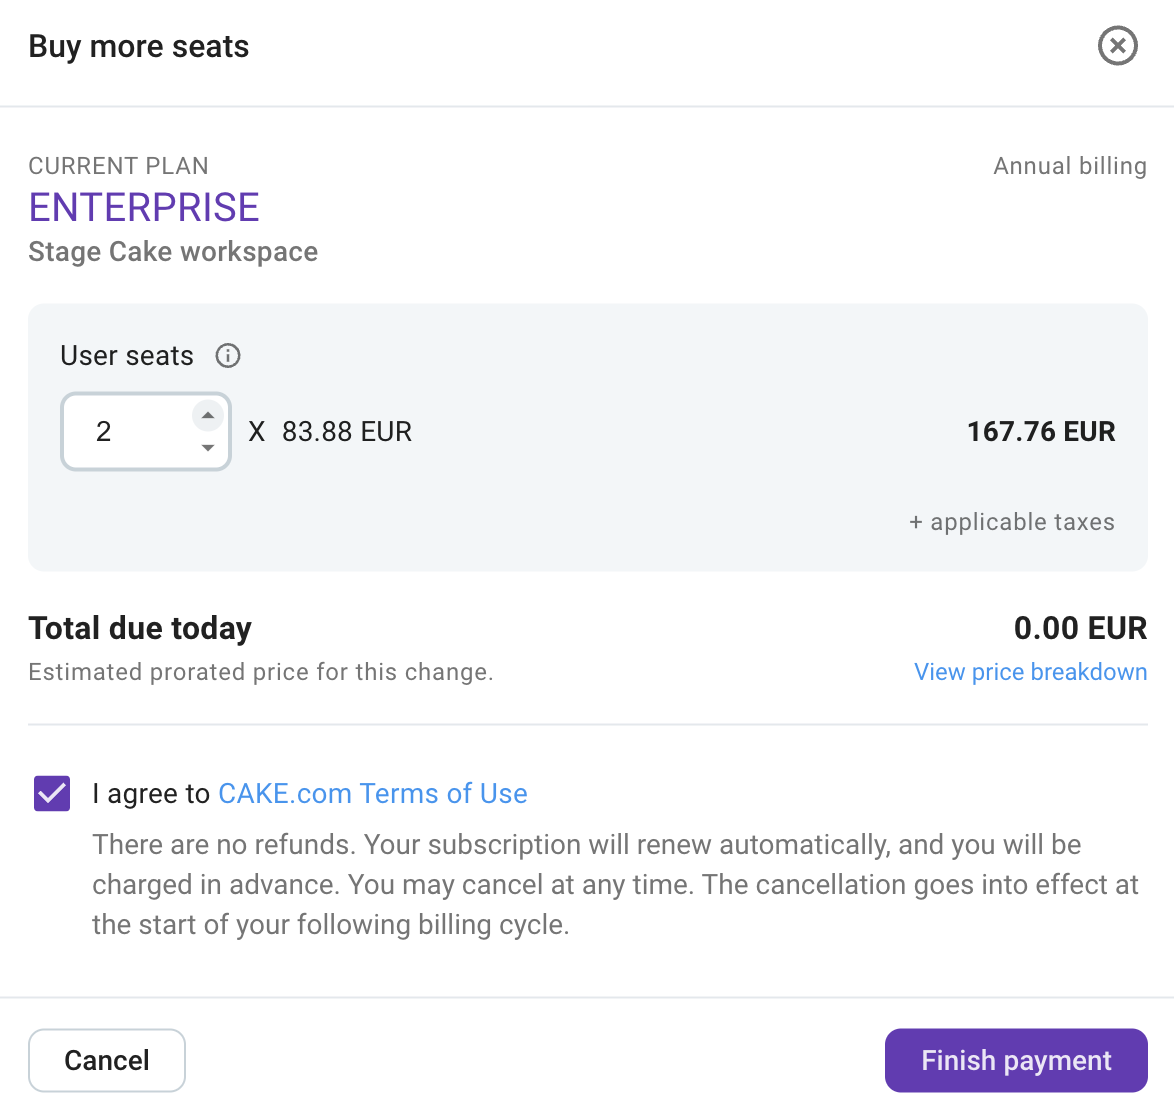
- Gib im Pop-up-Fenster die Anzahl der Benutzerplätze ein, die du hinzufügen möchtest

Falls dein Land die MwSt anwendet, werden die Mehrwertsteuer und die Zwischensumme angezeigt. - Stimme angezeigten Nutzungsbedingungen zu
- Klicke auf Zahlung abschließen
Du hast erfolgreich neue Benutzerplätze hinzugefügt!
So entfernst du Plätze:
- Navigiere zu Arbeitsbereicheinstellungen und öffne die Abrechnungsseite
- Klicke auf Entfernen

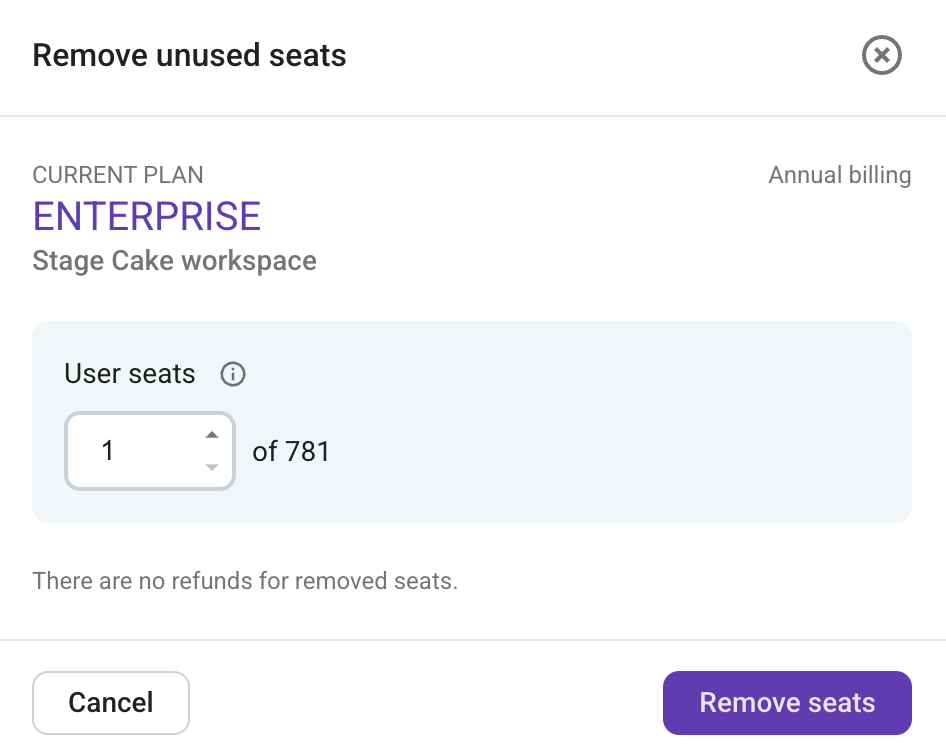
- Gib im Pop-up-Fenster die Anzahl der Benutzerplätze ein, die du entfernen möchtest
- Klicke auf Speichern, um Plätze zu entfernen

Du hast Plätze erfolgreich entfernt!
Verfügbare und genutzte Plätze #
Ein Benutzerplatz ist ein aktiver oder eingeladener Benutzer. Falls keine Plätze verfügbar sind, kannst du keine neuen Benutzer zu deinem Arbeitsbereich einladen. Jede Einladung erfordert einen verfügbaren Platz. Um weitere Benutzer einzuladen, musst du sicherstellen, dass du ausreichend verfügbare Plätze in deinem Arbeitsbereich hast.

Du wirst in jedem Abrechnungszyklus für die Gesamtanzahl der Benutzerplätze belastet.
Leere Plätze in deinem Arbeitsbereich werden weiterhin abgerechnet, unabhängig davon, ob die Plätze besetzt sind oder nicht. Wir bieten keine Rückerstattungen. Um die Belastung für leere Plätze im nächsten Abrechnungszyklus zu vermeiden, musst du Plätze manuell entfernen, wie oben in diesem Artikel beschrieben.
Einzelkanal-Gäste #
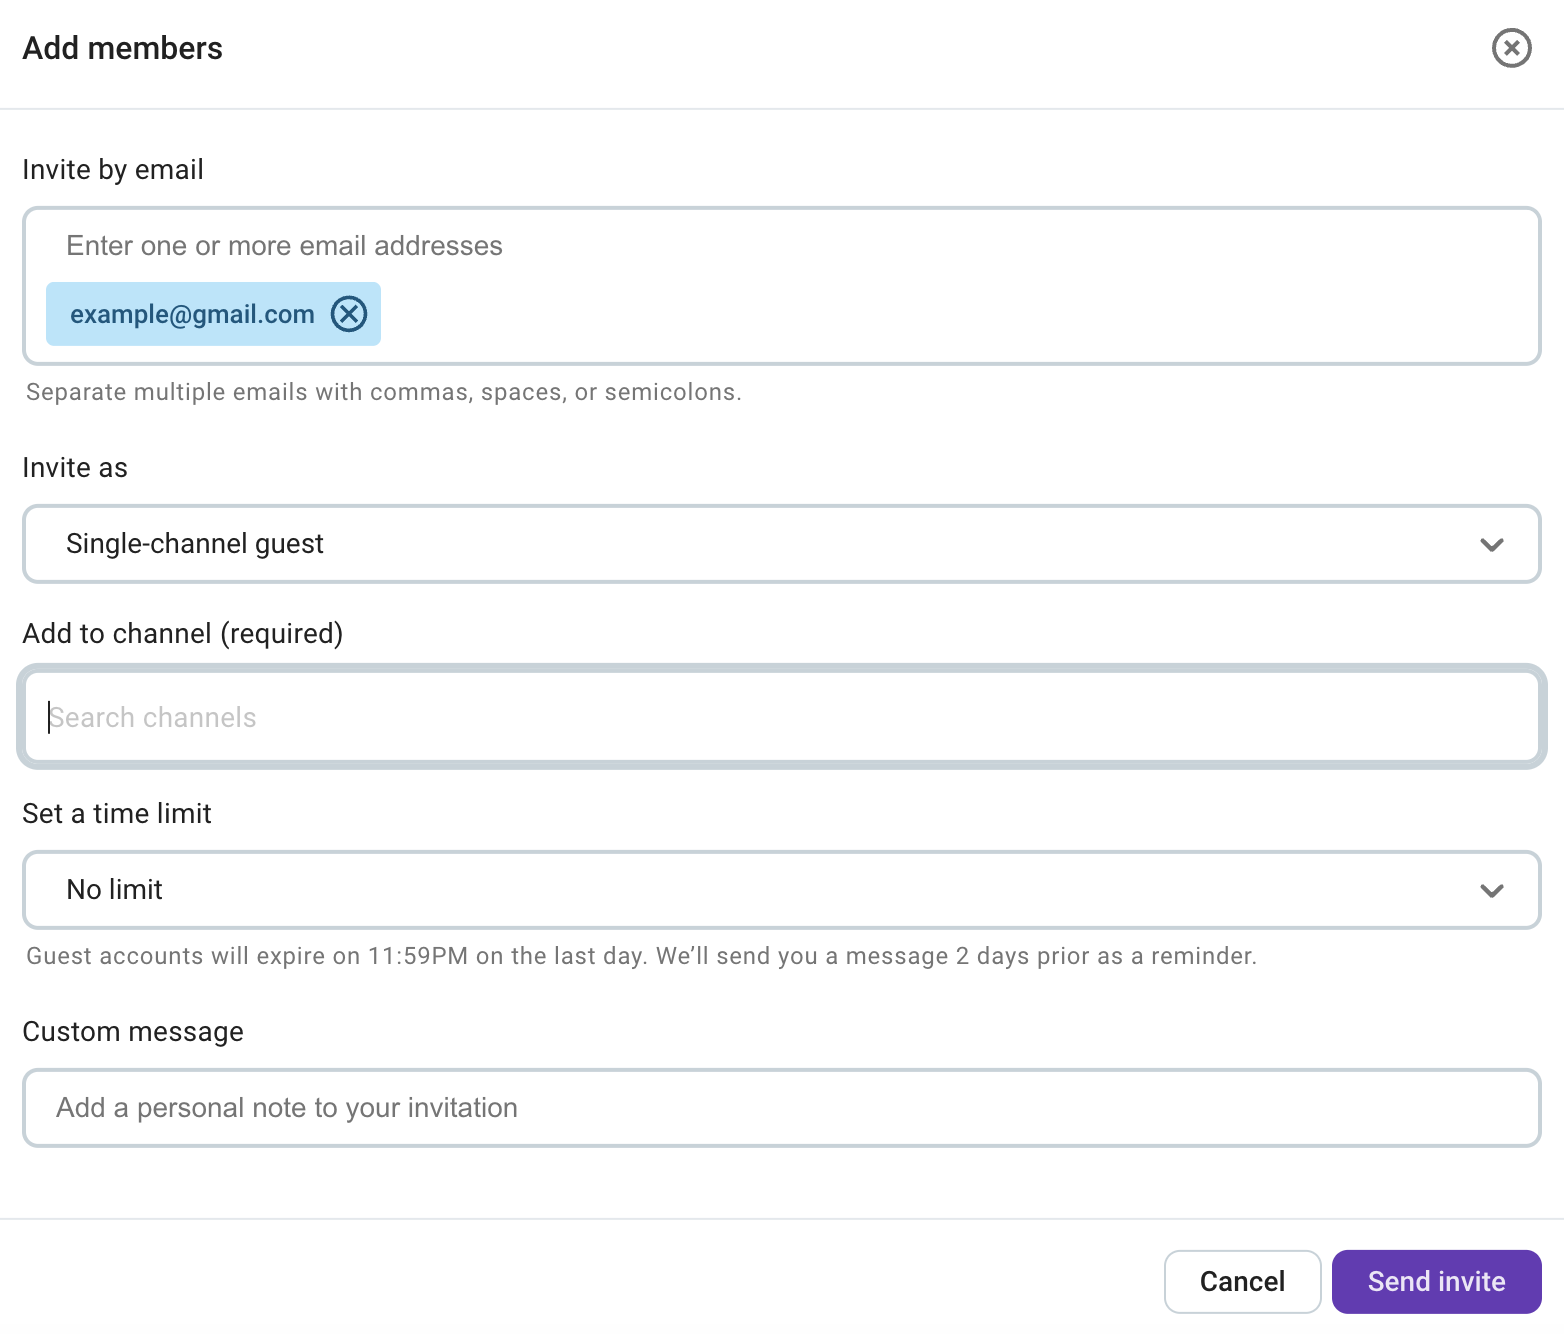
Einzelkanal-Gäste sind kostenlos. Jeder kostenpflichtige Platz (für Mehrkanal-Gäste oder reguläre Mitglieder) in deinem Arbeitsbereich ermöglicht dir, bis zu fünf Einzelkanal-Gäste kostenlos einzuladen. Der Erwerb von 10 Benutzerplätzen ermöglicht dir, bis zu 50 Einzelkanal-Gäste einzuladen. Mehrkanal-Gäste werden auf die gleiche Weise wie reguläre Mitglieder berechnet. Ein Mehrkanal-Gast belegt einen bezahlten Platz.
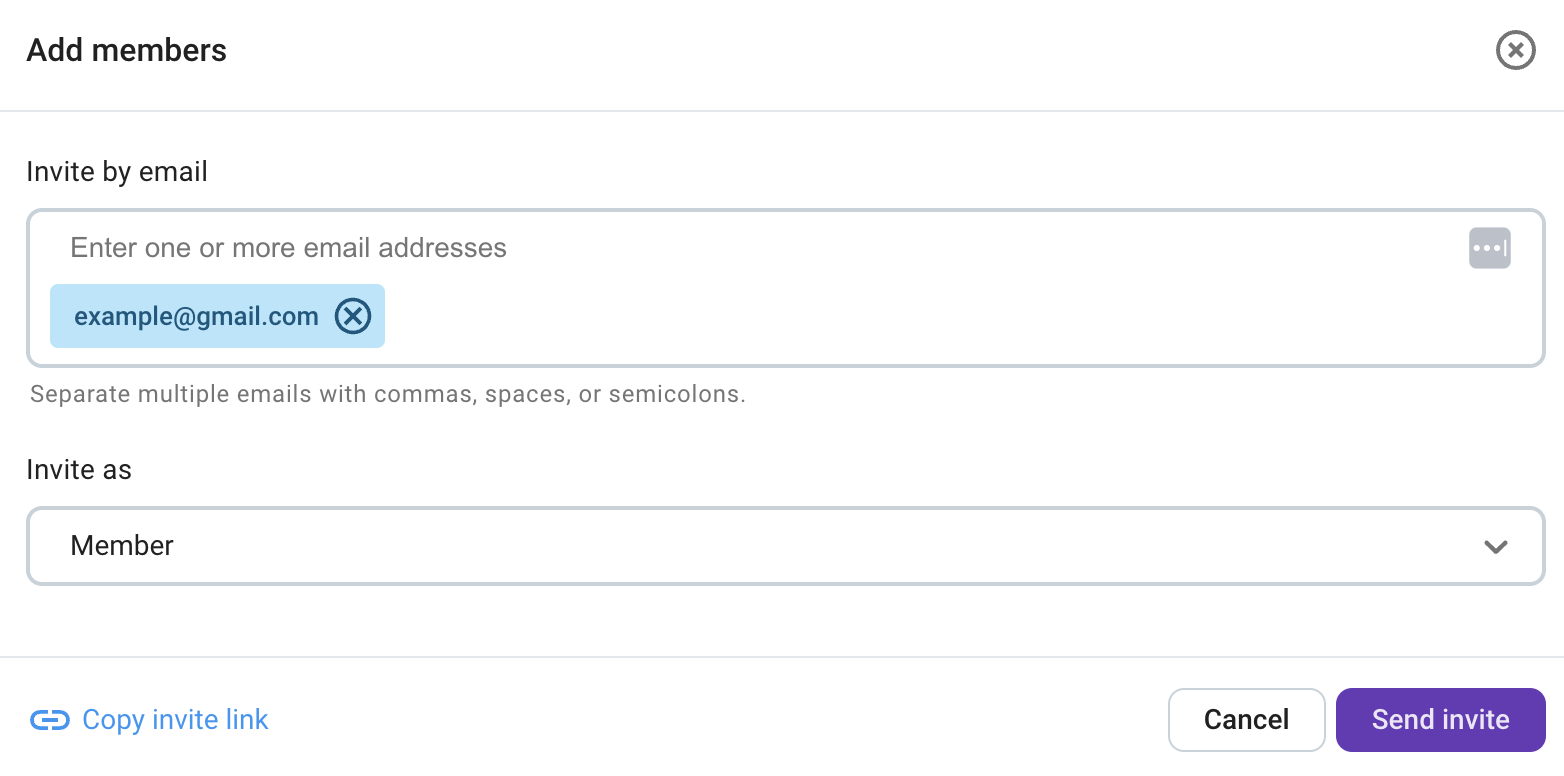
Bei der Einladung von neuen Benutzern wird im Bildschirm "Benutzer einladen" die verbleibende Anzahl von Einzelkanal-Gäste angezeigt, die zu deinem Arbeitsbereich hinzugefügt werden können.
