Zoom und Pumble über Zapier und Webhooks verbinden
Die Zoom-Integration mit Pumble über Webhooks ermöglicht es dir, Zoom-Nachrichten in Pumble zu posten. So kannst du beispielsweise Benachrichtigungen über kommende Meetings in einem Pumble-Arbeitsbereich erhalten.
Du kannst nach Bedarf deinen Pumble-Arbeitsbereich mit Zoom über die Zapier-Integration verbinden.
Webhooks ermöglichen diese Art der Kommunikation zwischen zwei Systemen. Einfach gesagt, sie sind benutzerdefinierte HTTP-Rückrufe (oder kleine Codeausschnitte), die von bestimmten Events ausgelöst werden. Wenn ein Auslöser im Quellenstandort auftritt, kann das Webhook das Event sehen, Daten sammeln und diese an die URL senden, die im Form einer HTTP-Anforderung von Benutzern bestimmt wird.
Mit der Pumble-Funktion Eingehende Webhooks kannst du Nachrichten aus anderen Apps in Pumble einfach veröffentlichen.
Weitere Informationen dazu, wie Pumble mit Webhooks umgeht, findest du im Artikel: Eingehende Webhooks für Pumble
Schritt 1: Pumble-App herunterladen und Arbeitsbereich erstellen #
Weitere Informationen dazu findest du in diesem Artikel: Bei Pumble registrieren
Schritt 2: Zoom-Konto erstellen #
Für weitere Informationen dazu solltest du auf den Link klicken und den Anweisungen folgen.
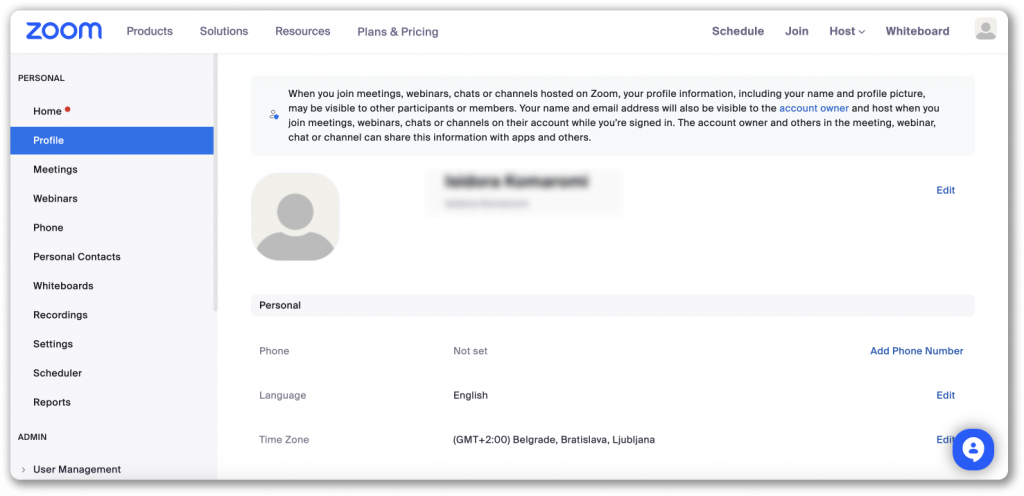
Sobald dein Konto eingerichtet und einsatzbereit ist, sollte die Zoom-Startseite so aussehen:
Schritt 3: Zapier-Konto erstellen #
Zapier ist eines der vielen Automatisierungstools, die Benutzern helfen, ihre Anwendungen zu integrieren. Unabhängig vom verwendeten Tool ist der Arbeitsablauf immer gleich.
Die E-Mail-Adresse zur Pumble-Nutzung und zur Erstellung von Zoom-Konto sollte dieselbe sein.
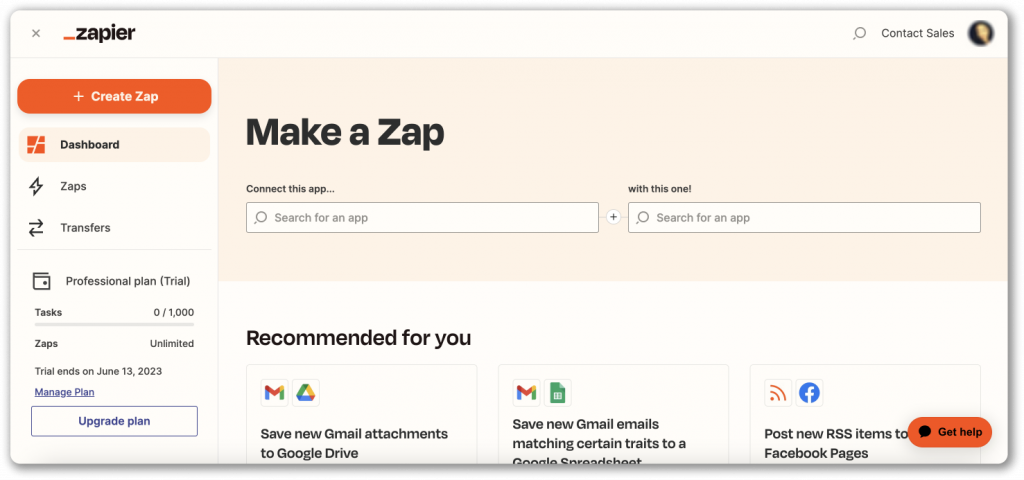
Sobald du ein Konto erstellt hast, sollte die Zapier-Startseite so aussehen:
Jetzt kannst du mit der Erstellung von Webhooks in Pumble fortsetzen.
Schritt 4: Webhooks in Pumble erstellen #
- Navigiere zum Unternehmensnamen in deinem Pumble-Konto
- Fahre mit der Maus über Arbeitsbereicheinstellungen
- Wähle Allgemeine Einstellungen aus dem Dropdown-Menü
- Öffne den Abschnitt Eingehende Webhooks
- Klicke auf NEUER WEBHOOK und gib das Folgende ein: Kanal wählen: Wähle aus dem Dropdown-Menü den Pumble-Kanal, in dem eine Webhook-Nachricht veröffentlicht wird (z. B. #general)
- Klicke auf EINGEHENDEN WEBHOOK HINZUFÜGEN
- Klicke auf EINSTELLUNGEN SPEICHERN , um den Vorgang abzuschließen
Du hast deinen Webhook in Pumble erfolgreich erstellt.

Danach solltest du Zoom und Pumble über Zapier verbinden.
Schritt 5: Zoom und Pumble über Zapier verbinden #
- Klicke auf Zap erstellen auf der Zapier-Startseite
- Folge dem Workflow und fülle weitere Formulare aus
5.1 Trigger erstellen #
Hier erstellst du einen Trigger zum Senden und Anzeigen von Nachrichten. Um dies zu tun, solltest du die App, die den Trigger bietet, und das Event, das der Trigger ist, wählen.
- Suche nach Zoom im Feld Search apps…
- Wähle das Auslöseereignis im Abschnitt Trigger Event
- Wähle New Meeting aus dem Dropdown-Menü (so wird der Trigger bei der Erstellung eines neuen Meetings ausgelöst)
- Klicke auf Weiter , um das Konto zu wählen, mit dem das Zoom-Meeting erstellt wird
- Wähle im Feld Choose an account… das Konto (falls es ein bereits erstelltes Konto gibt) oder wähle die Option +Connect a new account
- Falls du die zweite Option wählst, wird Zapier mit dem in Zoom erstellten Konto verbunden
- Klicke auf Weiter
- Wähle Meeting als Meeting-Typ, um den Trigger einzurichten
- Klicke auf Weiter
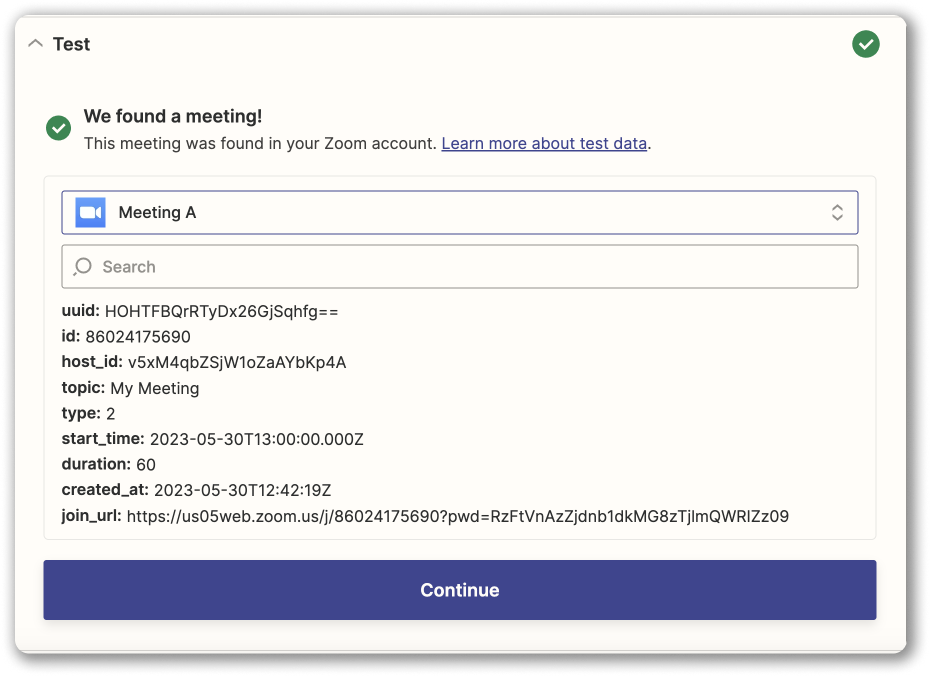
- Teste den Trigger, um zu sehen, ob der richtig funktioniert
Stelle sicher, dass du dich bei deinem Zoom-Konto angemeldet hast.
Falls der Test erfolgreich war, wird Folgendes angezeigt:
Mache weiter mit dem nächsten Schritt.
5.2. Action erstellen #
Du solltest das Ereignis konfigurieren, das nach dem Trigger aktiviert wird. Finde Webhooks by Zapier im Feld Search apps… und definiere die Aktion.
- Wähle POST im Feld Choose an event (d.h. Aktion, die als Ergebnis des aktivierten Triggers in der POST-Anforderung angezeigt wird)
- Klicke auf Weiter
- Gib in das angezeigte Formular die URL ein: Webhook URL (kopiere die Webhook-URL von Integrationseinstellungen in Pumble
- Wähle json als Payload Type
- Gib in das untere Data-Feld Text als Typ ein und ein tatsächlicher Text wird in Form einer Nachricht angezeigt (z. B. Das Meeting [Meeting-Name] beginnt um [Uhrzeit], bitte über [Zoom-Link] beitreten)
Wenn du das Textfeld ausfüllst, benutze die bereits erstellten Entitäten statt Platzhalter.
Fahre fort und teste den Webhook, um zu überprüfen, ob die Verbindung funktioniert oder überspringe den Schritt komplett.
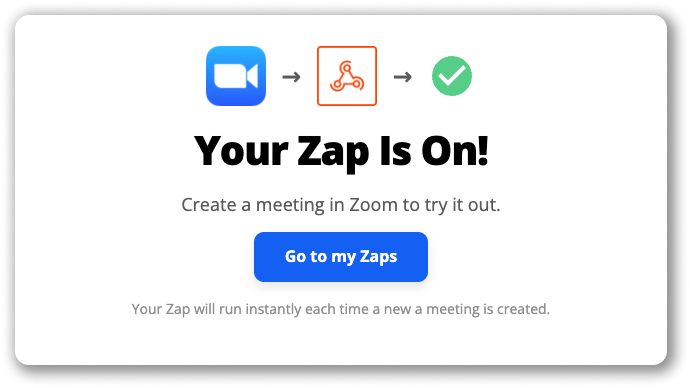
Jetzt kannst du Turn on Zap aktivieren und wenn alles in Ordnung ist, wird dieser Bildschirm angezeigt:
Und in Pumble erhältst du im Kanal eine Nachricht mit einem Link, mit dem du zu deinem Zoom-Meeting weitergeleitet wirst.

Um Pumble und Zoom über die Zapier-Integration zu verbinden, solltest du die Zapier-App in Pumble installieren und deinen ersten Zap erstellen. Um dies zu tun, solltest du diesen Schritten folgen:
- Klicke auf den Pfeil neben dem Namen deines Arbeitsbereichs
- Wähle Arbeitsbereicheinstellungen
- Wähle Allgemeine Einstellungen
- Öffne Apps konfigurieren im Abschnitt Integrationen
- Click on Install button next to the Zapier app
Note: By clicking on Install, you’ll be immediately redirected to Zapier website. - Registriere/Melde dich bei Zapier an
- Klicke auf +Create
- Wähle New Zap aus dem Dropdown-Menü
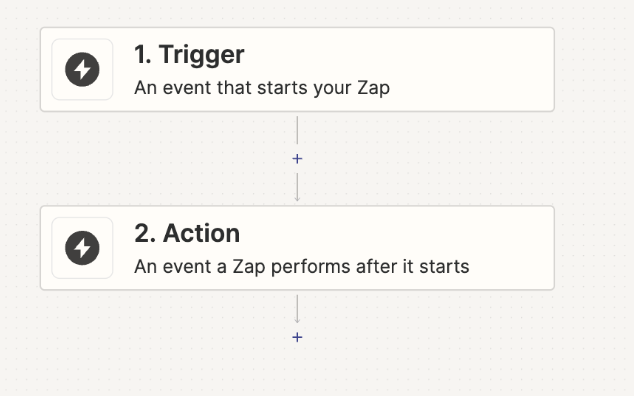
- Klicke auf Trigger und wähle Pumble
- Wähle Event aus dem Dropdown-Menü
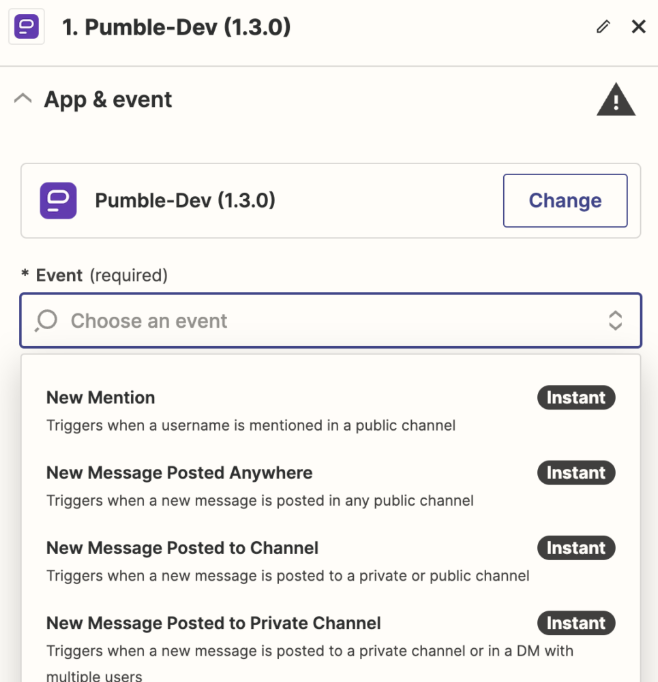
Note: Choose a trigger event that will initiate the automation. Trigger events for Pumble can be new messages, reactions, new mentions, etc. - Klicke auf Weiter
- Klicke auf Sign in, um dich bei Pumble anzumelden und mit deinem Konto zu verbinden
- Wähle deinen Pumble-Arbeitsbereich aus dem Dropdown-Menü
- Wähle Trigger-Wert(e) aus dem Dropdown-Menü
- Klicke auf Weiter
- Klicke auf Trigger testen
Hinweis: Falls kein Wert während des Tests gefunden wird, solltest du auf Test überspringen klicken, um fortzufahren oder angewendete Einstellungen zu ändern und den Schritt wieder zu testen. - Klicke auf Weiter
- Wähle Zoom aus dem Dropdown-Menü, um eine Aktion zu erstellen
- Melde dich bei deinem Zoom-Konto an
- Wähle ein Event aus dem Dropdown-Menü
- Klicke auf Weiter
- Fülle die Aktion-Details aus
- Klicke auf Weiter
- Klicke auf Schritt testen
- Klicke auf Veröffentlichen, um den Vorgang abzuschließen