Zapier Integration
Zapier integration allows you to connect Pumble with thousands of other applications, enabling you to automate repetitive tasks and streamline communication within your team. In this guide, we’ll walk you through the step-by-step process of integrating Pumble with Zapier.
Create Zapier integration #
To connect Pumble with Zapier, it is necessary to create your first Zap. To do it follow these steps:
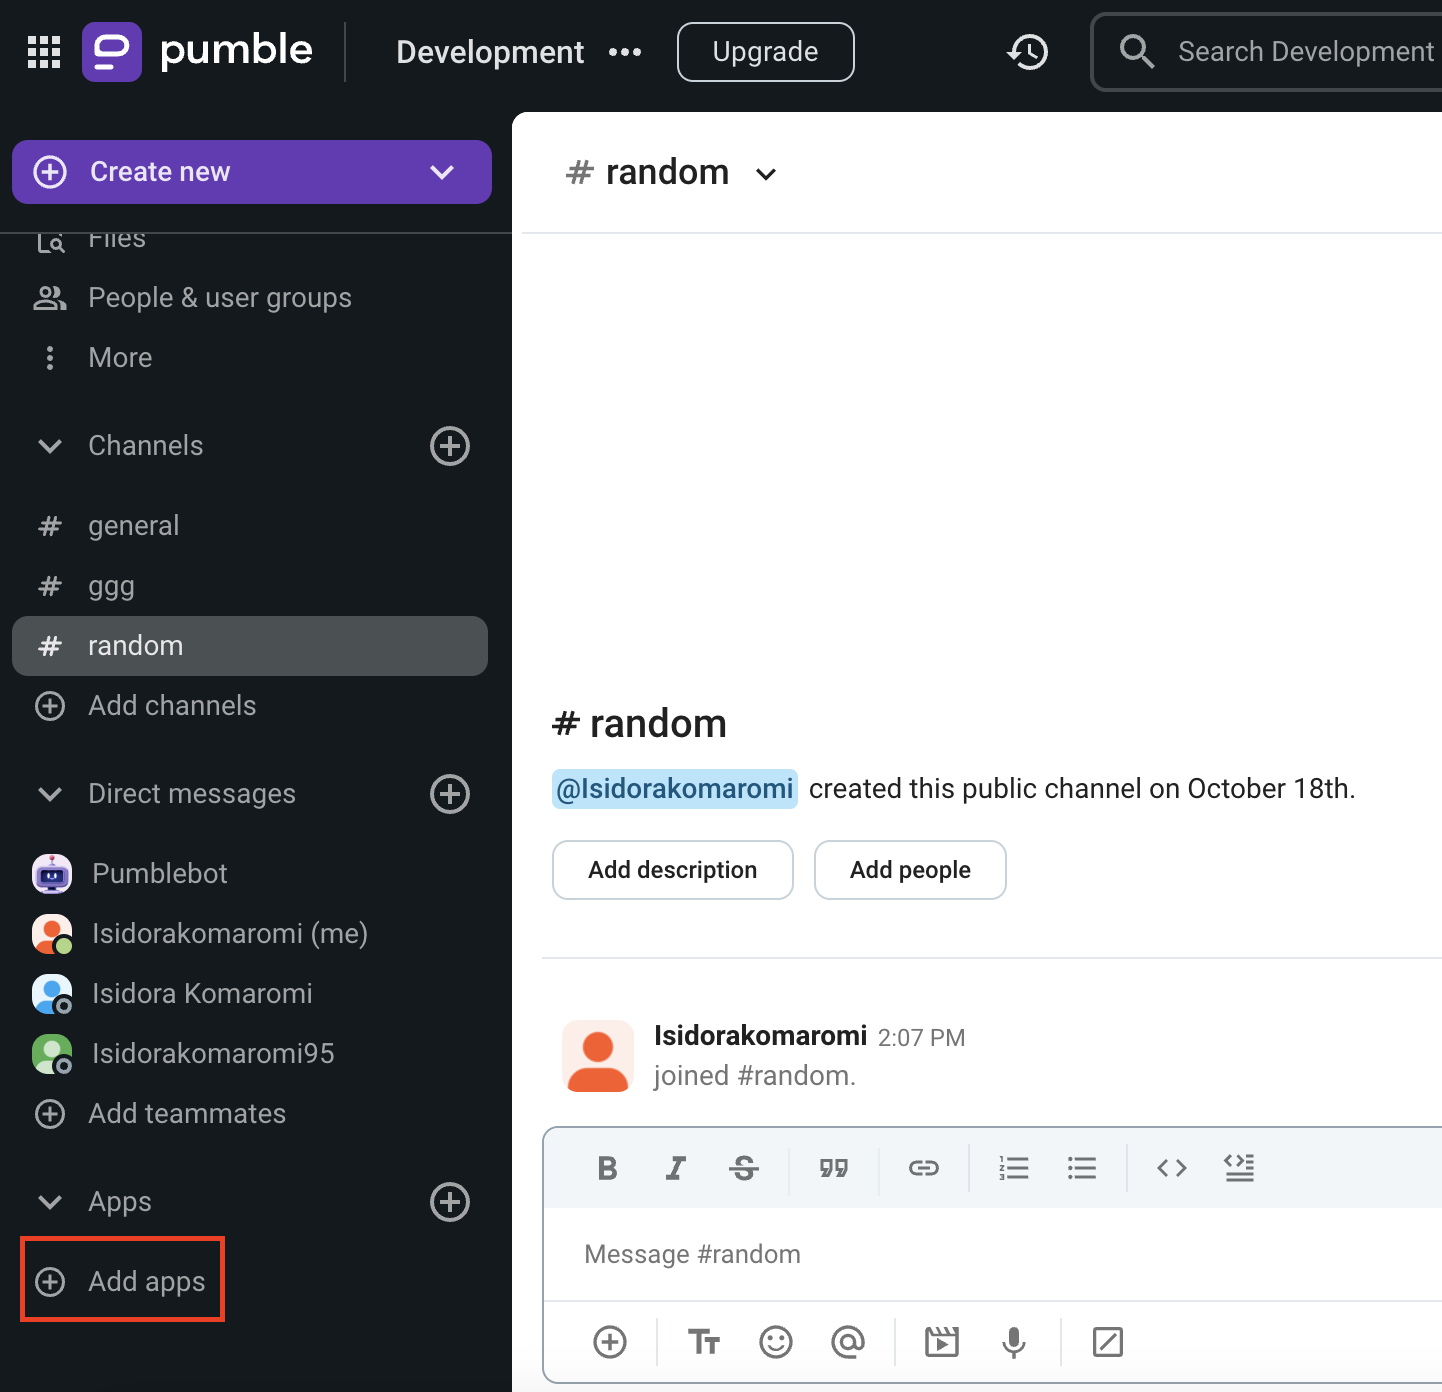
- Click on +Add apps button at the bottom of the left sidebar
- Click on Install button next to the Zapier app

By clicking on Install, you’ll be immediately redirected to Zapier website.
It’s possible that the app has already been installed on your workspace by another user, and you will need to authorize it so that you can use it. To do it, click on the Authorize button next to the app name. - Log in/Sign up on Zapier
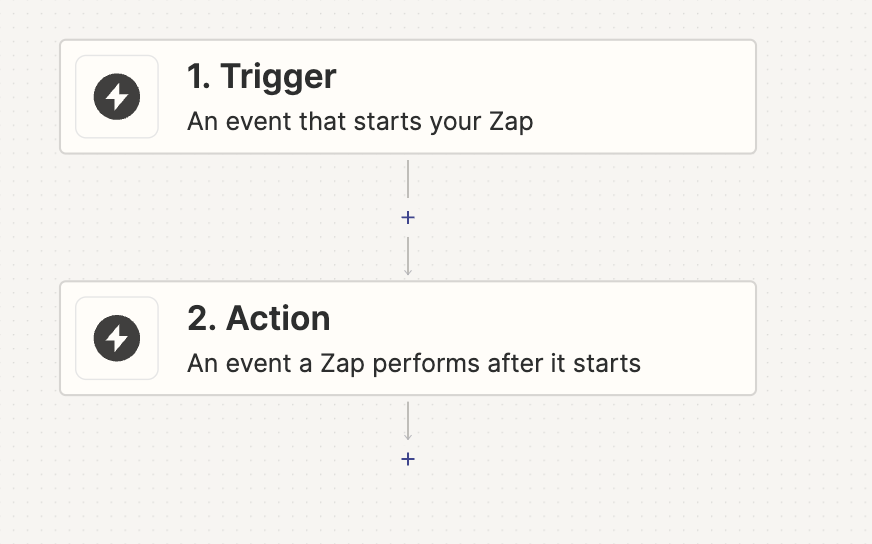
- Click on +Create
- Select New Zap from the dropdown
- Click on Trigger and choose Pumble
- Choose the Event from the dropdown
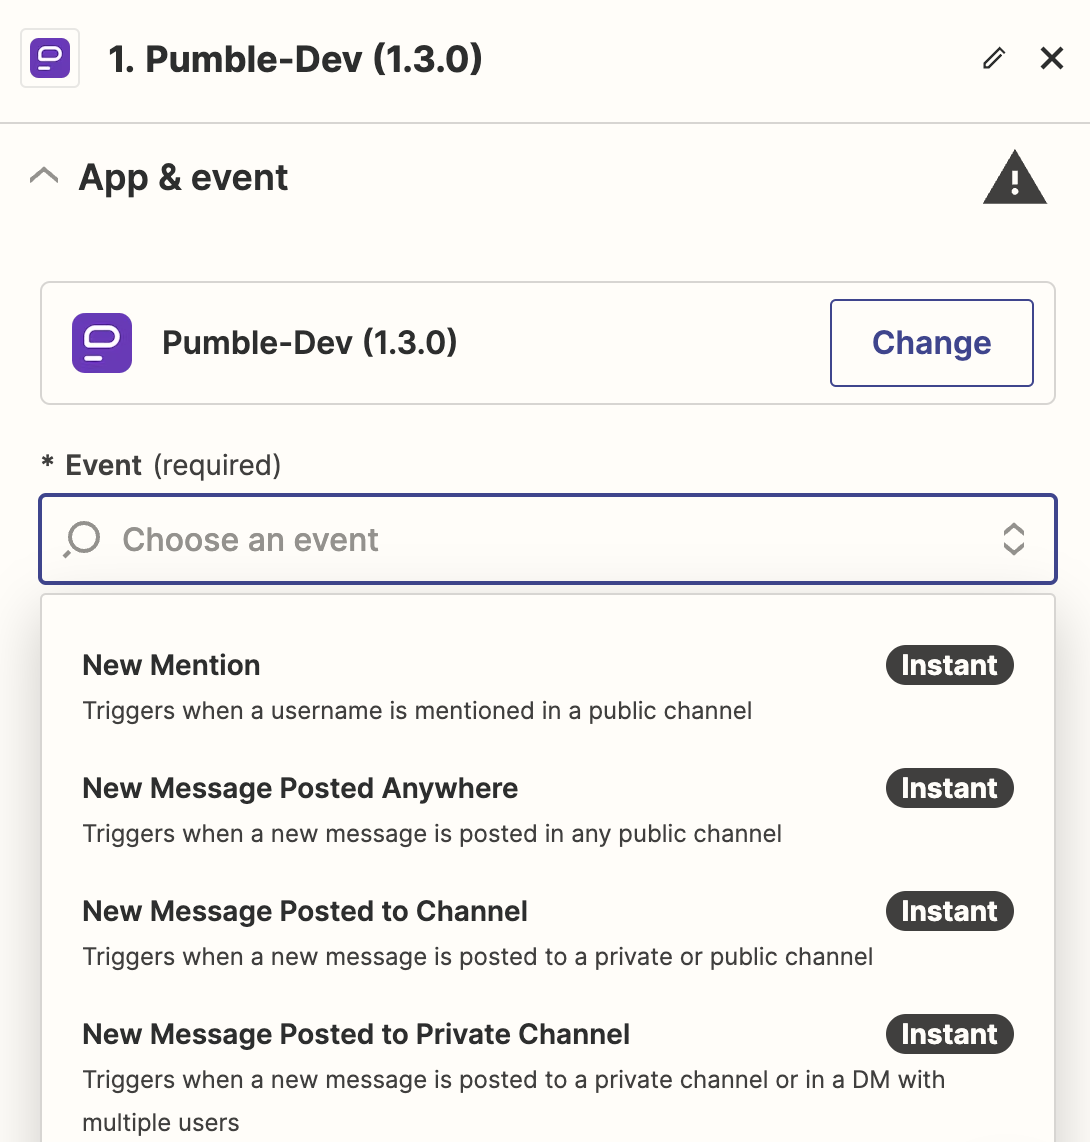
Choose a trigger event that will initiate the automation. Trigger events for Pumble can be new messages, reactions, new mentions, etc. - Click Continue
- Click Sign in to Pumble to connect your account
It is necessary that you use the same email address for signing in to Pumble and Zapier. - Select Pumble workspace from the dropdown
- Choose the Trigger value(s) from the dropdown
- Click Continue
- Click Test Trigger
If no value is found during the Trigger test, click on Skip Test to proceed or change applied settings and retest the step. - Click Continue
- Select Pumble from the dropdown to create an action
- Choose an event from the dropdown
- Click Continue
- Fill in the Action details
- Click Continue
- Click on Test step
- Click Publish to complete the action
You can create an unlimited number of Zaps with different events and triggers. All you need to do after installing Zapier integration and creating your first Zap is to login to your Zapier account and add a new Zap as explained from step 6 onwards. It is important that you are logged in to your Pumble Workspace, so that you can connect it to a new Zap.