Guide d’intégration pour les créateurs et administrateurs d’espaces de travail
Pumble vous offre la possibilité de mettre en place un espace de travail collaboratif. En rejoignant cet espace, les membres de votre équipe pourront communiquer et échanger des messages, des fichiers, des messages vocaux, et bien plus encore.
Dans ce guide, nous vous aiderons à configurer votre espace de travail et à commencer à utiliser Pumble.
S’inscrire et créer un espace de travail #
La première étape consiste à créer un compte Pumble et un espace de travail. Voici comment procéder :
- Ouvrez la page d’inscription à Pumble
- Continuez avec Google/Apple/Microsoft/email
- Saisissez le code de vérification envoyé à votre adresse email
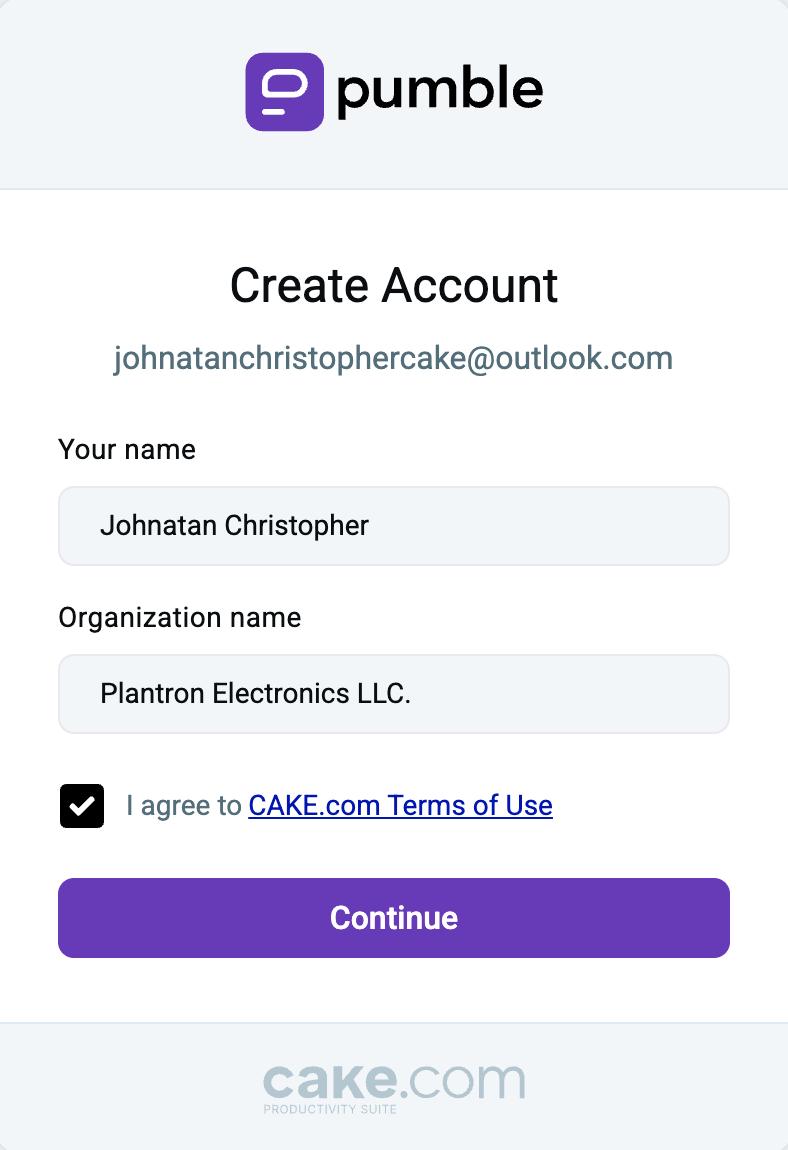
- Saisissez votre nom
- Saisissez le nom de votre organisation (ce nom sera utilisé pour votre espace de travail)
- Acceptez les conditions d’utilisation de CAKE.com
- Cliquez sur Continuer pour terminer l’inscription
Une fois votre inscription validée, vous pouvez procéder à la configuration de votre espace de travail.
Si vous êtes nouveau sur Pumble, consultez notre article sur l’utilisation de Pumble.
Configurer les paramètres de son espace de travail #
Pumble vous permet de personnaliser votre espace de travail en fonction de vos besoins et offre de nombreuses fonctionnalités dans tous ses abonnements.
Vous pouvez accéder aux paramètres généraux, aux autorisations, à la gestion des membres et à la configuration des applis. Voici ce que vous pouvez faire :
Les paramètres de l’espace de travail ne sont accessibles que via le Web ou l’appli de bureau.
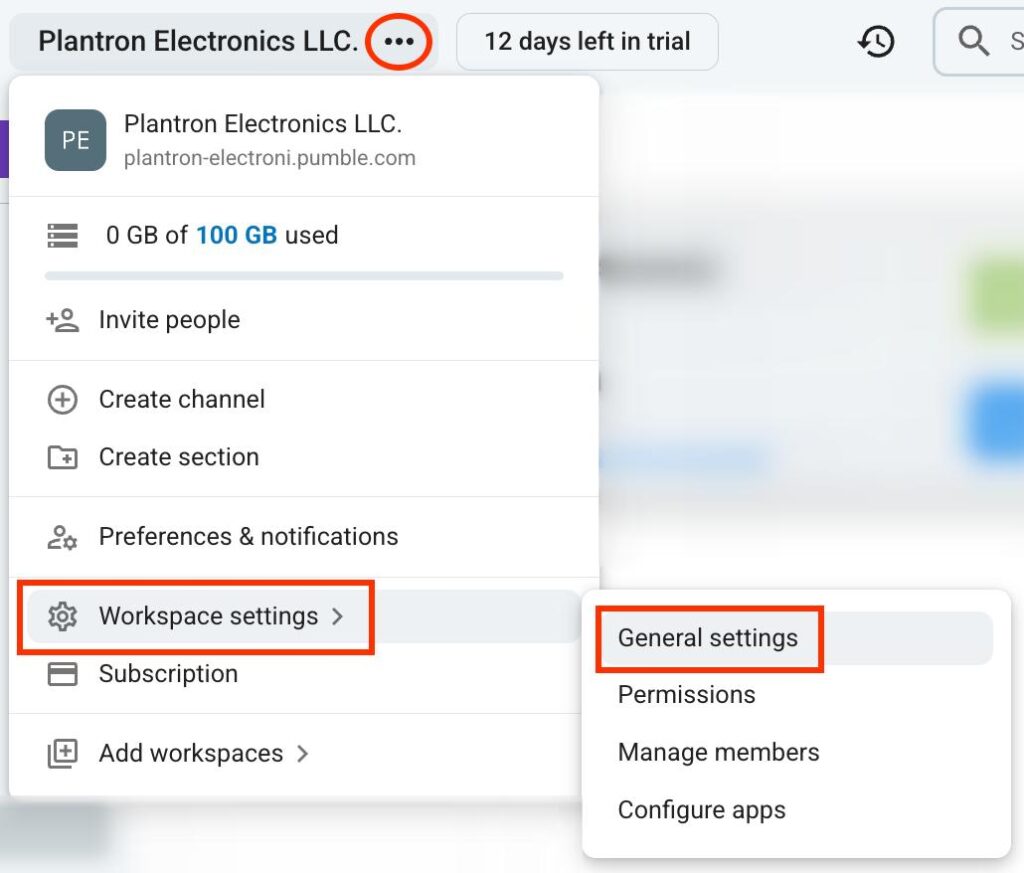
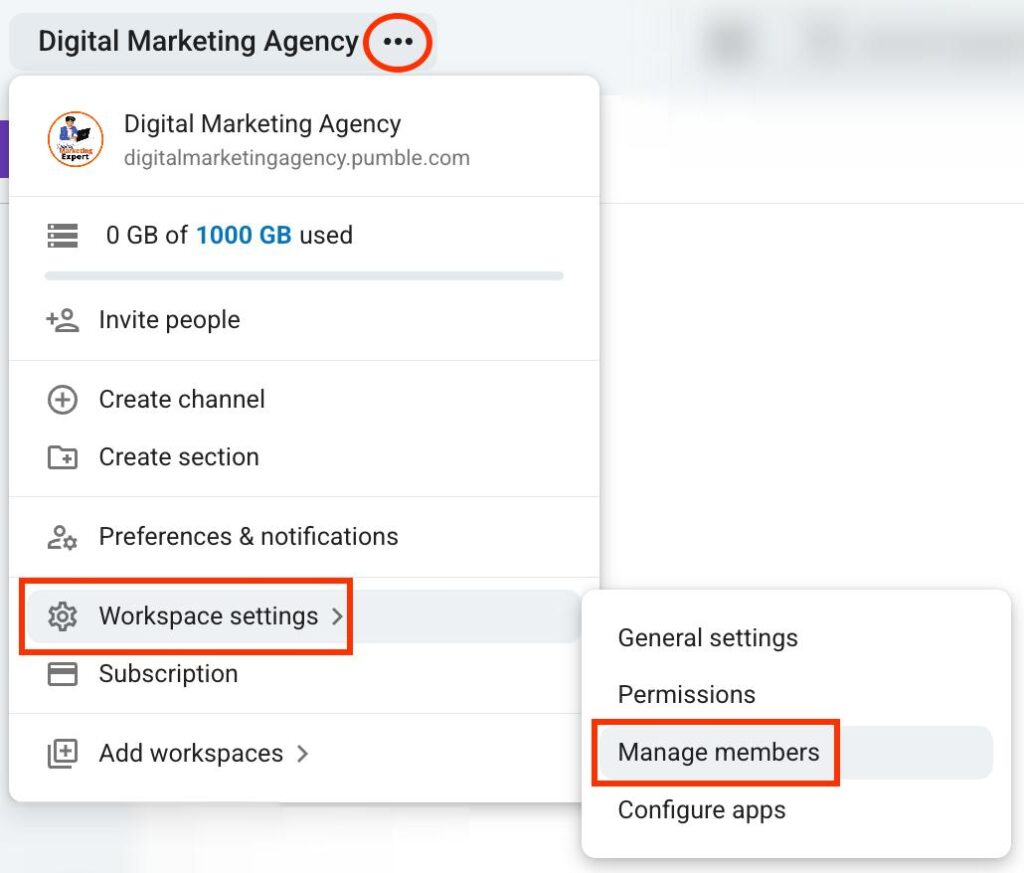
- Cliquez sur les trois points à côté du nom de votre espace de travail
- Accédez aux paramètres de l’espace de travail
- Cliquez sur Paramètres généraux
Dans les paramètres généraux, vous pouvez modifier :
- Canaux par défaut – Définissez les canaux par défaut auxquels les utilisateurs se connecteront automatiquement
- Gérer l’affichage des emails – Définissez si l’adresse email de l’utilisateur sera affichée sur son profil
- Messages du canal – Envoyez des messages lorsqu’un membre rejoint ou quitte un canal
- Notifier les nouveaux utilisateurs – Configurez des notifications pour les membres lorsqu’un nouvel utilisateur rejoint l’équipe
- Historique des fichiers – Déterminez si les fichiers seront supprimés après un certain temps
- Icône de l’espace de travail – Ajoutez une icône à votre espace de travail
- Nom et URL de l’espace de travail – Modifiez le nom et l’URL de votre espace de travail
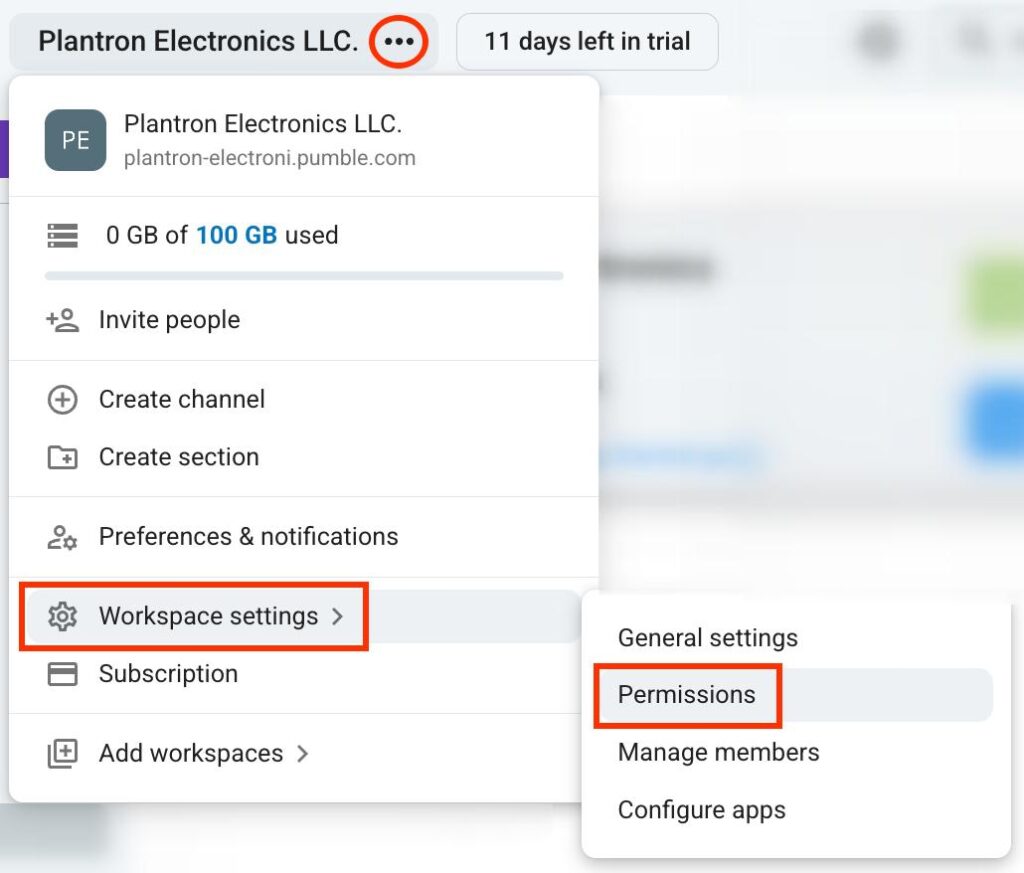
- Cliquez sur les trois points à côté du nom de votre espace de travail
- Accédez aux paramètres de l’espace de travail
- Cliquez sur Autorisations
Les autorisations vous permettent de contrôler ce que les utilisateurs peuvent faire dans votre espace de travail. Voici ce que vous pouvez modifier :
- Messages – Définissez qui peut publier dans les canaux et envoyer des messages directs
- Invitations – Définissez qui peut inviter de nouveaux utilisateurs dans l’espace de travail
- Gestion des canaux – Définissez qui peut créer et gérer des canaux
- Groupes d’utilisateurs – Définissez qui peut créer et modifier des groupes d’utilisateurs
- Modification et suppression des messages – Définissez si les utilisateurs peuvent modifier ou supprimer des messages
- Réunions – Activez ou désactivez les réactions dans les réunions
- Émojis personnalisés – Définissez qui peut créer des émojis personnalisés
- Cliquez sur les trois points à côté du nom de votre espace de travail
- Accédez aux paramètres de l’espace de travail
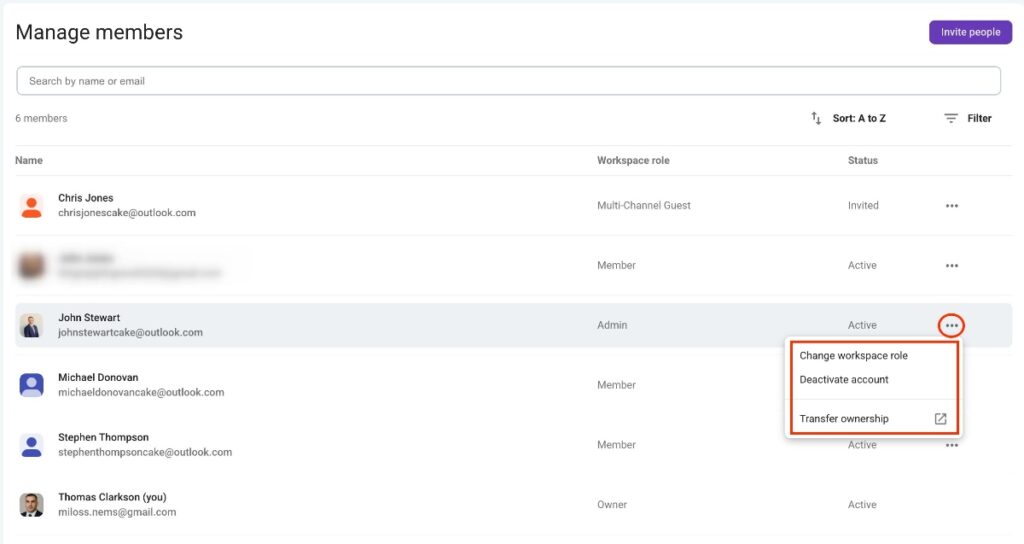
- Cliquez sur Gérer les membres
Dans cette section, vous pouvez modifier les rôles des membres et désactiver leurs comptes. De plus, vous pouvez transférer la propriété de l’espace de travail à des administrateurs. Voici comment procéder :
- Cliquez sur les trois points dans la colonne tout à droite
- Sélectionnez l’action souhaitée
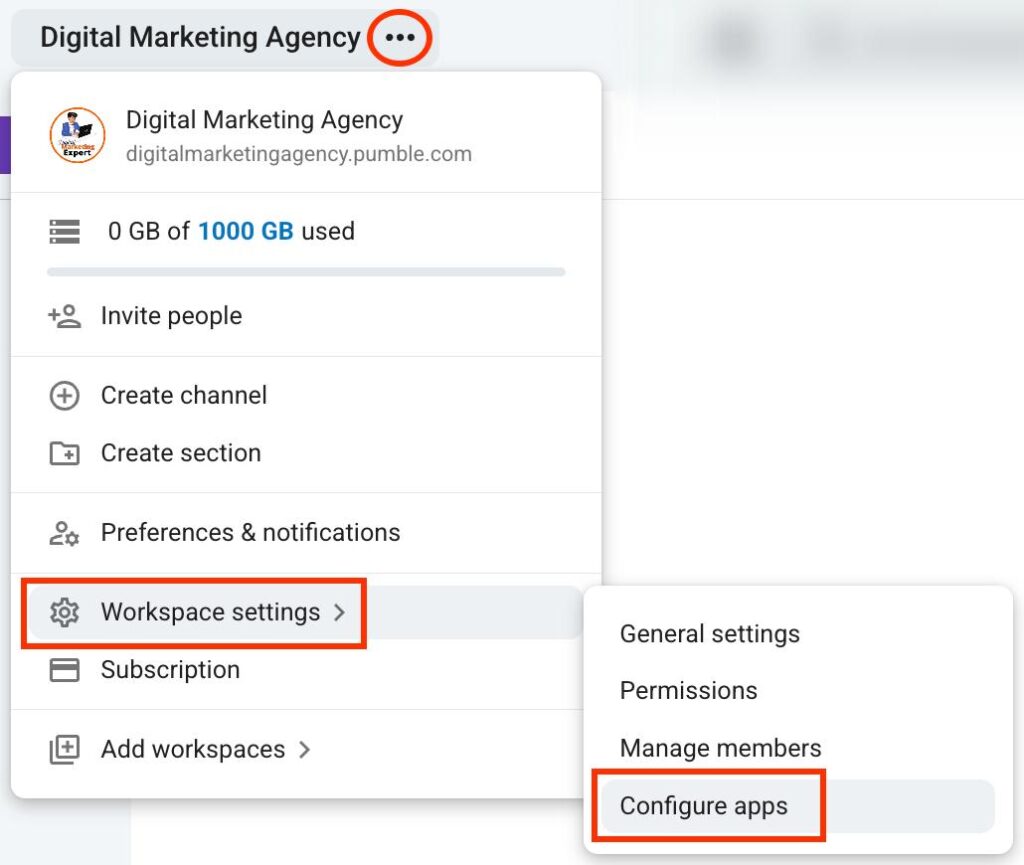
- Cliquez sur les trois points à côté du nom de votre espace de travail
- Accédez aux paramètres de l’espace de travail
- Cliquez sur Configurer les applis
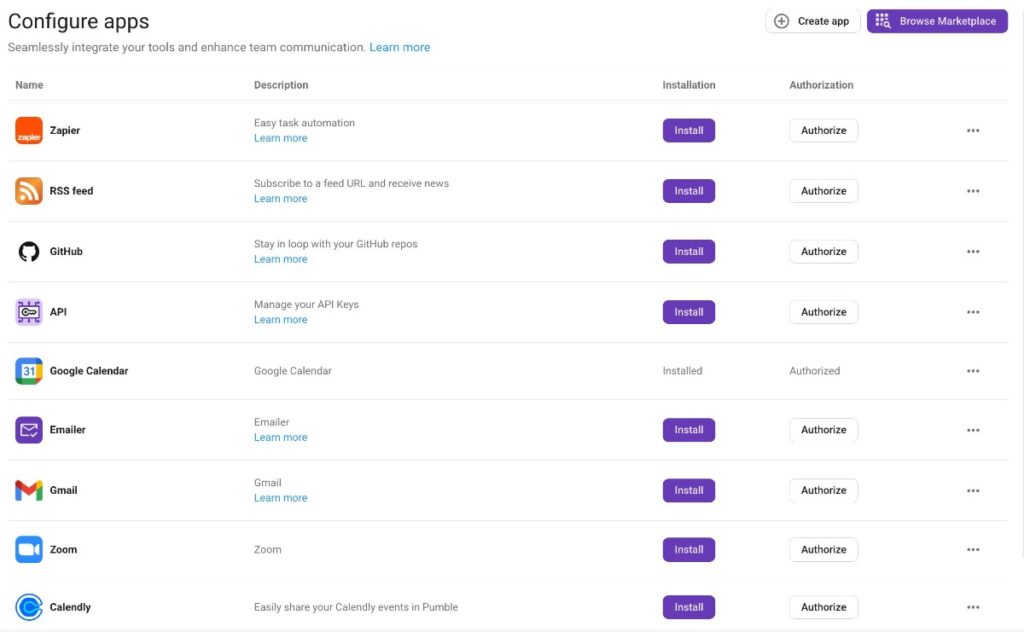
Ici, vous pouvez configurer des intégrations et connecter différents outils à votre espace de travail Pumble. Vous pouvez créer des intégrations avec des outils populaires tels que :
- Zapier
- GitHub
- Google Agenda
- Gmail
- Calendly
Inviter des membres à rejoindre son espace de travail #
Une fois votre espace de travail configuré, l’étape essentielle suivante pour une collaboration réussie consiste à inviter tous vos collègues à le rejoindre.
Voici une façon d’inviter des membres :
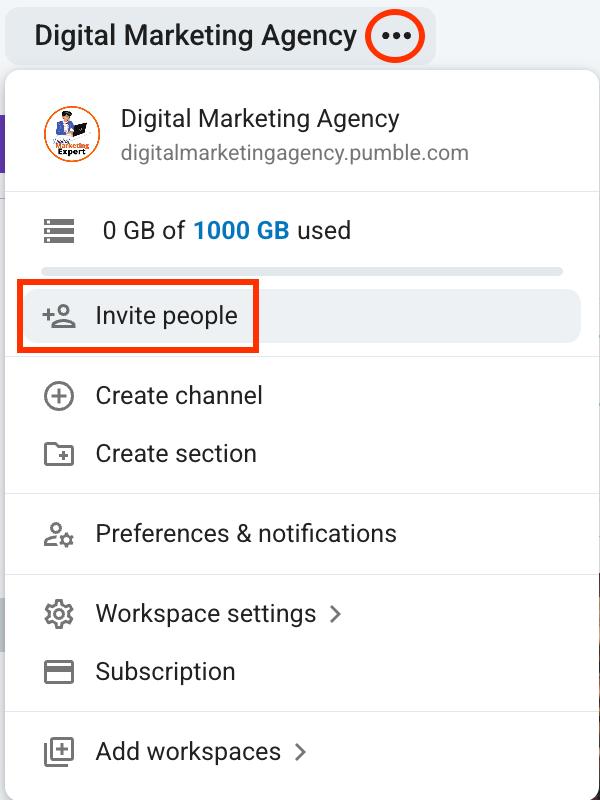
- Cliquez sur les trois points à côté du nom de votre espace de travail
- Cliquez sur Inviter des membres
- Saisissez l’adresse email de l’utilisateur que vous souhaitez inviter
- Choisissez son rôle dans la section Inviter comme
- Cliquez sur Envoyer l’invitation pour terminer l’action
Une autre façon d’inviter des membres consiste à passer par la section Personnes et groupes d’utilisateurs. Voici comment procéder :
- Cliquez sur Personnes et groupes d’utilisateurs dans la barre latérale gauche
- Cliquez sur Inviter des personnes dans le coin droit
- Saisissez l’adresse email de l’utilisateur que vous souhaitez inviter
- Choisissez son rôle dans la section Inviter comme
- Cliquez sur Envoyer l’invitation pour terminer l’action

Choisir un abonnement #
Bien que l’offre GRATUITE de Pumble propose de nombreuses fonctionnalités, opter pour un abonnement donnera accès à vous et à votre équipe à des fonctionnalités supplémentaires.
Voici comment mettre à niveau votre abonnement :
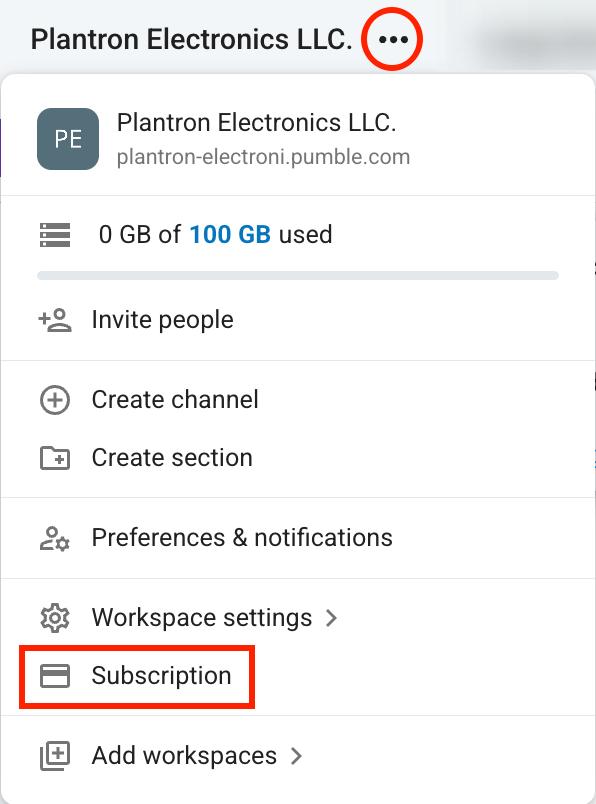
- Cliquez sur les trois points à côté du nom de votre espace de travail
- Cliquez sur Abonnement
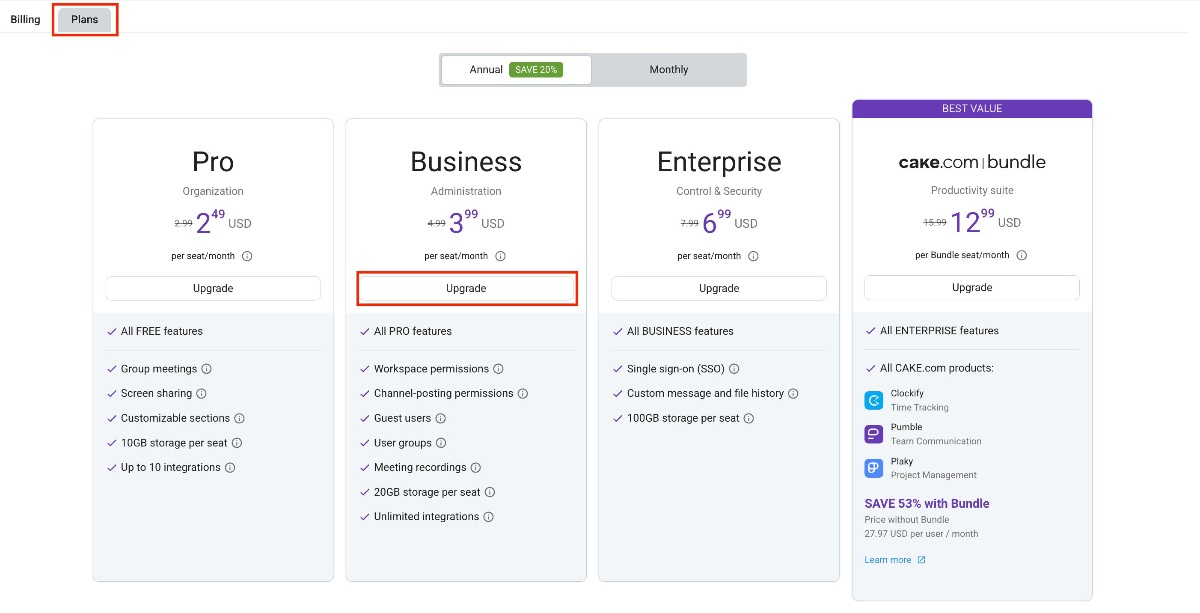
- Ouvrez l’onglet Abonnements
- Cliquez sur Mettre à niveau sur l’abonnement de votre choix
- Saisissez les informations relatives au client, à la facture et au paiement
- Cliquez sur Terminer le paiement pour finaliser le processus