Intégration de Zapier
L’intégration Zapier connecte Pumble à des milliers d’applis pour automatiser les tâches et simplifier la communication d’équipe. Ce guide explique comment intégrer Pumble et Zapier.
Étape n° 1 : Ajouter Zapier à Pumble #
Pour connecter Pumble et Zapier, commencez par ajouter Zapier à votre espace de travail Pumble. Voici comment procéder :
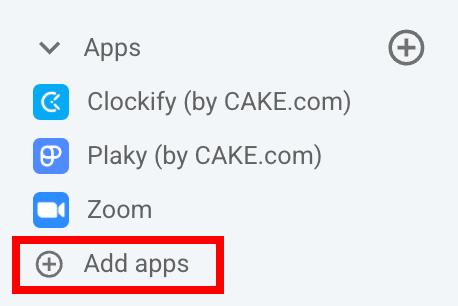
- Cliquez sur le bouton +Ajouter des applis en bas de la barre latérale gauche
- Cliquez sur le bouton Installer à côté de l’appli Zapier
Ou
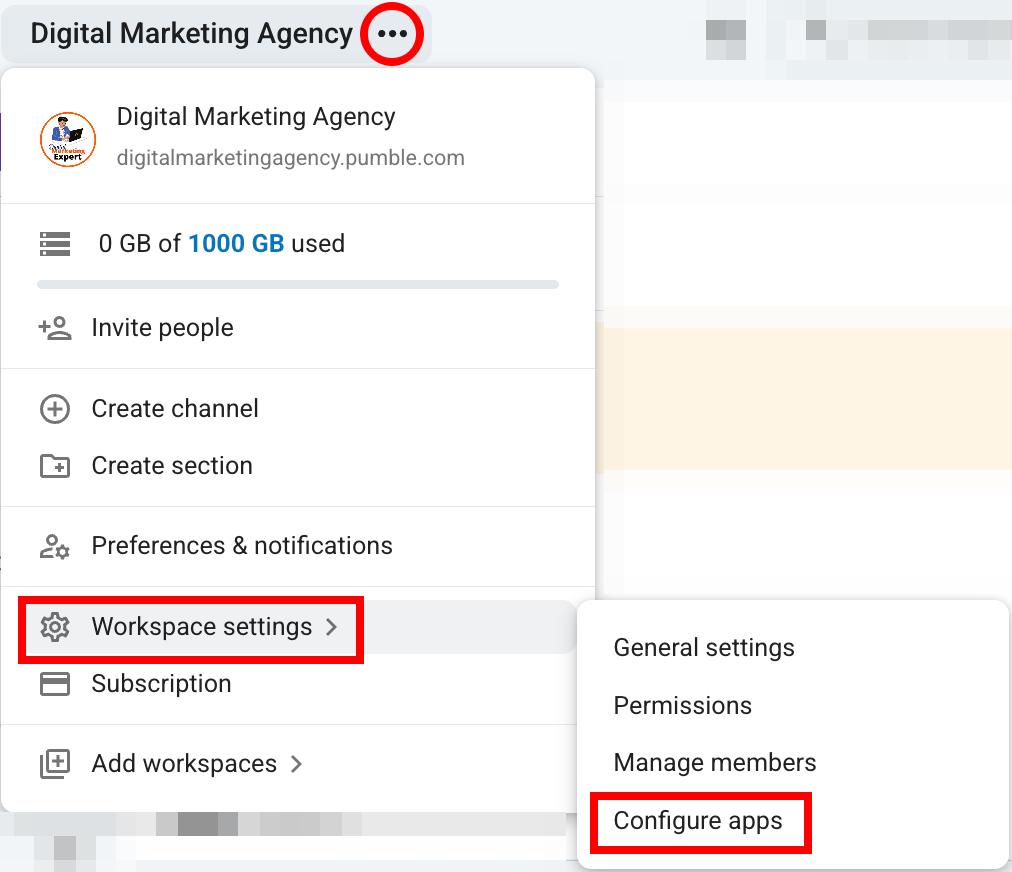
- Cliquez sur les trois points à côté du nom de votre espace de travail
- Survolez les Paramètres de l'espace de travail
- Cliquez sur Configurer les applis
- Cliquez sur le bouton Installer à côté de l’appli Zapier
Si l’appli a déjà été installée dans votre espace de travail par un autre utilisateur, vous devrez l’autoriser pour pouvoir l’utiliser.
Étape n° 2 : Se connecter ou s’inscrire à Zapier #
Une fois que vous avez ajouté Zapier à votre espace de travail, vous serez automatiquement redirigé vers le site Web de Zapier. Connectez-vous à Zapier ou créez un compte si vous n’en avez pas encore. Pour créer un compte Zapier :
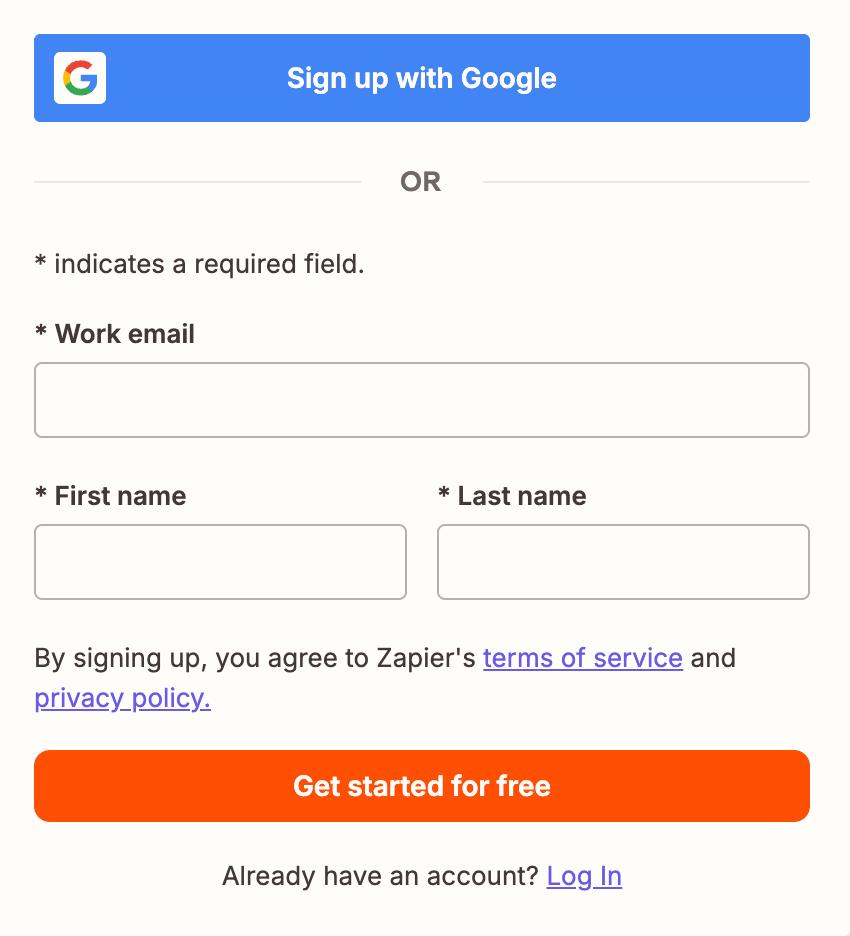
- Ouvrez la page d’inscription Zapier
- Inscrivez-vous avec votre adresse email ou votre compte Google
L’adresse email que vous utilisez pour votre compte Zapier doit être la même que celle que vous utilisez pour Pumble.
Étape n° 3 : Créer un Zap #
Pour connecter Pumble à d’autres applis via Zapier, vous devez créer un Zap. Il s’agit d’un workflow automatisé qui connecte Pumble à une autre appli et gère les processus entre elles. Dans cet exemple, nous allons créer un Zap qui connecte Pumble à Google et crée un nouveau dossier lorsqu’un message est publié dans un canal Pumble. Voici comment procéder :
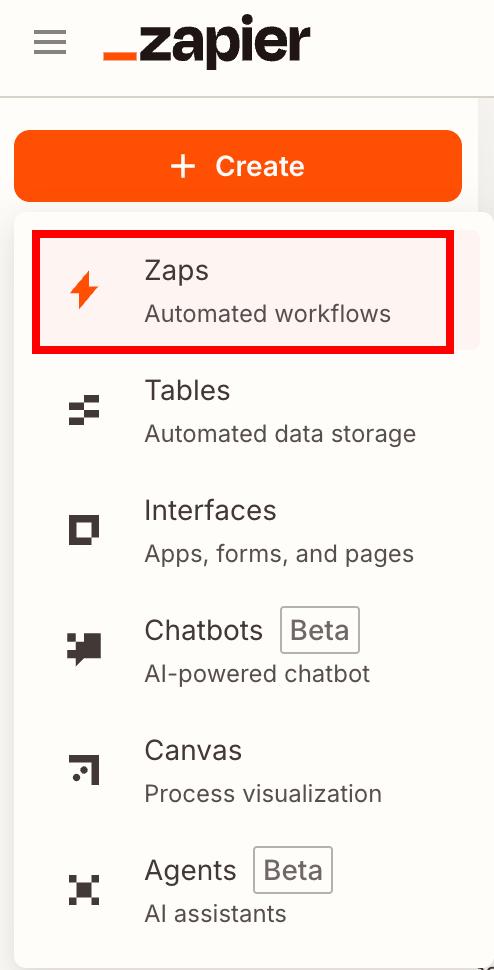
- Cliquez sur +Créer dans le coin supérieur gauche
- Cliquez sur Zaps
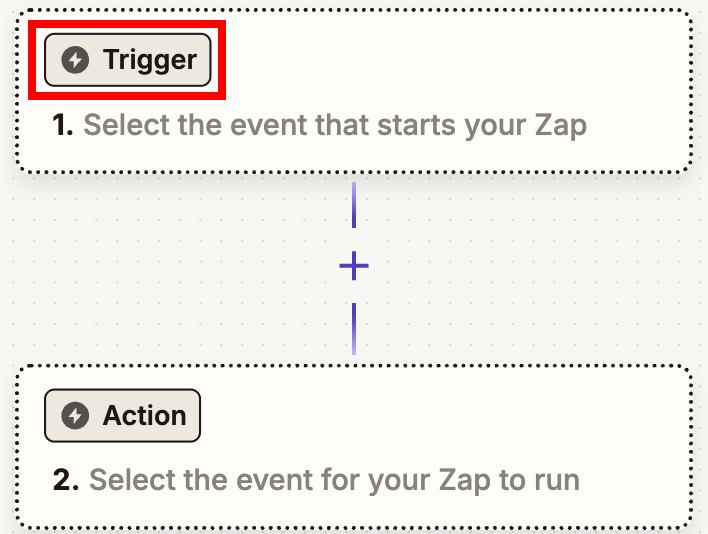
Une fois la fenêtre modale ouverte, vous devrez créer un déclencheur pour votre Zap. Un déclencheur est un événement qui doit se produire avant que l’automatisation ne démarre.
- Cliquez sur Déclencher
- Sélectionnez Pumble dans la liste des applis
- Sélectionnez un événement déclencheur (p. ex. un nouveau message publié sur le canal)
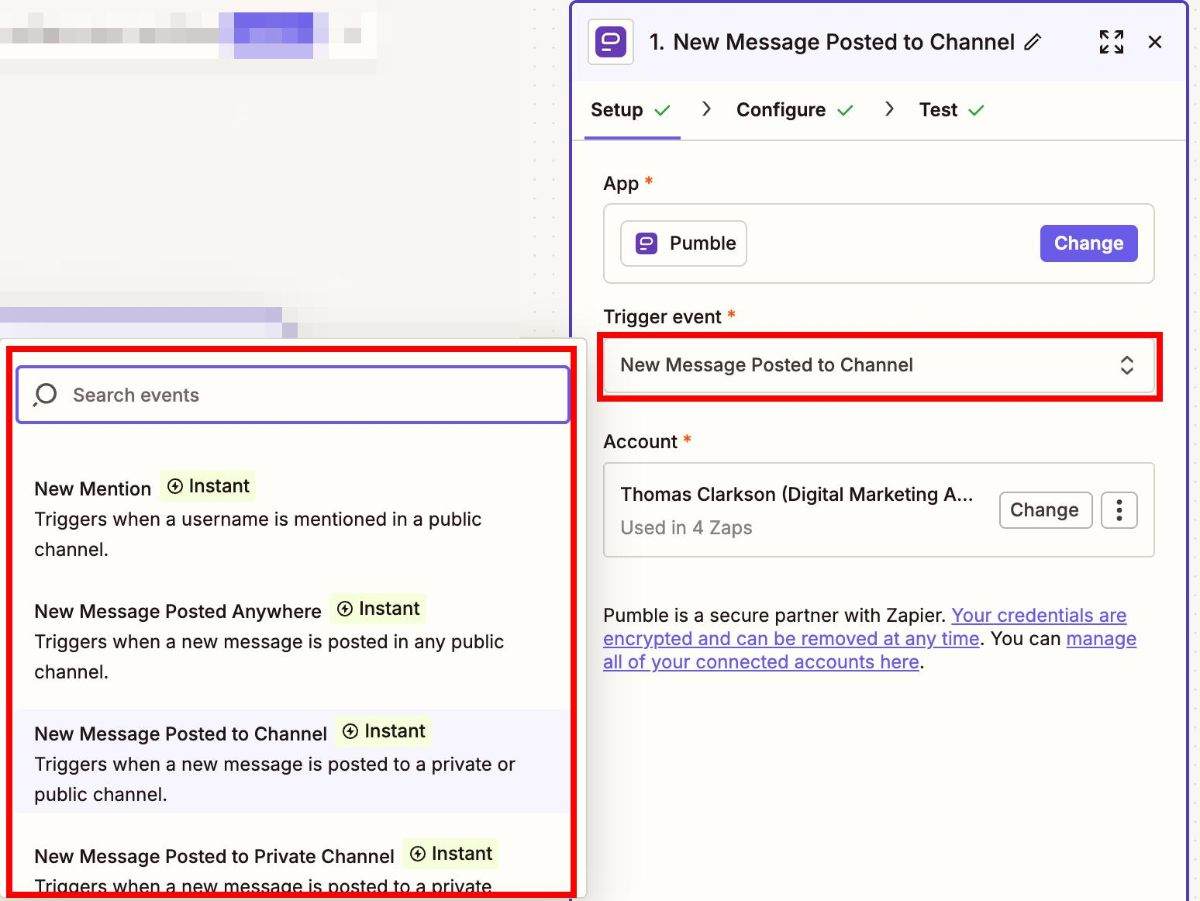
- Choisissez un compte Pumble
- Accédez à l’onglet Configurer
- Sélectionnez le canal pour votre déclencheur
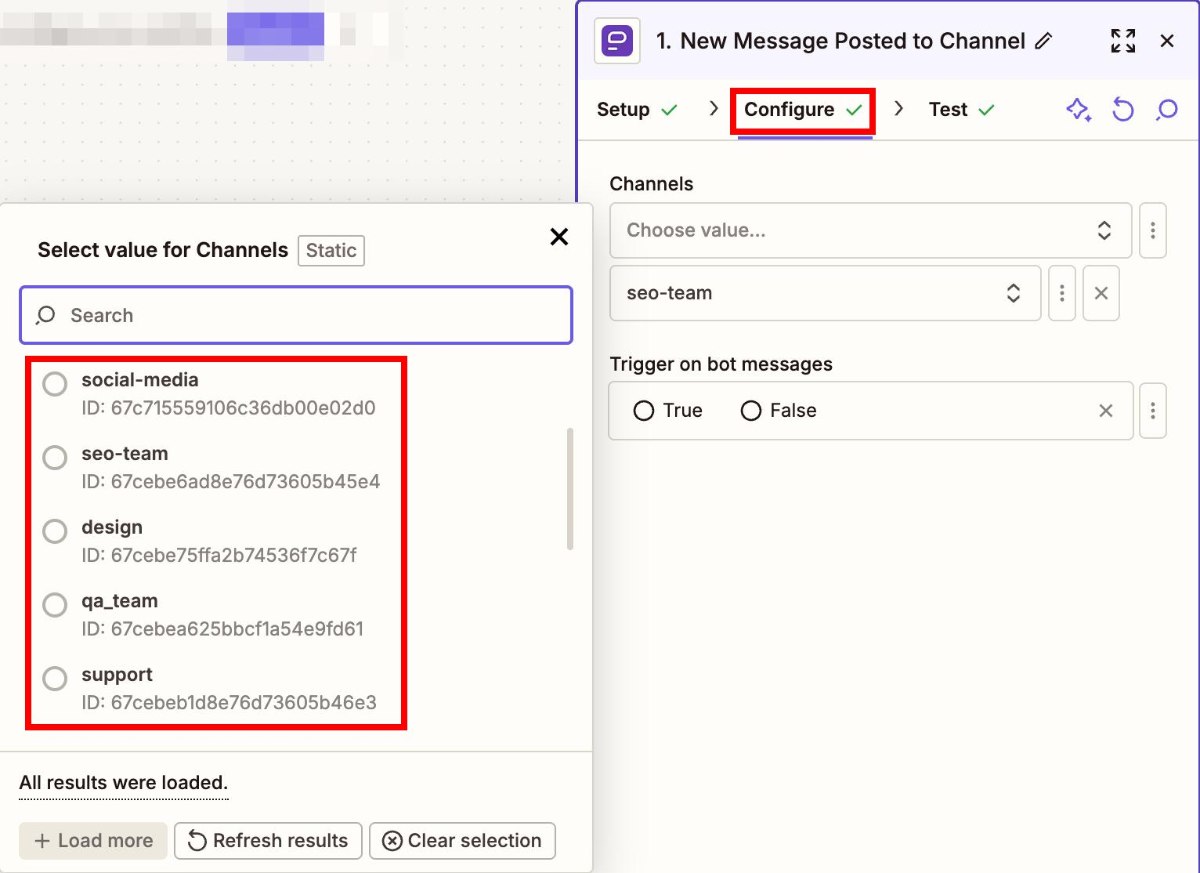
- Testez le déclencheur
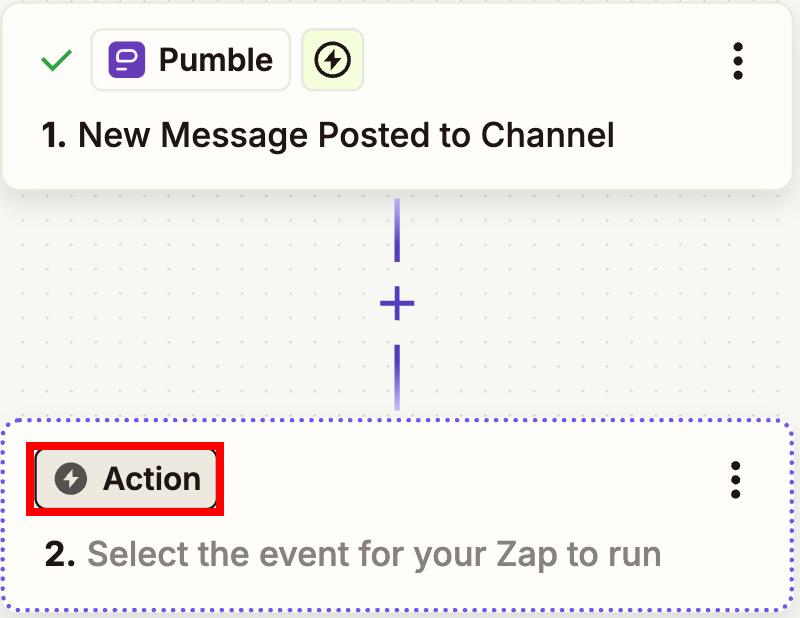
Une fois que vous avez créé un déclencheur pour votre Zap, vous pouvez passer à la création d’une action.
- Cliquez sur Action
- Sélectionnez l’appli dans la liste
- Sélectionnez Événement d’action
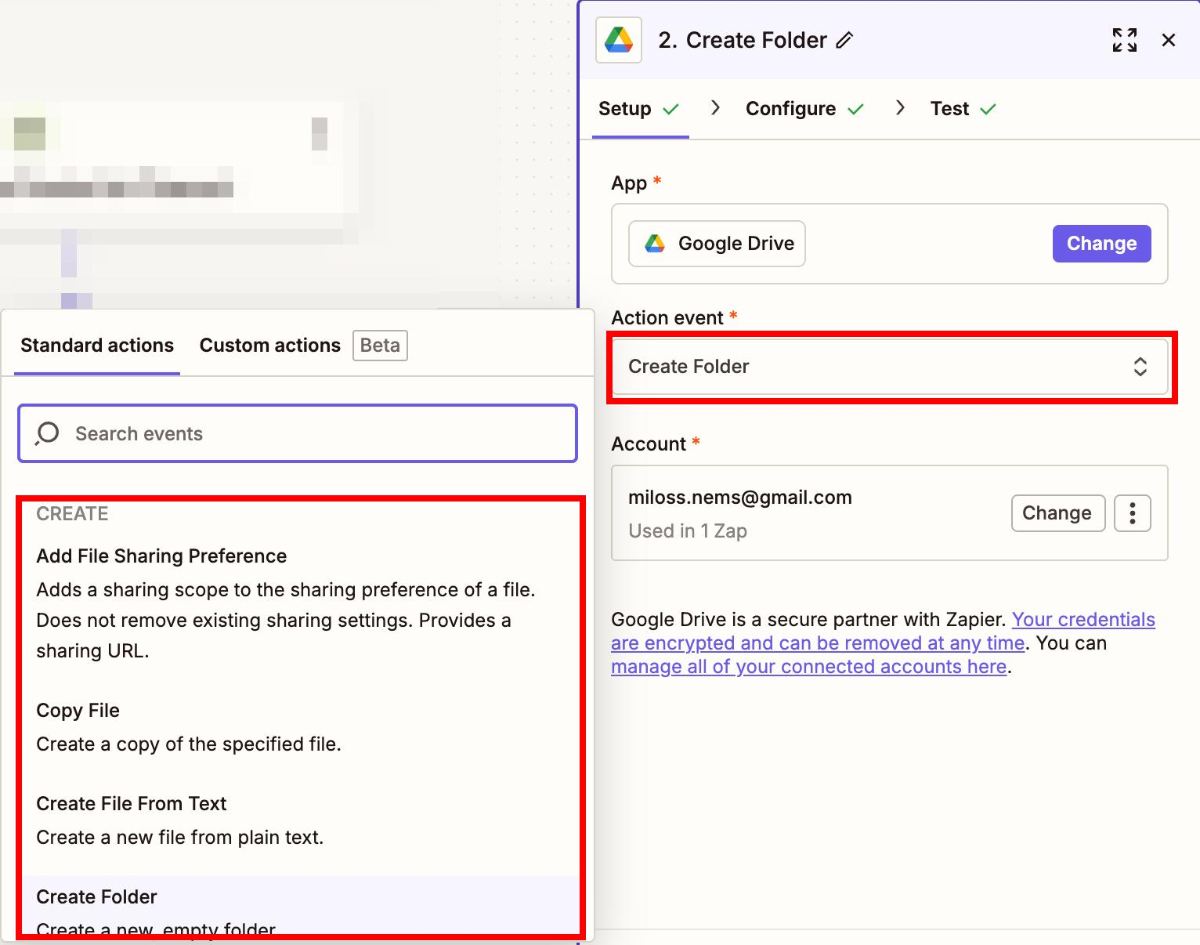
- Choisissez un compte
- Cliquez sur l’onglet Configurer
- Remplissez les informations
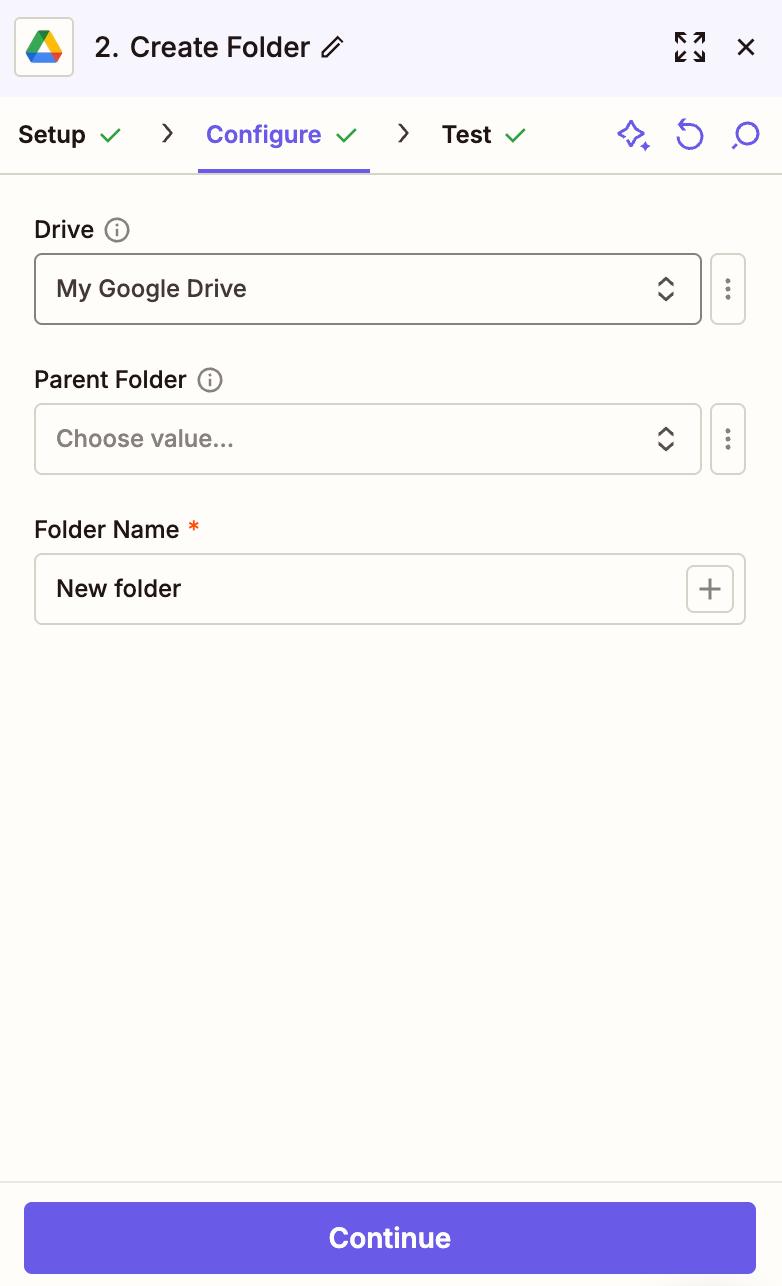
- Testez l’action
- Cliquez sur Publier pour terminer l’action
Vous pouvez créer un nombre illimité de Zaps (selon votre abonnement Zapier) avec différents événements et déclencheurs. Après l’installation et la création de votre premier Zap, connectez-vous à votre compte Zapier pour en ajouter de nouveaux. Assurez-vous d’être connecté à votre espace de travail Pumble pour pouvoir le connecter au nouveau Zap.