Guía de incorporación para creadores y administradores de espacios de trabajo
Pumble te permite crear un espacio de trabajo donde puedes comunicarte con los compañeros de tu equipo. Al unirse a tu espacio de trabajo, los miembros del equipo pueden compartir mensajes, archivos, mensajes de voz y mucho más.
En esta guía, te ayudaremos a configurar tu espacio de trabajo y empezar a utilizar Pumble.
Registrar y crear un espacio de trabajo #
El primer paso es crear una cuenta y un espacio de trabajo de Pumble. Aquí te explicamos cómo hacerlo:
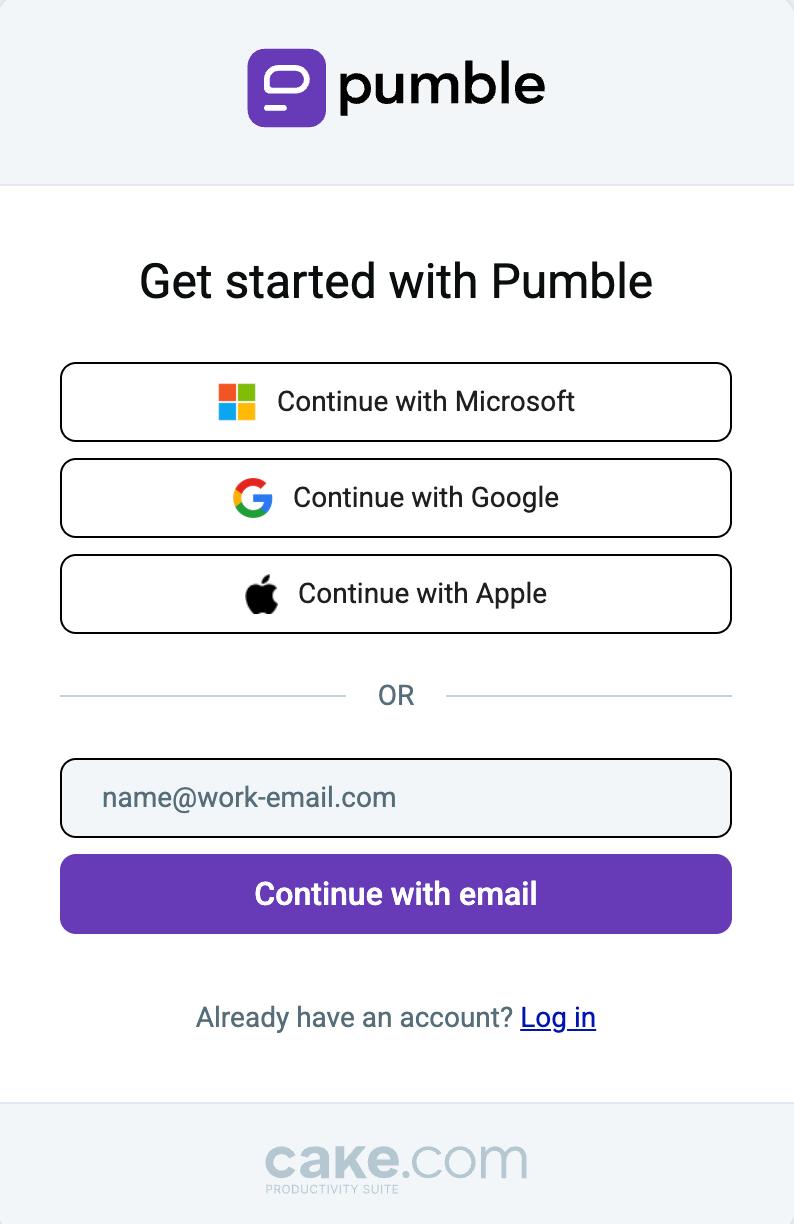
- Abre la página de Registración en Pumble
- Continúa con Google/Apple/Microsoft/correo electrónico
- Ingresa el código de verificación enviado a tu correo electrónico
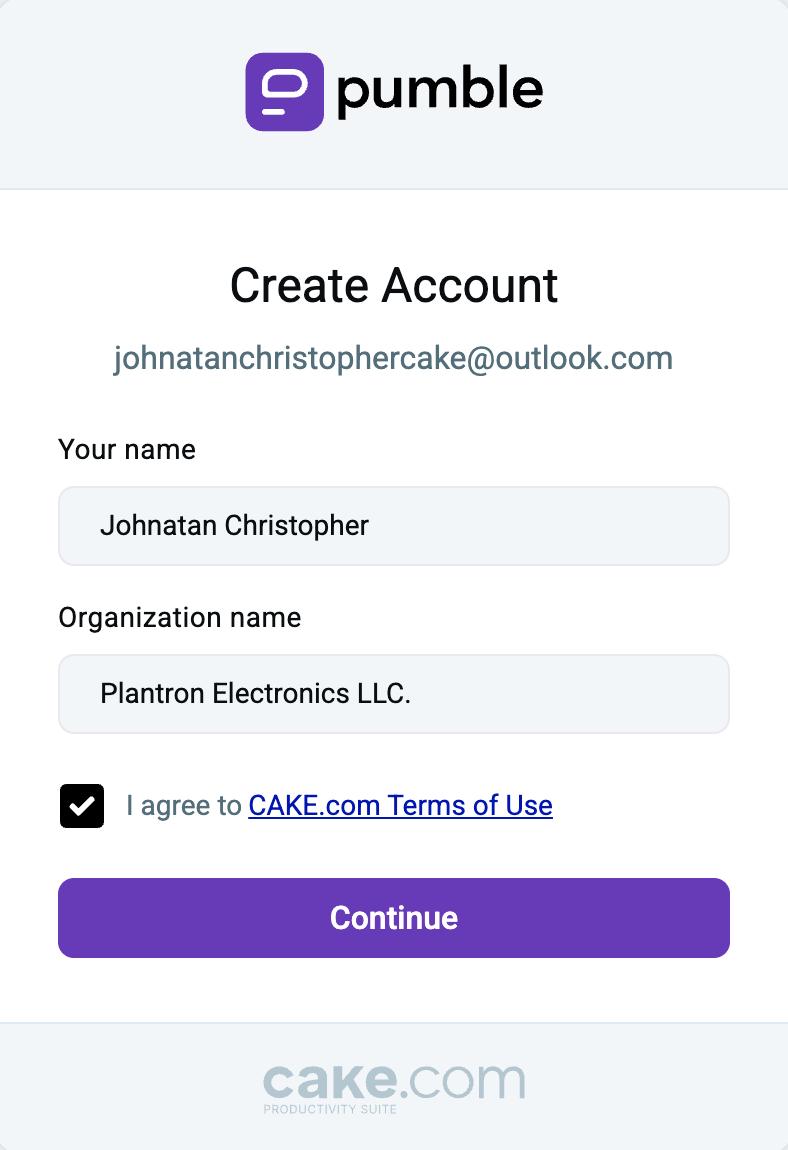
- Introduce tu nombre
- Ingresa el Nombre de tu organización (este nombre se utilizará para tu espacio de trabajo)
- Acepta los Términos de uso de CAKE.com
- Haz clic en Continuar para completar la registración
Una vez que te hayas registrado con éxito, puedes continuar a configurar tu espacio de trabajo.
Si eres un usuario nuevo en Pumble, consulta nuestro artículo sobre cómo usar Pumble.
Configurar los ajustes de tu espacio de trabajo #
Pumble te permite personalizar tu espacio de trabajo según tus necesidades y ofrece varias funciones en todos los planes.
Puedes acceder a la Configuración general, Permisos, Gestión de miembros y Configuración de aplicaciones. Aquí te explicamos cómo hacerlo:
La configuración del espacio de trabajo se puede acceder solo a través de las aplicaciones de web o escritorio.
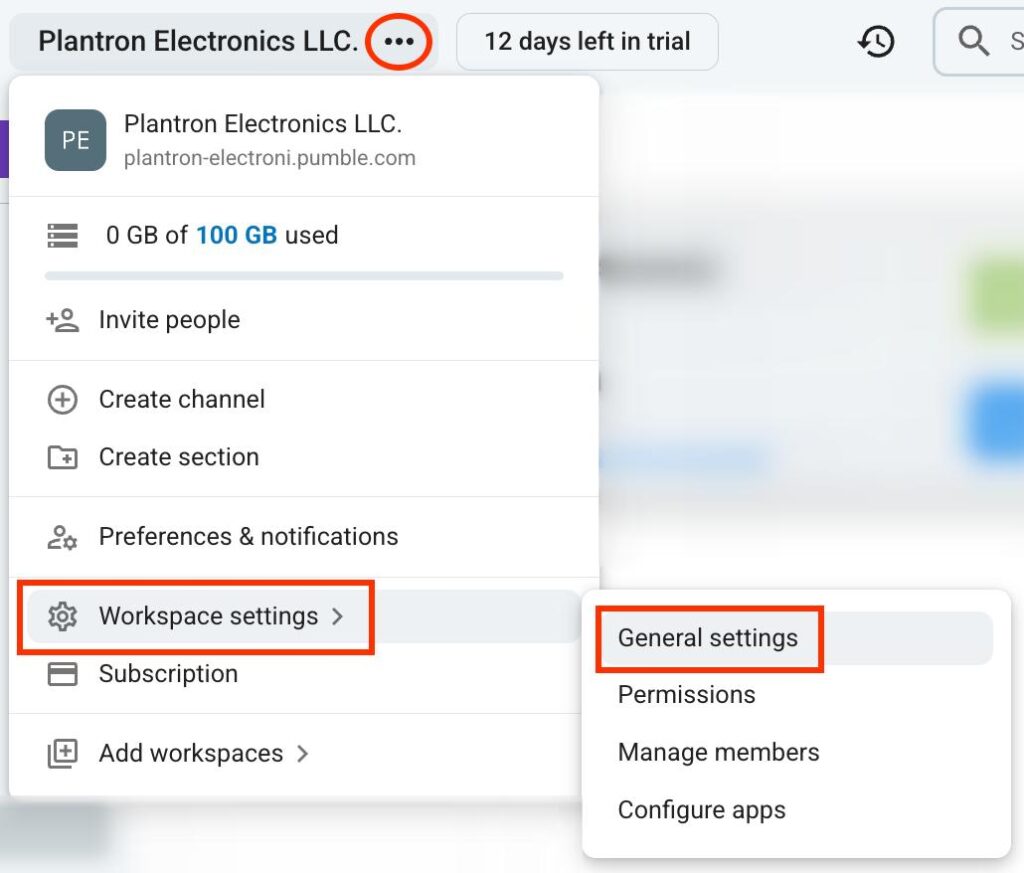
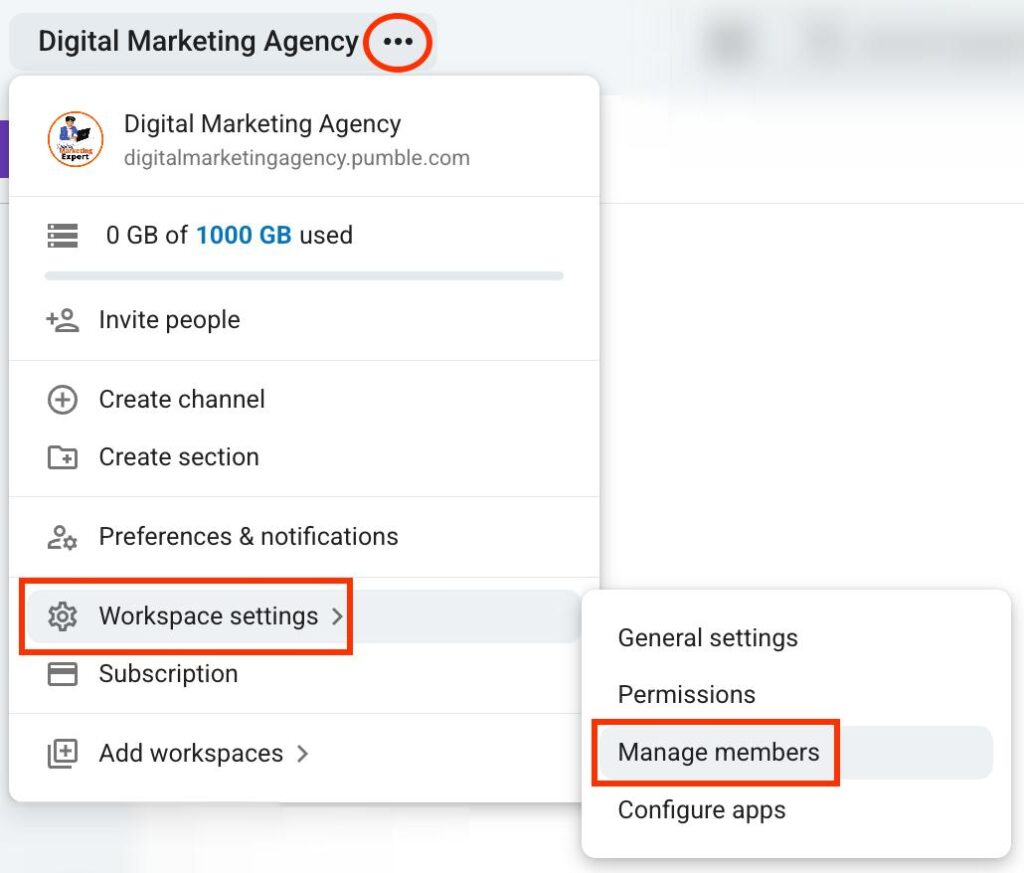
- Haz clic en los tres puntos junto al nombre de espacio de trabajo
- Navega a Configuración del espacio de trabajo
- Haz clic en la Configuración general
En la configuración general, puedes modificar:
- Canales predeterminados: Configura los canales predeterminados a los que los usuarios se unan automáticamente
- Gestión de la visualización de correos electrónicos: Establece si los correos electrónicos de los usuarios se mostrarán en su perfil
- Mensajes de unirse o salir de un canal: Envía mensajes cuando un miembro se une o sale de un canal
- Notificaciones sobre nuevos usuarios: Establece notificaciones para nuevos miembros cuando un nuevo usuario se une al equipo
- Historial de los archivos: Determina si los archivos se eliminarán después de cierto tiempo
- Ícono del espacio de trabajo: Añade un ícono para tu espacio de trabajo
- Nombre del espacio de trabajo y la URL: Cambia el nombre del espacio de trabajo y la URL
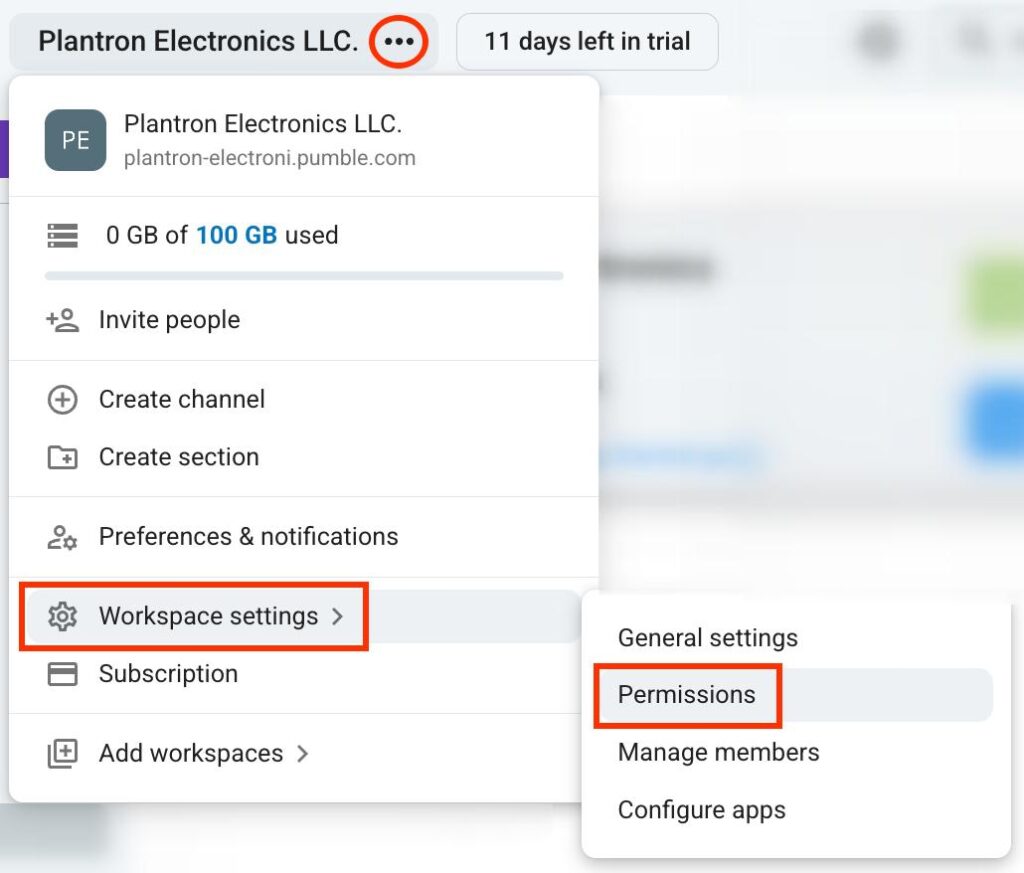
- Haz clic en los tres puntos junto al nombre de espacio de trabajo
- Navega a Configuración del espacio de trabajo
- Haz clic en los Permisos
Los permisos te permiten controlar lo que los usuarios pueden hacer en tu espacio de trabajo. Puedes modificar lo siguiente:
- Messaging: Configura quién puede publicar en los canales y enviar los mensajes directos
- Invitaciones: Configura quién puede invitar nuevos usuarios al espacio de trabajo
- Gestión de los canales: Configura quién puede crear y gestionar canales
- Grupos de usuarios: Configura quién puede crear y editar grupos de usuarios
- Edición y eliminación de mensajes: Configura si los usuarios pueden editar o eliminar mensajes
- Reuniones: Activa o desactiva las reacciones en las reuniones
- Emojis personalizados: Configura quién puede crear los emojis personalizados
- Haz clic en los tres puntos junto al nombre de espacio de trabajo
- Navega a Configuración del espacio de trabajo
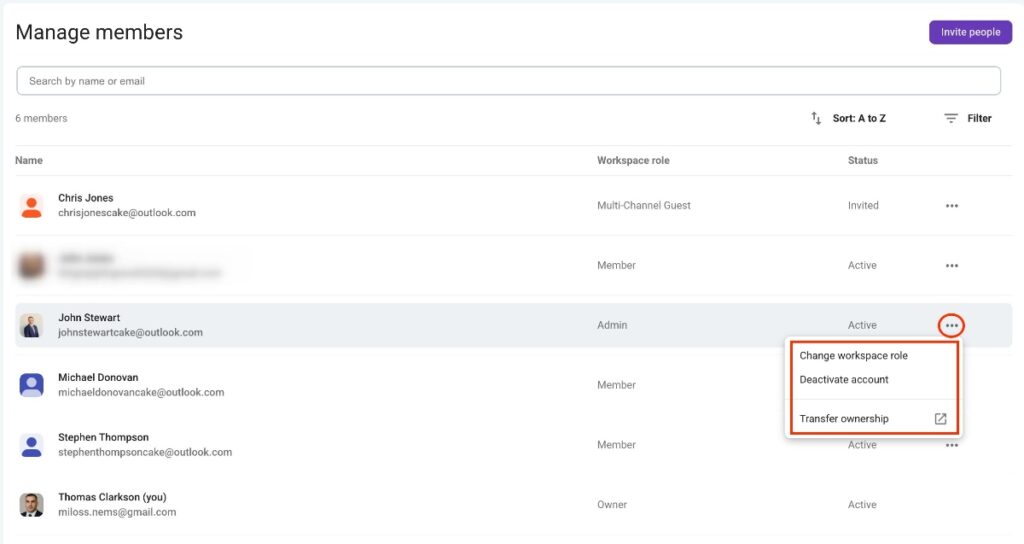
- Haz clic en la Gestión de miembros
En esta sección puedes cambiar roles de miembros y desactivar sus cuentas. Además, puedes transferir la propiedad del espacio de trabajo a los administradores. Sigue estos pasos para hacerlo:
- Haz clic en los tres puntos en la columna de extrema derecha
- Selecciona la acción deseada
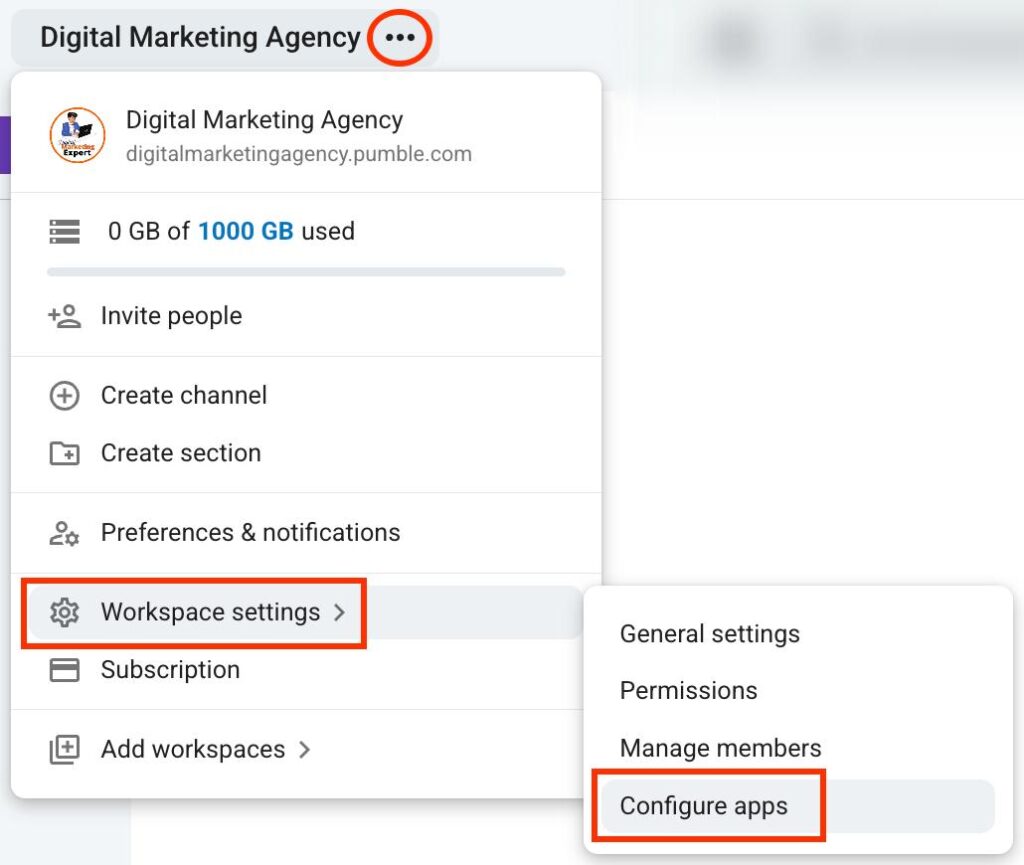
- Haz clic en los tres puntos junto al nombre de espacio de trabajo
- Navega a Configuración del espacio de trabajo
- Haz clic en Configurar aplicaciones
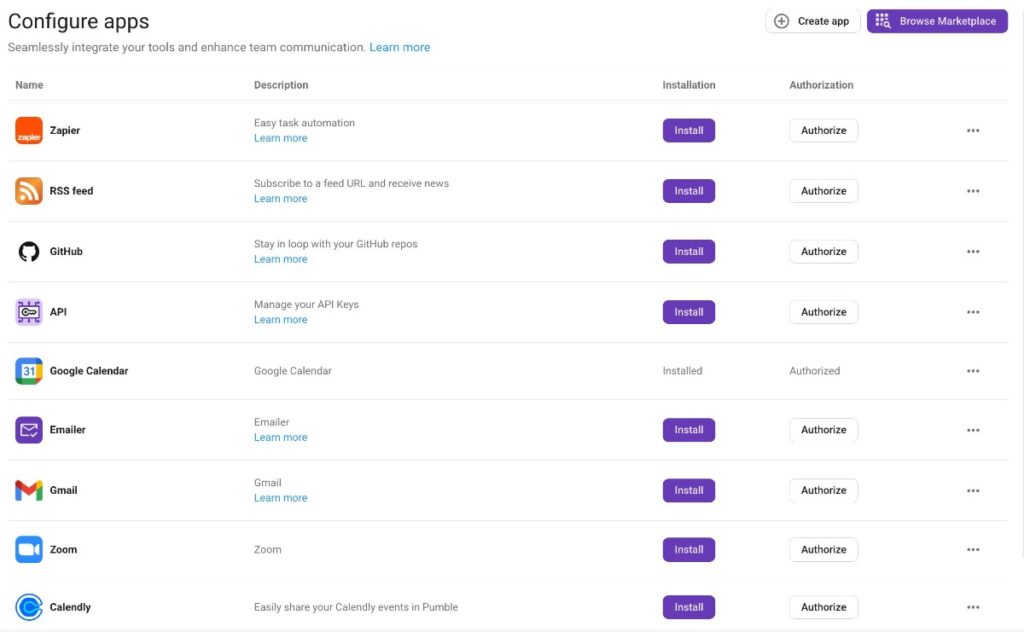
Aquí puedes configurar las integraciones y conectar diferentes herramientas con tu espacio de trabajo de Pumble. Puedes crear integraciones con herramientas populares como:
- Zapier
- GitHub
- Google Calendar
- Gmail
- Calendly
Invitar a miembros a tu espacio de trabajo #
Cuando tu configuración del espacio de trabajo está configurada, puedes empezar a invitar a miembros. Añadir miembros es esencial para una colaboración eficaz, y debes asegurarte de que todos los compañeros de trabajo estén de acuerdo.
A continuación te mostramos una manera de invitar a miembros:
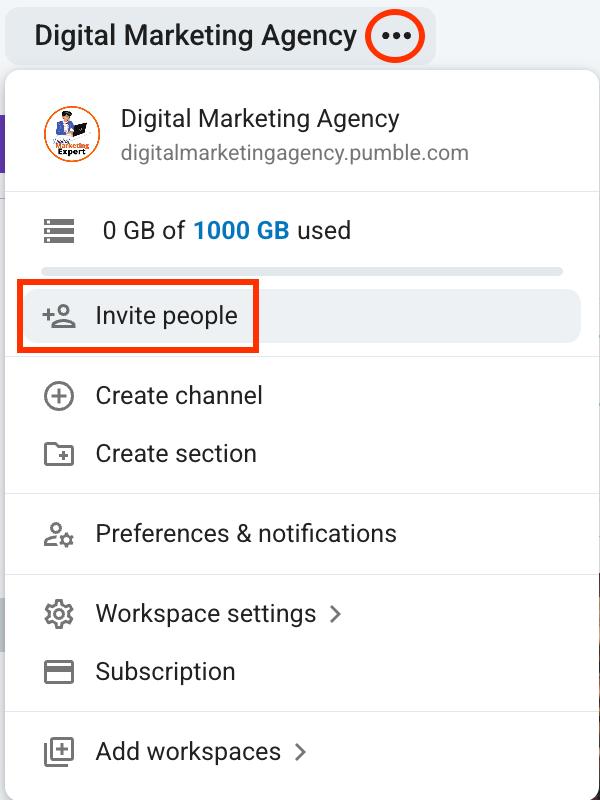
- Haz clic en los tres puntos junto al nombre de espacio de trabajo
- Haz clic en Invitar a miembros
- Escribe la dirección de correo electrónico del usuario que quieres invitar
- Elige su rol en la sección Invitar como
- Haz clic en Enviar invitación para finalizar la acción
Otra manera de invitar a miembros es a través de la sección Grupos de personas y usuarios. Sigue estos pasos:
- Haz clic en Grupos de personas y usuarios en la barra lateral izquierda
- Haz clic en Invitar personas en la barra lateral derecha
- Escribe la dirección de correo electrónico del usuario que quieres invitar
- Elige su rol en la sección Invitar como
- Haz clic en Enviar invitación para finalizar la acción

Elegir un plan de suscripción #
Aunque Pumble ofrece muchas funciones en su plan GRATUITO, elegir un plan de suscripción puede desbloquear varias funciones adicionales para ti y para tu equipo.
Para actualizar tu suscripción, sigue estos pasos:
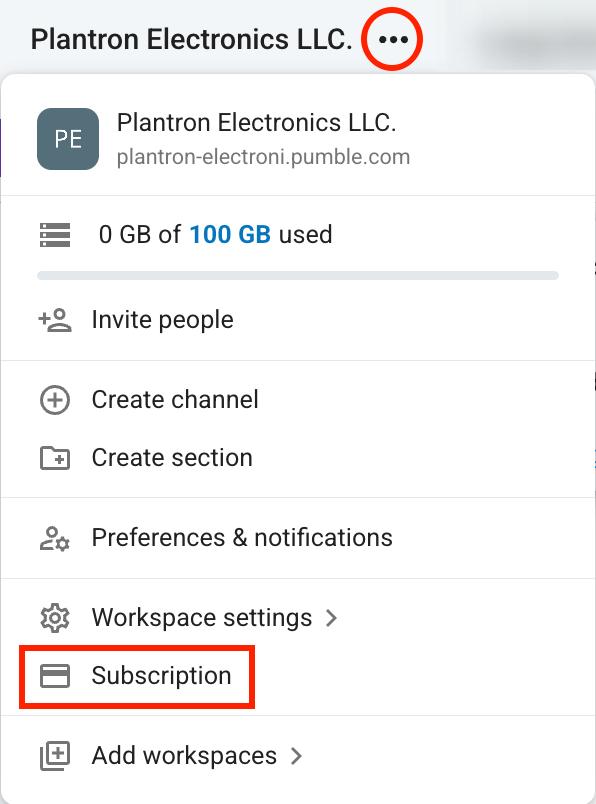
- Haz clic en los tres puntos junto al nombre de espacio de trabajo
- Haz clic en Suscripción
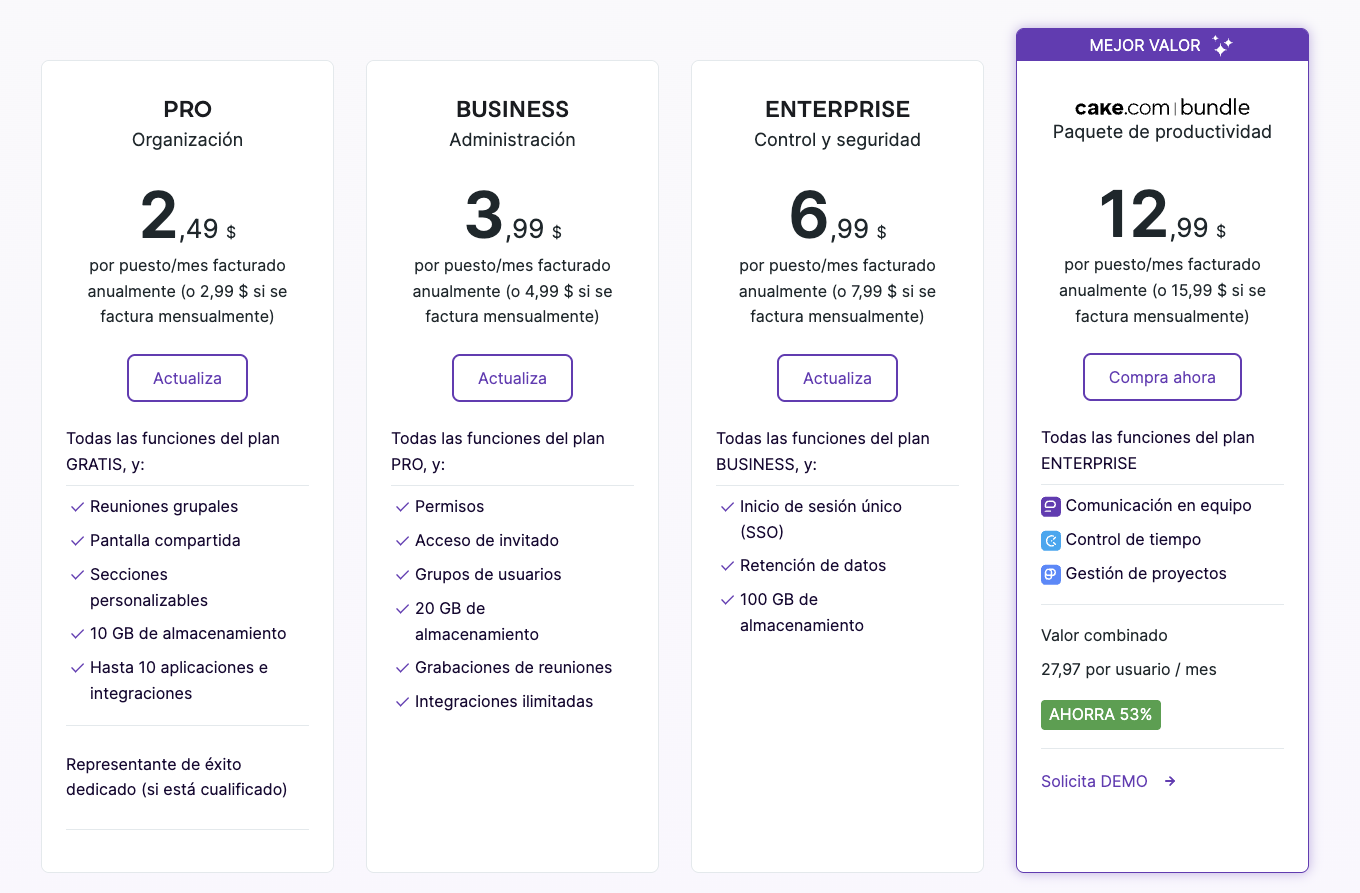
- Abre la pestaña de Planes
- Haz clic en Actualizar en tu plan preferido
- Ingresa la información del cliente, la factura y el pago
- Haz clic en Finalizar pago para completar el proceso