À primeira vista, a comunicação na educação é simples, certo?
Você tem um professor e tem alunos, e eles ouvem uns aos outros.
Mas nem sempre é assim que as coisas acontecem.
Quando se trata de comunicação educacional, ela pode ser alcançada por meio de vários meios.
Em primeiro lugar, pode ser verbal, o que inclui:
- Palestras
- Momentos de perguntas e reforços
- Buscando esclarecimentos
- Discutindo interesses pessoais além das palestras
Em segundo lugar, pode ser escrito – mais comumente por e-mail. Este tipo de comunicação pode acontecer a qualquer momento e inclui:
- Perguntas
- Extensões de prazo
- Acompanhamento de tarefas perdidas
- Agendando esclarecimentos
No entanto, existem dois problemas principais com este tipo de comunicação:
- Gerenciando vários canais leva tempo.
- Os alunos se sentem mais confortáveis usando mensagens instantâneas e diferentes plataformas de bate-papo.

More and more teaching and learning institutions are embracing communication platforms as a popular way to connect, collaborate, and share knowledge in real time. Pumble by CAKE.com is one of the best tools for this purpose, helping educators and students communicate without limits, stay organized, and foster stronger collaboration.
Nas seções a seguir, explicaremos o que é o Pumble e como ele pode ser usado em todos os meios de comunicação educacional.
Sem mais demoras, vamos começar.
What is Pumble by CAKE.com?
Pumble é um aplicativo gratuito de comunicação em equipe e colaboração, perfeito para escolas, universidades e equipes educacionais.
Ajuda alunos, professores e docentes a se manterem conectados, organizados e produtivos, seja em sala de aula ou em um ambiente de aprendizagem remota. Eles podem trabalhar juntos, compartilhar, discutir e se envolver em um aprendizado mais profundo.
O Pumble pode ser acessado por meio de um navegador, um aplicativo de desktop ou como um aplicativo iOS ou Android.
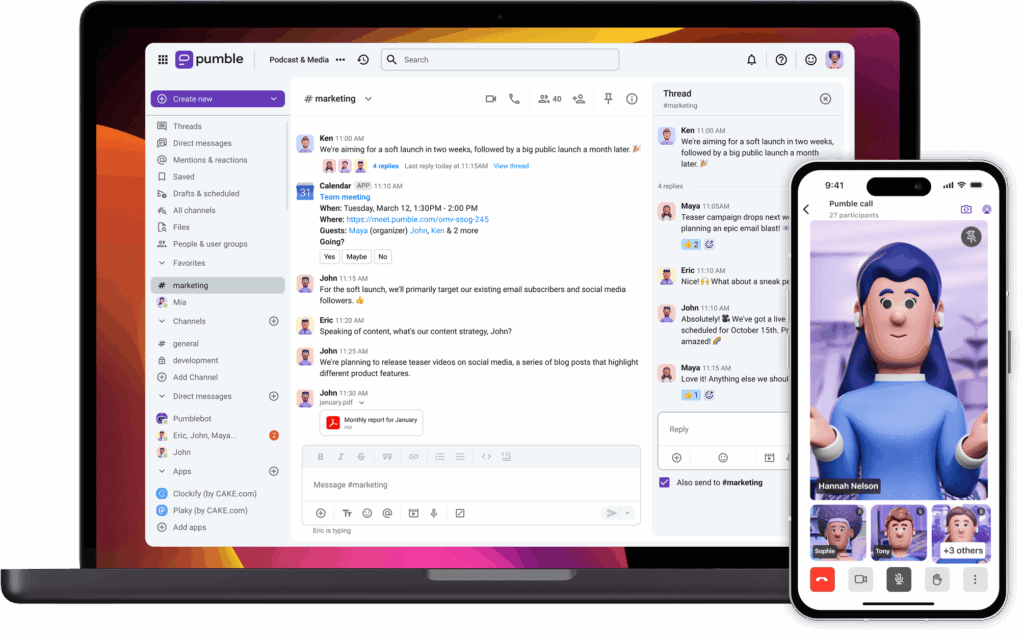
Como usar o Pumble para educação?
Como acontece com qualquer aplicativo, você terá que seguir algumas etapas para configurar tudo para um início bem-sucedido da sua jornada no Pumble:
- Create Pumble workspace within your CAKE.com account,
- Configure os canaisque você precisa
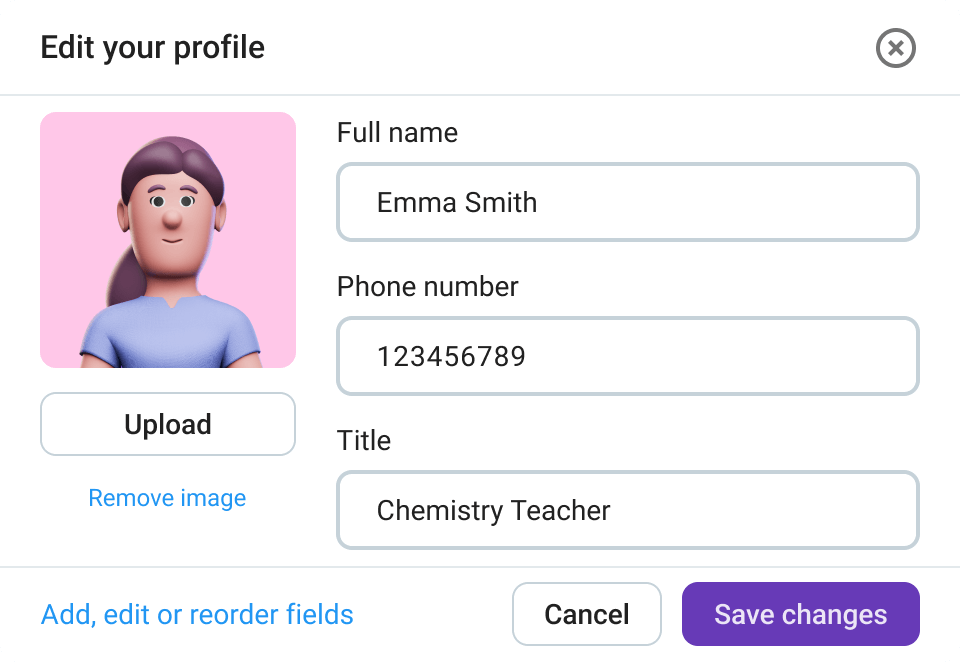
- Não se esqueça de enviar sua foto de perfil
- Convide alunos e outros professores,
- Configure as funções e permissões para membros e usuários convidados
- Envie uma mensagem de boas-vindas a todos eestabeleça algumas regras básicas
Configure os canais necessários
No seu novo espaço de trabalho do Pumble, você verá os canais padrão chamados #geral e #aleatório.
Porém, você pode criar canais adequados às suas necessidades e separá-los em categorias dedicadas a:
- Alunos
- Professores
- Disciplina
- Palestrantes/educadores convidados
Outros tipos de canais que você pode criar incluem:
- Channels dedicated to giving educators more information, conducting studies or participant groups,
- Canais que disponibilizam horários de atendimento
- Espaços para os alunos conversarem entre si
Dentro de cada categoria, você pode criar mais canais.
Por exemplo, você pode configurar os canais para professores como privados, para que os alunos não possam acessá-los e ver o que os professores estão discutindo.
Exemplos de canais que você pode criar para professores e alunos
Aqui estão alguns exemplos de canais que você pode criar para seus alunos:
- #livros-e-materiais — para dar acesso a livros e materiais extras
- # feedback— para fornecer feedback
- # exames— para anunciar datas de exames
- #trabalho-de-casa — para discutir o dever de casa
- #perguntas-professor — para tirar dúvidas durante as palestras
A seguir estão os canais que servem para manter as coisas organizadas:
- #tech-club — para anúncios da indústria de tecnologia
- #eventos — networking para estudantes
- #movie-club, #livros — clubes onde os estudantes podem se envolver
- #tech-events, #matematica, #linguas — eventos que podem interessar a grupos de estudantes
- #estágios — oportunidades de estágio
- #empregos – ofertas de emprego
- #carreira, #conselhos-de-carreira - recursos de carreira
Exemplos de canais que você pode criar para professores:
- #aula-química, #aula-matemática — canais para diferentes assuntos
- #engajamento, #notas-alunos - discussão sobre os alunos
- #livros-professores — um clube do livro para professores
- #problemas-classe, #classes-ideias — discussão sobre o comportamento dos alunos
- #professores — questões importantes
- #ideias — ideias para formas inovadoras de ensinar
Alunos, professores e educadores agora têm um lugar para conversar.
Use videoconferência
Projetado para agilizar a comunicação, o Pumble permite que professores e alunos iniciem videochamadas diretamente em canais ou mensagens privadas, facilitando a realização de aulas virtuais, consultas individuais ou sessões de estudo em grupo.
A videoconferência integrada ajuda a recriar uma experiência de sala de aula em um espaço digital, dando suporte ao aprendizado remoto, à colaboração em tempo real e a diferentes modelos educacionais.
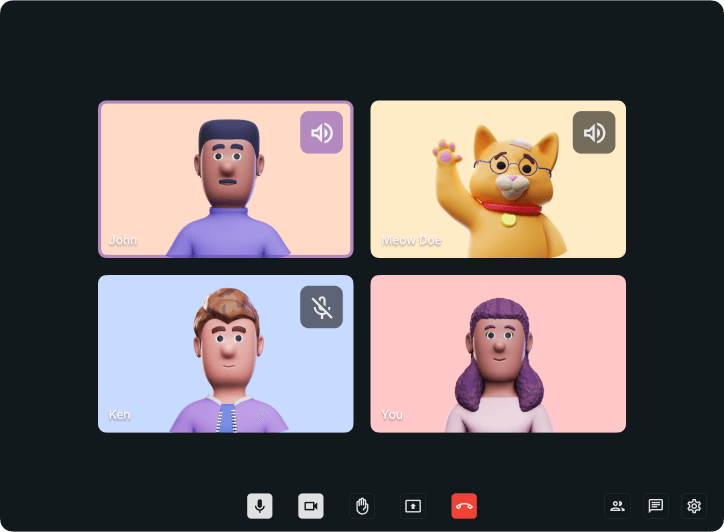
Em ambientes educacionais, os recursos de videoconferência do Pumble promovem maior colaboração e engajamento.
Os alunos podem se conectar facilmente com os professores para fazer perguntas e receber orientação ou feedback, enquanto professores e educadores podem manter horários de atendimento virtuais, liderar discussões ou facilitar projetos em grupo.
Integrar com outras ferramentas
Além de mensagens e videoconferências, o valor do Pumble está em suas integrações que ajudam a otimizar os fluxos de trabalho acadêmicos.
By connecting with tools like Google Calendar, Google Drive, Polls, and a project management app such as Plaky, Pumble by CAKE.com helps educators and students stay organized, collaborate efficiently, and participate more actively in their learning communities.
Enquete
Integrar enquetes no Pumble é uma maneira simples, porém poderosa, de aumentar o envolvimento dos alunos e coletar feedback em tempo real.
Os educadores podem usar pesquisas para:
- Verifique a compreensão após as aulas ou discussões
- Realize testes rápidos ou verificações de conhecimento
- Permitir que os alunos votem em tópicos de projetos ou atividades de classe
- Colete feedback sobre métodos de ensino ou conteúdo do curso
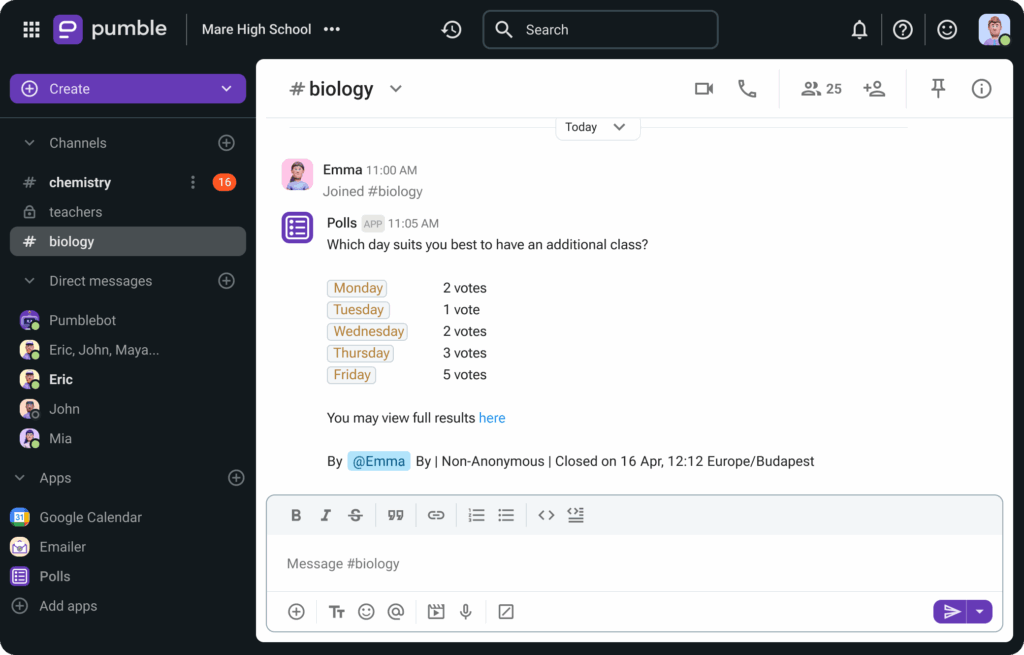
As pesquisas promovem a aprendizagem ativa e ajudam os educadores a identificar lacunas de compreensão ou áreas que precisam de mais atenção. No ensino híbrido ou remoto, as pesquisas também dão aos alunos mais reservados a oportunidade de se expressarem sem colocá-los em evidência durante as discussões ao vivo.
Google Agenda
A integração do Google Agenda com o Pumble é particularmente útil para manter alunos e professores alinhados com cronogramas, prazos e eventos futuros.
Os eventos podem ser facilmente arrastados de um dia para outro, para que os professores possam ajustar sua agenda com um clique.
A integração do Google Agenda no Pumble ajuda os educadores a:
- Compartilhe horários de aulas, datas de exames e prazos de entrega de tarefas
- Coordenar horários de atendimento presenciais ou virtuais e sessões de grupo
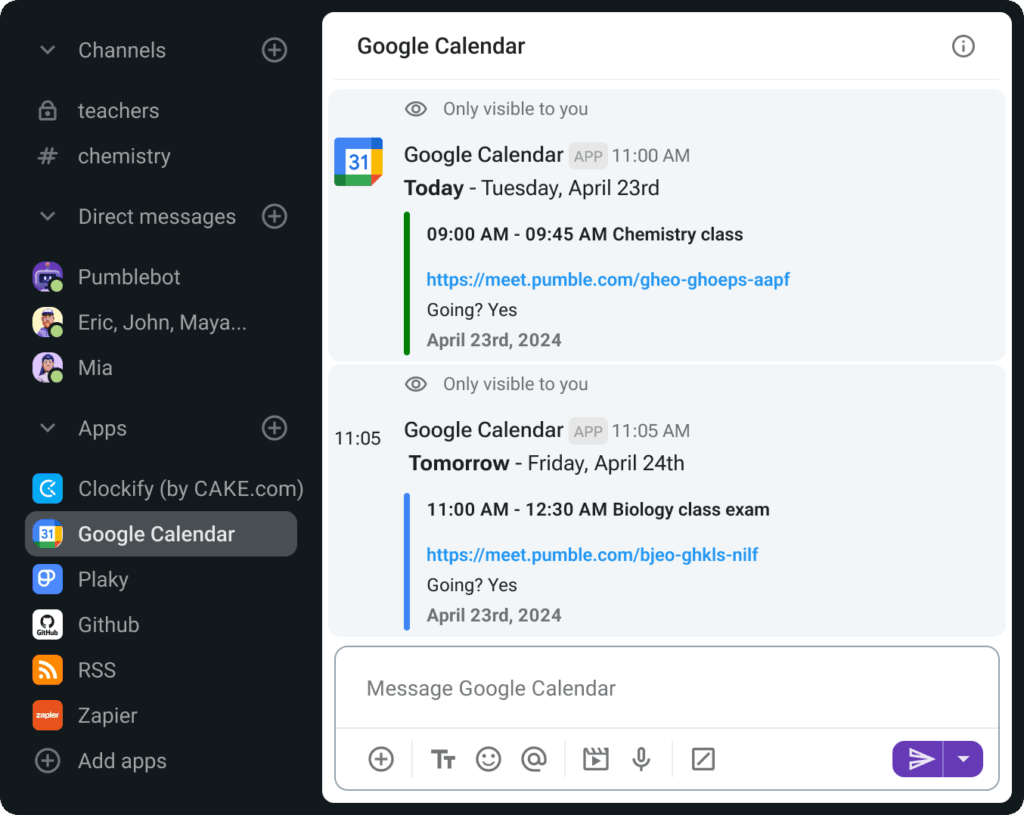
Ao manter os calendários visíveis e integrados à comunicação diária, os alunos têm mais probabilidade de permanecer no caminho certo, enquanto os professores economizam tempo gerenciando lembretes e atualizações.
Isso é especialmente benéfico para gerenciar várias turmas ou coordenar com professores auxiliares e equipe de apoio.
Google Drive
O Google Drive permite que você armazene todos os materiais de aprendizagem, como notas de aula, tarefas, slides e leituras.
Em qualquer canal ou mensagem direta do Pumble, os professores podem:
- Compartilhe planos de aula, apostilas e recursos multimídia
- Colabore em documentos em tempo real
- Gerencie permissões de arquivos sem sair da plataforma
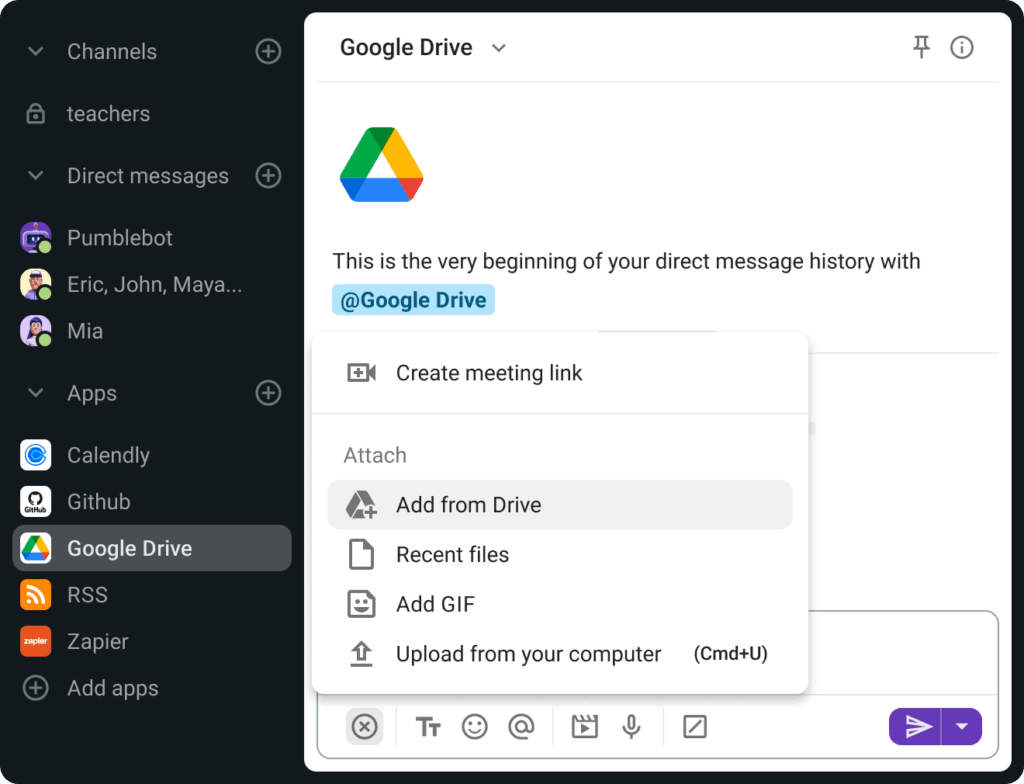
Este compartilhamento de documentos incentiva a colaboração em projetos em grupo, a revisão por pares e a tomada de notas coletivas. Também garante que todos os alunos tenham acesso igual ao material, independentemente de estarem aprendendo presencialmente ou online.
Por exemplo, como professor, você pode criar uma lista de recursos que seus alunos podem achar úteis e compartilhá-la com eles, ou pode criar um documento que eles possam acessar para pesquisar mais sobre um tópico. Você pode até compartilhar imagens ou gráficos, como tabelas ou fotos detalhadas, se eles quiserem aprender mais sobre um assunto complexo.
Plaky
Todo educador precisa usar ferramentas de gerenciamento de projetos para se manter atualizado sobre tarefas e projetos em grupo.
No contexto educacional, isso significa:
- Organizar tarefas de grupo com funções e prazos claros
- Acompanhar o progresso dos alunos em projetos de longo prazo
- Gerenciando o desenvolvimento curricular ou iniciativas em toda a escola
- Garantir a responsabilização no trabalho colaborativo
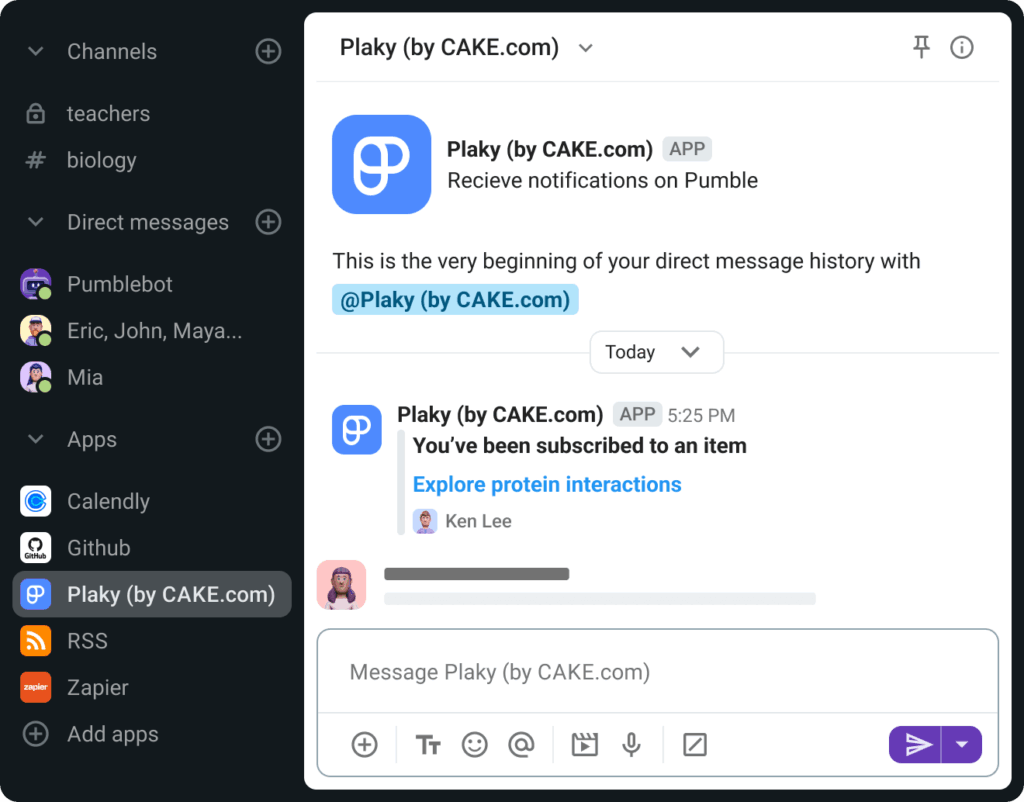
Para educadores, o Plaky também serve como uma ferramenta de back-end para planejar unidades, acompanhar prazos de avaliação ou gerenciar tarefas de todo o departamento. A natureza visual dos quadros de projetos ajuda a tornar o trabalho complexo mais gerenciável e transparente.
How to use Pumble by CAKE.com for teaching
Com o Pumble, você pode criar um ambiente onde seus alunos estarão envolvidos e conectados em um mundo remoto.
Este é um ambiente onde aulas, reuniões e tarefas estão todas em um só lugar: um lugar virtual.
Por exemplo, você pode usar canais #gerais ou #anúncios e canais baseados em aulas (#matemática, #química, #biologia, #robótica, #programação) para manter os alunos informados e permitir que eles façam perguntas de onde quer que estejam.
Além disso, você pode realizar palestras online e horário de expediente virtual com o Pumble para:
- Mantenha seus alunos engajados
- Compartilhar anúncios importantes (canal #anúncios e atualizações de forma mais eficaz
O Pumble permite que professores e alunos consolidem informações em um repositório central.
Chega de enviar e-mails e mensagens de texto aos alunos - basta encaminhá-los para o Pumble.
Alunos, instrutores e assistentes de ensino podem organizar-se em grupos rapidamente. Os canais podem espelhar locais do mundo real, como auditórios e salas de aula, escritórios e até mesmo áreas de socialização.
Em termos de cursos, alguns exemplos comuns de canais são configurados para:
- Horário de expediente online: Um canal #horas-de-expediente, onde os alunos podem entrar com perguntas da mesma forma que fariam durante o horário de expediente presencial, é uma ótima ferramenta que a equipe docente pode oferecer aos alunos. Certifique-se de definir e seguir as expectativas em relação à disponibilidade – observe que as perguntas postadas fora do horário comercial serão respondidas posteriormente.
- Discussões em pequenos grupos: um canal privado entre um instrutor e um pequeno grupo de alunos pode ser a solução ideal para ajudá-lo a criar um espaço seguro para fazer perguntas e compartilhar pensamentos, ideias e tarefas. Você também pode usar mensagens diretas para se comunicar de forma privada com até 8 membros do espaço de trabalho.
- Aprendizagem e palestras baseadas em projetos: Reúna alunos, instrutores e assistentes de ensino nos canais baseados em projetos ou palestras, e você abrirá um espaço para discussão. Graças a recursos como pesquisa e fixação de mensagens nos canais, os alunos podem aprender com as perguntas que seus colegas postaram antes deles, economizando tempo dos educadores e, ao mesmo tempo, garantindo que os alunos obtenham as informações de que precisam.
Incentive os alunos a permanecerem conectados por meio de canais dedicados a clubes e diversas sociedades – por exemplo, diferentes sociedades esportivas.
Resumindo, Pumble cria um lugar onde os alunos podem se encontrar e passar o ano todo.
Why should you use Pumble by CAKE.com for teaching?
Os professores devem experimentar o Pumble pelos seguintes motivos:
- É uma ótima alternativa ao e-mail — o Pumble pode reduzir muito a desordem de e-mails e ajudar os professores a evitar a necessidade de vasculhar longas cadeias de e-mails.
- É útil para compartilhar documentos – o Pumble é ótimo para compartilhar documentos. Compartilhar documentos através do Pumble é uma ótima alternativa, especialmente se você está sempre atingindo o limite de armazenamento do seu e-mail.
- Não é necessário um número de telefone – Com o Pumble, não é necessário um número de telefone. Em vez de pedir números de celular aos alunos, você pode enviar mensagens para eles no Pumble. Tudo que você precisa é do endereço de e-mail e pode adicioná-los ao seu espaço de trabalho.
How to use Pumble by CAKE.com in a writing community
Esse tipo de comunidade pode ser composta por blogueiros, editores, amigos que gostam de escrever ou escritores/designers de jogos.
Por exemplo, uma comunidade de escritores pode criar os seguintes canais no Pumble:
- # looking-for-work,
- # blog-owners,
- # writing-podcasts,
- # useful-books,
- # movies-shows,
- # memes,
- # gamers,
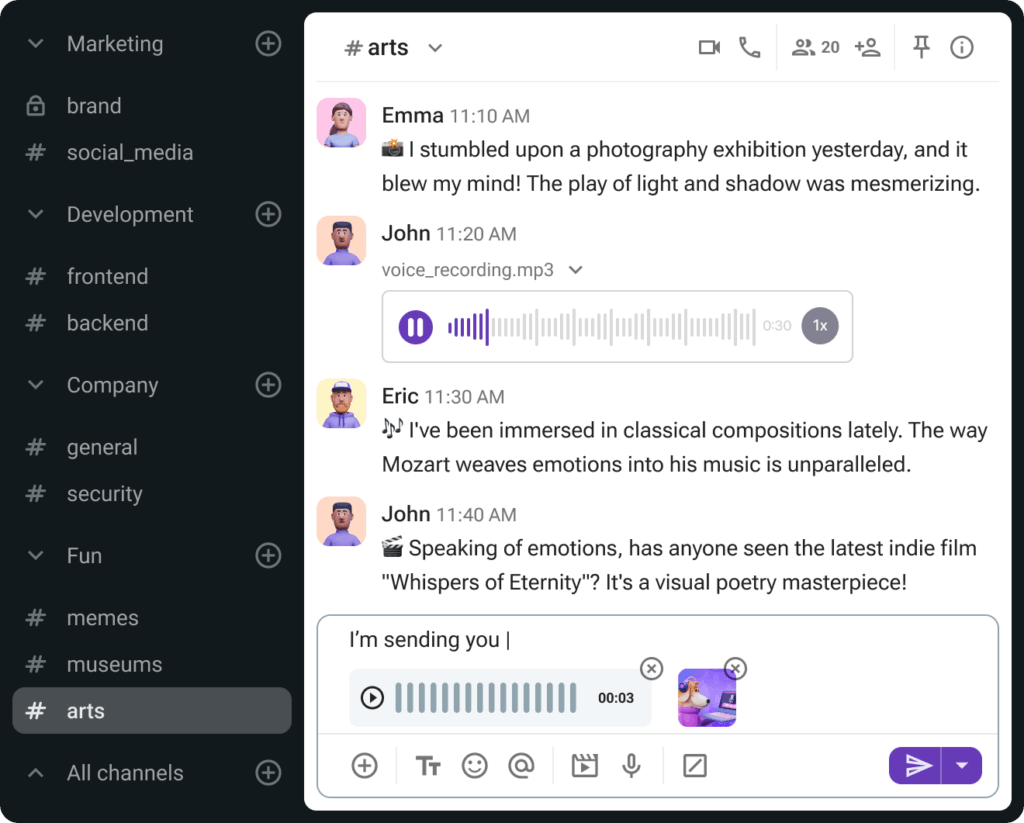
- # arts, or
- #nômades-digitais
Os escritores podem usar esses canais para:
- Executar sessões de escrita cronometradas ou colaborar em alguns designs de ficção e jogos.
- Discutir podcasts, livros, programas de TV, filmes ou jogos.
- Compartilhar arte, jogos e memes entre si.
O espaço de trabalho do Pumble também pode ser um recurso social essencial para muitos escritores que se sentem presos ao escrever um artigo, blog ou livro. Fazer parte de uma comunidade de escritores online no Pumble pode realmente despertar sua criatividade.
Por que você deveria se juntar à comunidade de escritores do Pumble?
Se você está pensando em ingressar em uma comunidade de escritores do Pumble, aqui estão os principais benefícios:
- Networking – Pumble pode ser uma ótima maneira de se conectar com profissionais que pensam como você, trocar ideias ou obter uma nova perspectiva sobre sua escrita.
- Menos spam – Ao ingressar em um canal específico para suas necessidades, você pode ter relativa certeza de que as perguntas e o conteúdo postado nele serão mais úteis e sem spam.
How to use Pumble by CAKE.com for online conferences
Quando estiver em uma conferência online, você pode criar ou ingressar em canais especiais para as diferentes partes e participantes do evento.
Se você é um dos organizadores, pode criar canais como:
- #anúncios — para cada anúncio importante
- #intros – para os participantes compartilharem uma breve biografia
- #pumble-tips — para que as pessoas compartilhem suas melhores práticas para usar o Pumble em conferências online
- #discussão — para discutir mais detalhadamente os tópicos da conferência
- #suporte — para todas as dúvidas que os participantes possam ter
- #pausa-para-café — para um café entre duas palestras
- #feedback — para feedback geral e mais informações
Adicione todos os seus participantes no início da conferência, para que eles possam estar sempre sincronizados com todas as informações importantes.
Aqui estão algumas iniciativas para criar conexões entre os participantes do seu canal #anúncios:
- Incentive os participantes a preencherem seu perfil do Pumble com nome completo, cargo, e-mail e quaisquer informações de contato relevantes.
- Sugira o status de emoji com base no que o participante deseja obter com a conferência.
Por exemplo:
- 🎧 - Aqui para ouvir
- 🤝 — Procurando fazer conexões
- 📖 - Aqui para aprender
- 💼 — Procurando emprego/Procurando contratar (dependendo do seu público e tipo de evento)
- Forneça perguntas para quebrar o gelo nos canais para incentivar discussões entre pessoas que pensam como você
- Forneça apresentações ou conexões por meio de mensagens diretas
Para garantir que as mensagens principais não sejam perdidas na confusão, certifique-se de fixar as instruções principais.
Seu espaço de trabalho do Pumble também pode fornecer canais para preparação de palestras e workshops.
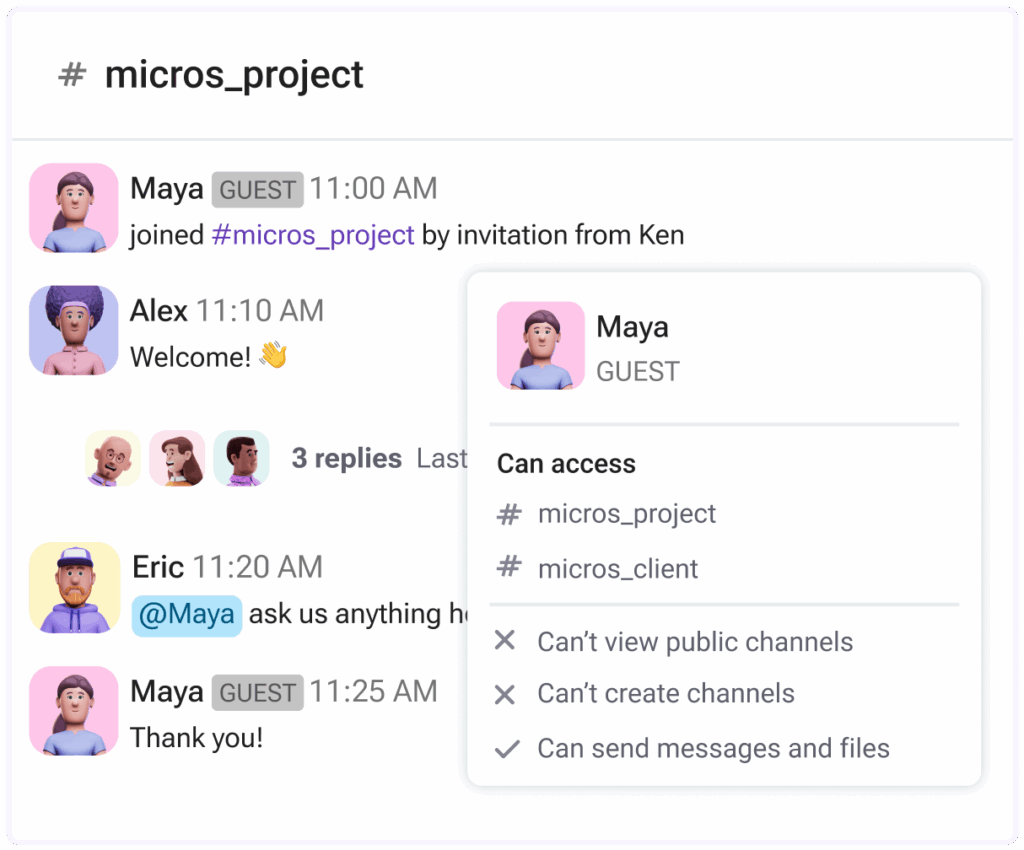
Se quiser separar palestrantes e participantes, você pode adicionar palestrantes ao seu espaço de trabalho do Pumble como convidados.
Eles terão acesso apenas aos canais aos quais você os adicionou, portanto não serão incomodados com inúmeras mensagens de outros canais.
Você pode:
- Adicionar seus convidados usando a ferramenta de acesso de convidado
- Conversar com seus convidados por vídeo ou chamada de voz
- Criar canais especiais para seus convidados e participantes de suas palestras
Why should you use Pumble by CAKE.com for online conferences?
Aqui estão apenas algumas maneiras de utilizar o Pumble para melhorar suas conferências online – você pode:
- Encourage internal collaboration — Along with a chat function with an internal directory, you can set up specific channels for various aspects of your event:
- Marketing (# marketing),
- Technology (# tech-side),
- Food & beverage (# coffee, # lunch, # break), and
- Event organizing (# organizers, # planning, # finances).
- Better communication with speakers and sponsors — Pumble can be useful as a place to organize channels for communicating with:
- Speakers (# speakers),
- Sponsors (# sponsors),
- VIP guests (# VIP-guests), and
- Other important stakeholder groups (# investors, # communities, # suppliers).
- Enhance attendee engagement — Pumble is a great place to foster engagement before, during, and after an event for special interest groups among your attendees. Create a channel and invite these attendees to keep the conversation going in between events:
- # participants
- # after-party
- # expectations
- # feedback
- # sessions
Transform teaching and learning with Pumble by CAKE.com
No cenário educacional em evolução de hoje, a comunicação eficaz é a espinha dorsal do ensino, da aprendizagem e da colaboração bem-sucedidos.
O Pumble oferece aos educadores uma plataforma flexível e fácil de usar que se adapta a uma variedade de contextos educacionais, seja gerenciando uma sala de aula virtual, coordenando uma comunidade de escrita ou organizando uma conferência online.
Com recursos como mensagens em tempo real, videoconferência integrada e integrações poderosas, o Pumble ajuda a otimizar fluxos de trabalho, apoiar o envolvimento dos alunos e promover um senso mais forte de comunidade entre alunos e educadores.
À medida que escolas, universidades e grupos educacionais continuam a adotar modelos híbridos e digitais em primeiro lugar, ferramentas como o Pumble estão se tornando essenciais, não apenas para permanecer conectado, mas para criar experiências de aprendizagem significativas, colaborativas e organizadas.
Garanta uma ótima comunicação entre aluno e professor e melhore seu ensino — experimente o Pumble da CAKE.com gratuitamente hoje mesmo!
Como avaliamos esta publicação: Nossos escritores e editores monitoram as postagens e as atualizam quando novas informações ficam disponíveis, para mantê-las atualizadas e relevantes. Atualizado: 18 de setembro de 2025