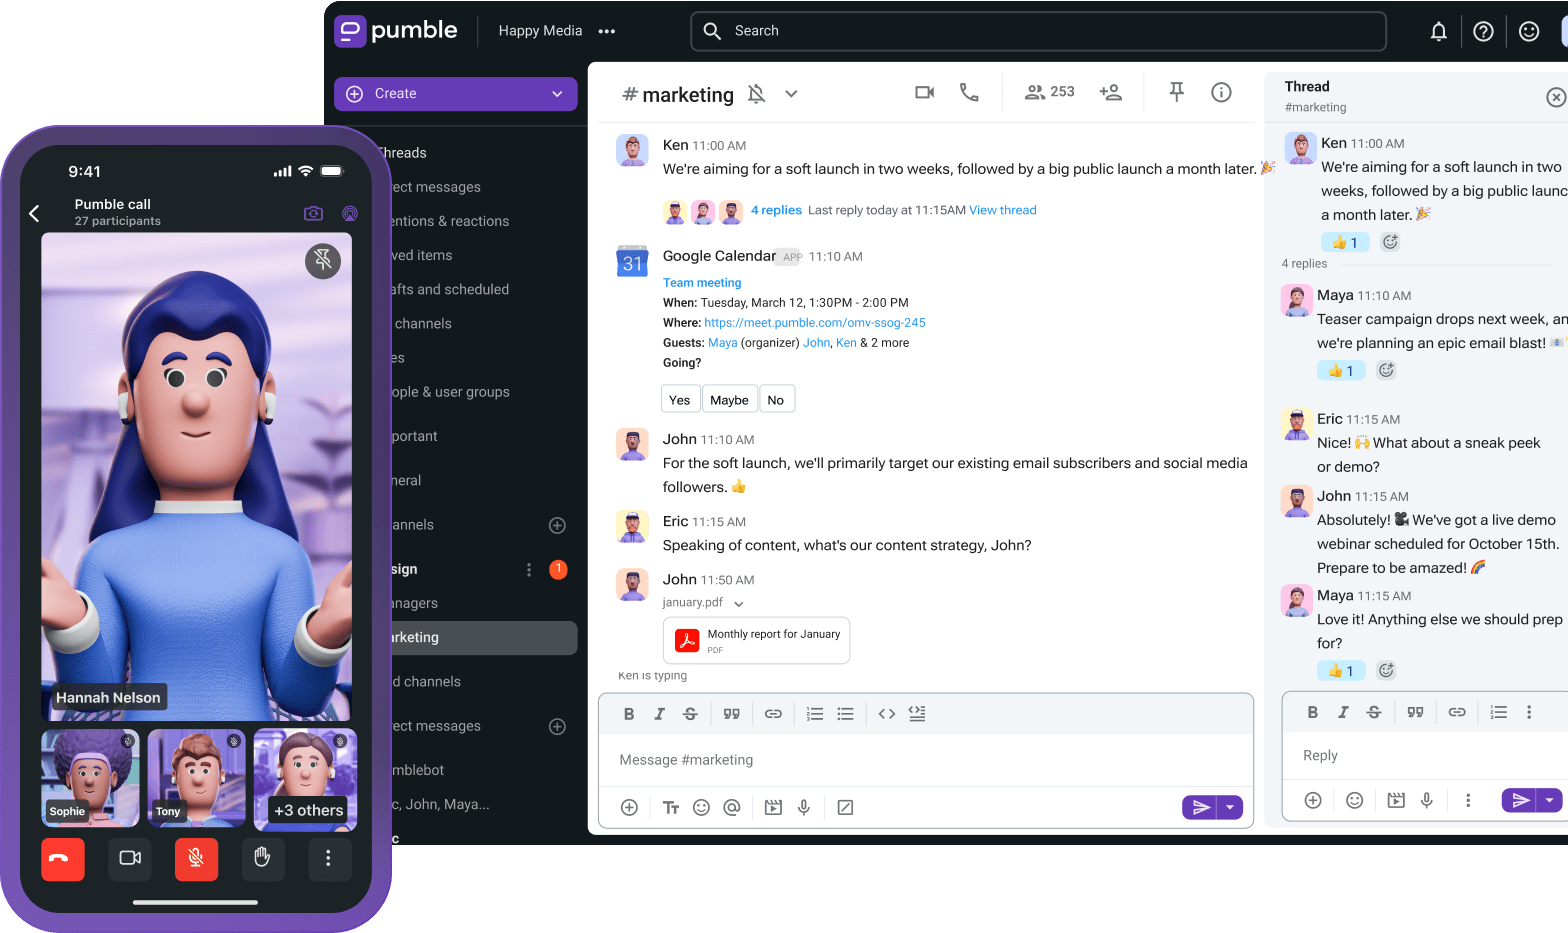
Want to automate workflows, build custom messaging alerts, and connect LLMs directly to your team communication data? You can do so using Pumble by CAKE.com’s 3 core engineering interfaces:
- The Pumble API addon — generate an API key, send messages, react, and create channels via HTTP requests.
- The Pumble AI Assistant addon — bring an AI provider into the workspace using your own API key.
- The Pumble MCP server — connect external AI agents (Claude, Gemini, Codex) to Pumble so they can search, read, and act.
These developer surfaces allow technical teams to integrate custom code or external AI agents with Pumble while completely avoiding per-seat AI premiums.
Here’s how you can use Pumble’s AI infrastructure to automate processes and create a context-aware collaborative space.
- Using AI and automation in Pumble opens up new opportunities for workflow automation and brings LLMs directly into your team communication.
- Pumble’s API, AI Assistant addon, and MCP server are ideal for teams that want to automate their communication and workflows without any hidden fees or data safety risks.
- Connecting AI Assistants, custom APIs, and the MCP server inside Pumble helps you build a more productive and context-aware environment inside your collaboration workspace.
Setting up the Pumble API addon
The Pumble API addon provides simple HTTP endpoints to handle messaging actions inside your workspace. It is available on all Pumble plans to Owners, Admins, and Members.
However, it doesn’t support an interactive message builder framework or an Events API.
It is built to effectively handle:
- Generating unique workspace API keys
- Sending messages
- Deleting messages
- Adding reactions or emojis in active threads
- Creating new channels via standard POST requests
This focused scope keeps the API straightforward to implement and maintain.
Authentication and scopes
To interact with the API, you must first generate an API key within your Pumble workspace administration panel. This token must be passed inside the HTTP header of every request as a bearer token.
You first need to install the API addon on your Pumble workspace:
- In the left sidebar, click + Add apps.
- Select Install in the API section.
- Allow permissions.
Now, you can generate API keys directly in Pumble:
- In the left sidebar, click API.
- Select Add API key.
- Enter API key name.
- Click Generate to complete the action.
Keep in mind that the rate limit is up to 1000 requests per minute per user.
You can find the complete list of available actions in the Swagger documentation. To access the documentation in Swagger, enter your API key in the Authorize part.
Moreover, you can use the following commands directly in messages to interact with the Pumble API:
- /api-keys generate — to generate API keys for particular users and store them in their database. You can generate as many API keys as you want to.
- /api-keys list — to list all users’ API keys.
- /api-keys help — to list all valid commands you can use.
Posting build notifications
To integrate Pumble into your continuous deployment pipeline, you can dispatch automated build alerts using a standard curl command.
The structure requires a destination channel ID and a text string like in the example below:
curl -X POST https://pumble.com \
-H “Authorization: Bearer your-pumble-api-key-here” \
-H “Content-Type: application/json” \
-d ‘{
“channelId” : “c_98654321” ,
“text” : “✅ *Build Success*: Deployment completed for ‘main’ branch. Revision: ‘f2a7b8e’ . Environment: production.”
}’
This returns a JSON response containing the message metadata, which you can parse to track message states or append subsequent threaded replies.
Automate your workflows in Pumble
Using the Pumble AI Assistant addon
The Pumble AI Assistant addon embeds an LLM interface directly into your team chat interface, letting you:
- Retrieve knowledge instantly.
- Automate routine admin tasks.
- Maintain context across multiple tools.
This Pumble functionality doesn’t cost any hidden per-user AI markup fees on top of your primary chat subscription. Instead, Pumble uses a bring-your-own-key (BYOK) pricing model, which means the AI infrastructure provider invoices you directly for the raw tokens your team uses. By using a BYOK model, you control your processing infrastructure, budget, and data access policies directly.
Installation and provider setup
Here’s how to install your Pumble AI Assistant addon in 4 steps:
- Navigate to your workspace administration panel.
- Select Configure provider under the AI Assistant section.
- Choose your preferred foundational model provider.
- Paste your API key into the secure credential field.
To learn how how to make the most of this Pumble feature, check out the video below:
Provider support
For the AI Assistant addon to work, you need to have an active account with a supported LLM infrastructure company.
The live provider support is currently available for Google Gemini and Open AI ChatGPT. Anthropic Claude, Perplexity, and Grok are in the future roadmap.
It’s important to note that Claude doesn’t function as an in-channel AI assistant provider yet. Claude is currently handled exclusively through the separate MCP server layer.
In-channel reactions
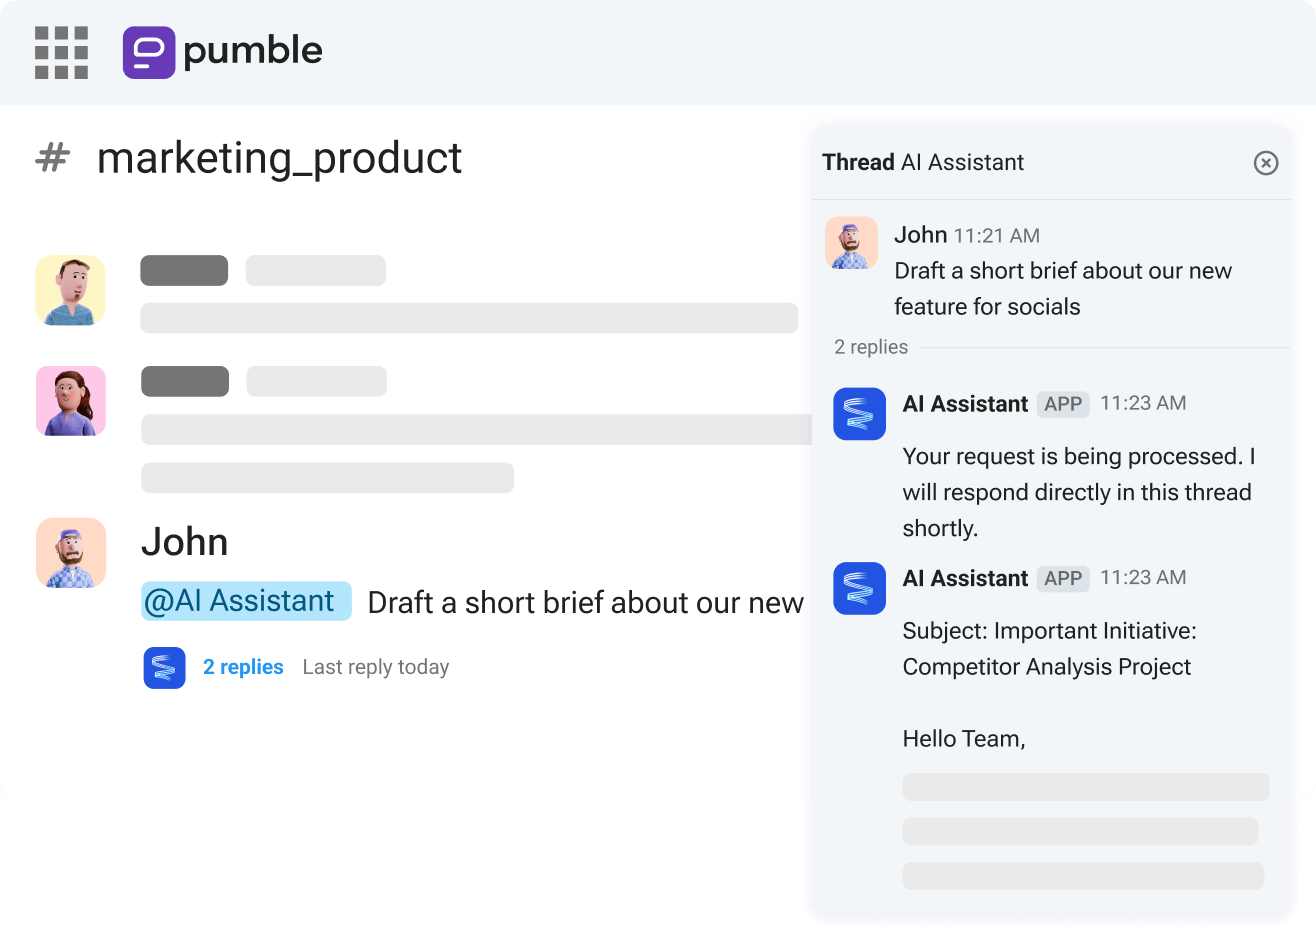
The Pumble AI Assistant works in 2 different operational models inside the Pumble workspace:
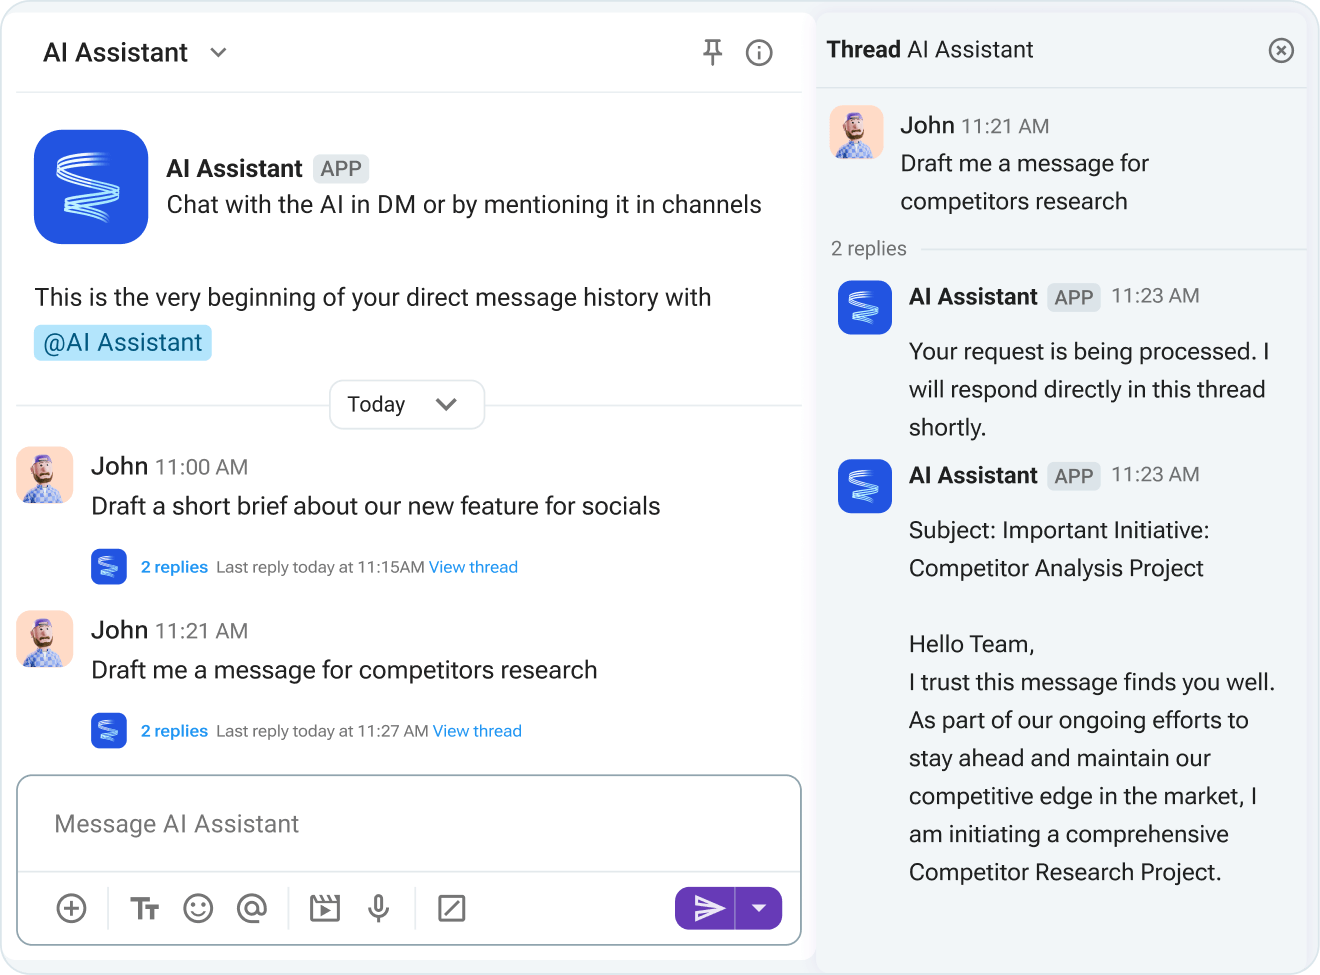
- Private DMs. By sending a direct message to the Assistant, you initiate a single-user private chat session. The replies are confidential and visible only to you.
- Channel mentions. When you tag the Assistant in a public or private channel using its @ handle, it then responds inline by creating a structured thread. The reply remains fully visible to all members who have access to that channel.
To protect intellectual property and eliminate data leaks, the Pumble AI Assistant operates under a strict scoped-context guarantee. It doesn’t passively read background channel traffic. Unless explicitly tagged using a @mention, it can’t read any messages.
Collaborate securely in Pumble
Thread summarization
To break down long discussions quickly without reading every message, you can use the built-in slash command /ai-summarize.
The system analyzes the entire conversation history of that specific thread and returns an organized summary.
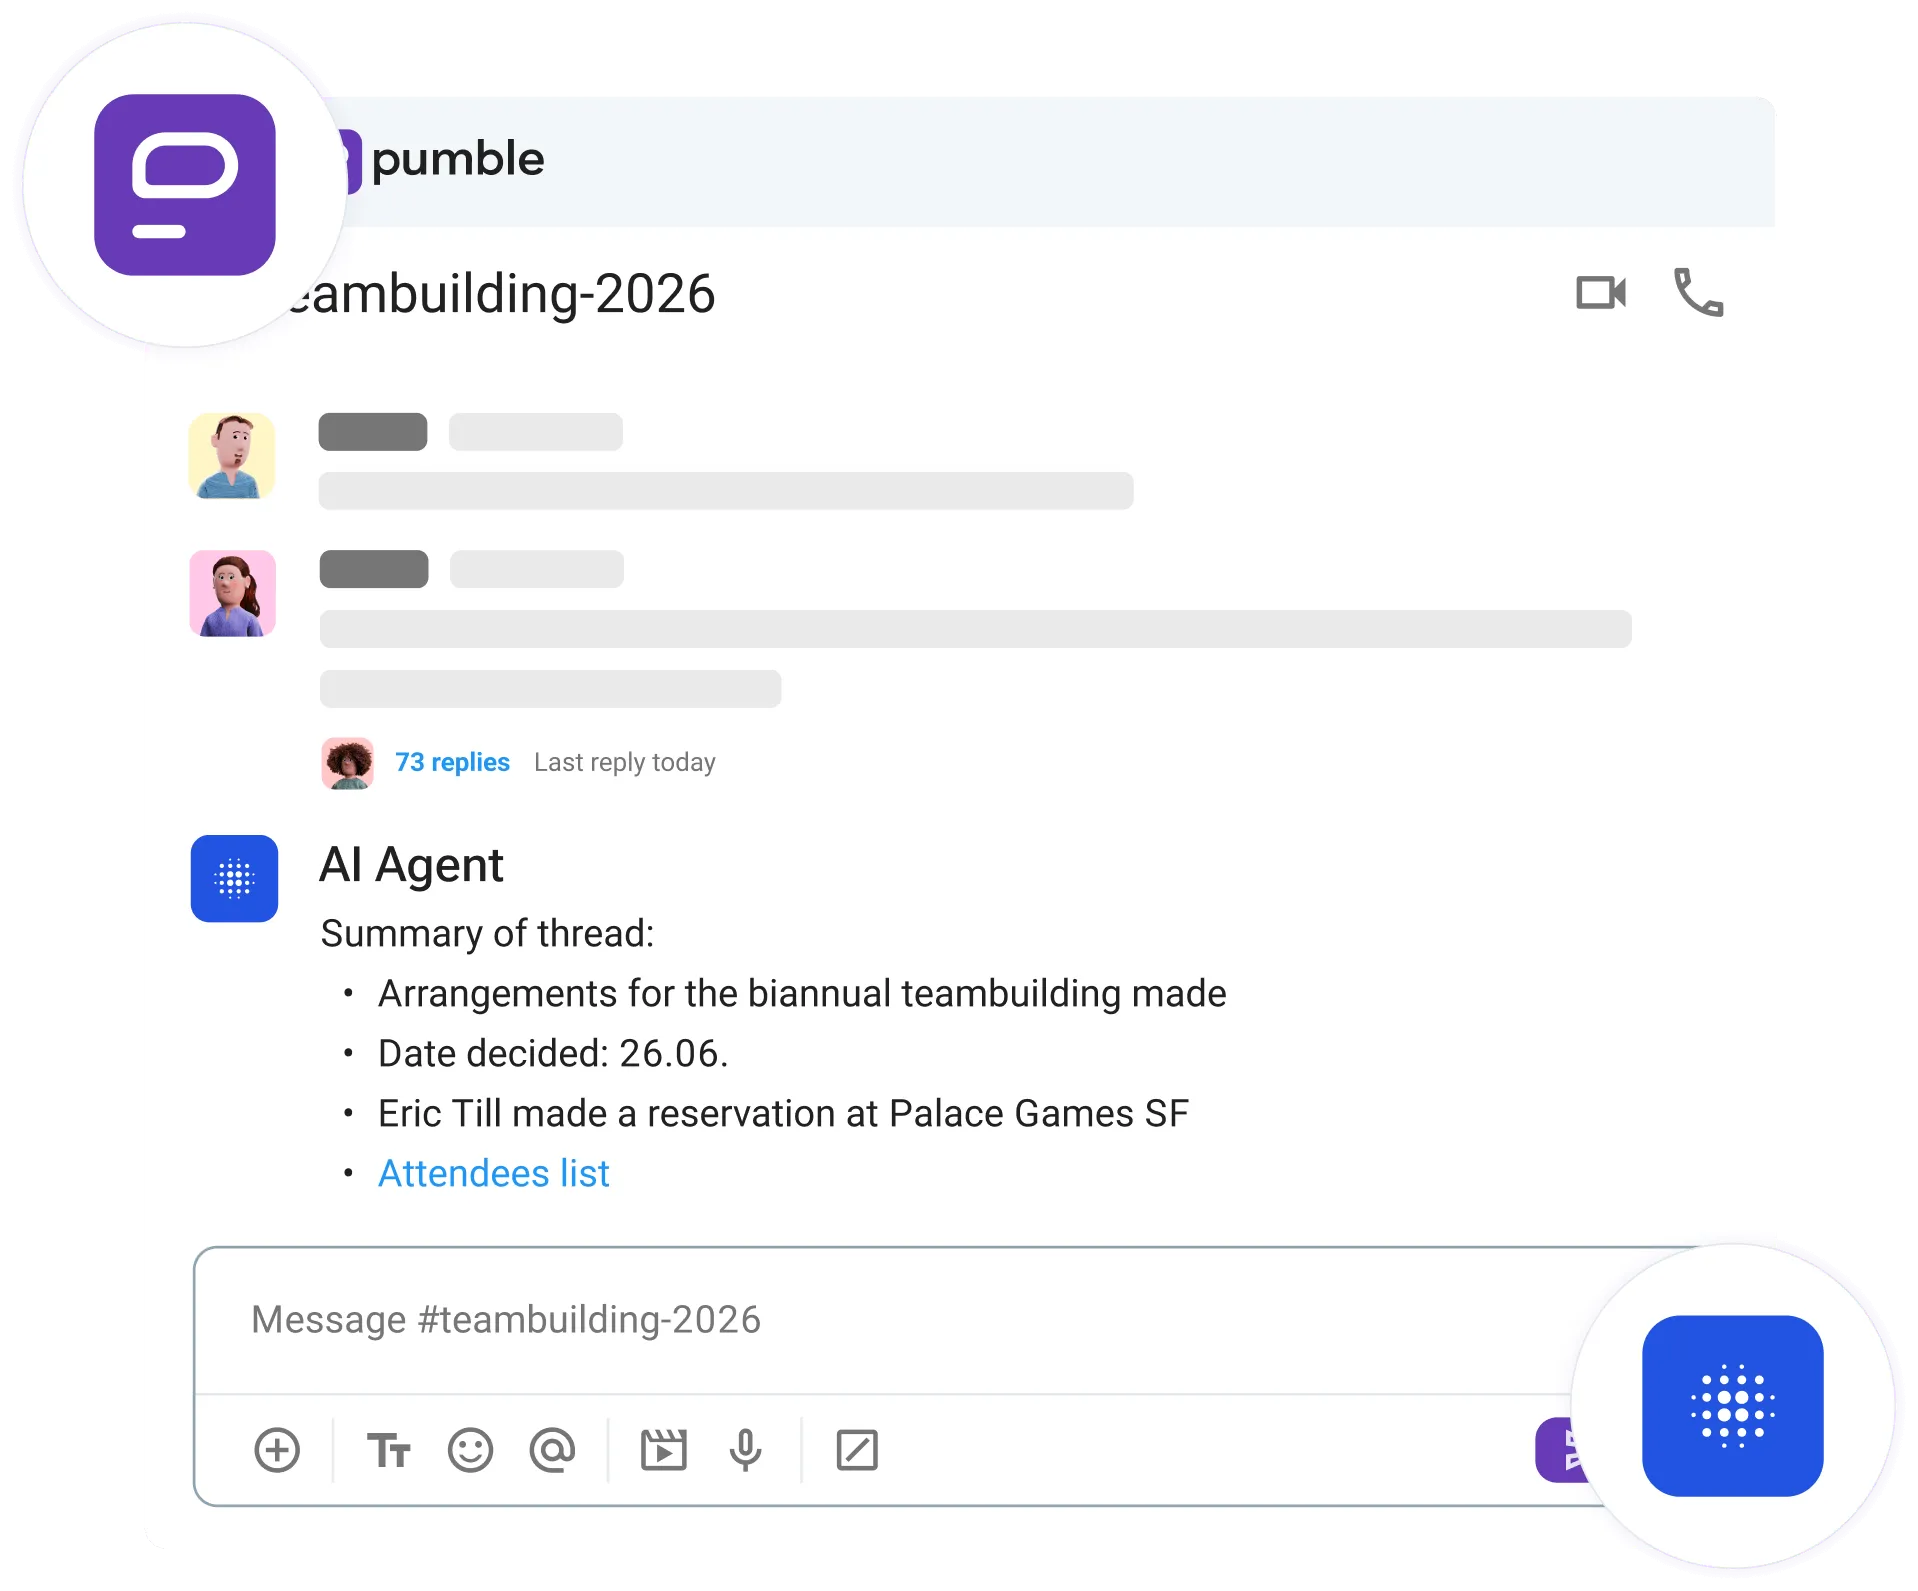
As for the security rules for this command, they will adapt to the channel type:
- Public channels don’t require you to manually add or invite the Assistant user beforehand, as the slash command works automatically.
- Private channels and group DMs need to have the AI Assistant user explicitly added as a member of that private group conversation before you can use the command.

Connecting AI agents with the Pumble MCP server
Pumble maintains a native MCP (Model Context Protocol) server hosted directly at pumble.com, helping you connect your workspace to your AI agent of choice.
While third-party automation tools like Zapier can handle high-level application routing, the native MCP server provides direct, low-latency access to workspace operations. This allows external engineering agents, such as the Claude Command Line Interface (CLI), to:
- Run deep message history searches.
- Read content states.
- Execute administrative functions on your behalf.
Now that we’ve covered how the Pumble MCP server works, let’s break down its actual setup process.
Workspace credential configuration
Before setting up a local agent configuration file, you must build a custom integration app inside your workspace panel to generate the necessary keys.
To do so, follow this simple 5-step process:
- Open Workspace settings and select Configure apps.
- Click Create app and choose the Create from scratch option.
- Assign a distinct app name and a functional description.
- Define your required User Scopes and Bot Scopes, depending on the automation tools your agent needs to execute.
- Click Install to deploy the integration to your workspace.
Once installed, copy the 3 primary credentials available in the app dashboard:
- The App key
- The User token
- The Bot token
Client integration configurations
To connect an external command-line agent to the native Pumble MCP server endpoint, you have to add the appropriate configuration blocks to your local developer tooling files. Note that the custom header x-app-token must match your generated App key.
Now, let’s walk you through connecting the Pumble MCP to different available AI agents.
Claude configuration
To connect Claude CLI to the Pumble MCP server, paste the code below into your .mcp.json file:
{
“mcpServers”: {
“pumble-mcp”: {
“type”: “http”,
“url”: “https://mcp.pumble.com/mcp”,
“headers”: {
“token”: “user/bot token”
“x-app-token”: “xpat-token”
}
}
}
}
Or, you can use the following command to install automatically via the terminal:
claude mcp add pumble-mcp https://mcp.pumble.com/mcp –transport http –header “token: token” –header “x-app-token: xpat-token”
Note: The x-app-token/xpat token is the App key you receive when you create an app from scratch.
Codex configuration
For Codex engineering agent layers, paste the code below into your config.toml file:
[mcp_servers.pumble-mcp]
transport = “http”
url = “https://mcp.pumble.com/mcp”
http_headers = { “token” = “user/bot token”, “x-app-token” = “xpat-token” }
Gemini configuration
To connect your Pumble workspace context to Google Gemini, paste the code below into your settings.json file:
{
“mcpServers”: {
“pumble-mcp”: {
“httpUrl”: “https://mcp.pumble.com/mcp”,
“headers”: {
“token”: “user/bot token”,
“x-app-token”: “xpat-token”
},
}
}
}
Alternatively, you can use the following command:
gemini mcp add pumble-mcp https://mcp.pumble.com/mcp \
–transport http \
–header “token: token
” \
–header “x-app-token: xpat-token”
Native capabilities and available tools
When you connect an external LLM agent through the Pumble MCP server, it queries the available tools. The specific actions the agent can perform depend entirely on the checkbox scopes you selected during the app registration phase.
Available tool list
Here’s a list of all available tools your agent has access to on the Pumble MCP server, complete with their definitions.
| Tool | Required scopes | Definition |
|---|---|---|
| add_reaction_to_message | reaction:write | Adds an emoji reaction to a designated message string. |
| add_user_to_channel | channels:write | Invites an existing team member into a specific channel. |
| create_call_link | calls:write | Generates a native voice or video call link for quick meetings. |
| create_channel | channels:write | Sets up a new conversation space inside the workspace. |
| delete_scheduled_message | message:delete | Deletes a queued message before its delivery window. |
| edit_message | message:edit | Overwrites text in a message previously sent by the bot profile. |
| fetch_file | messages:read | Downloads file attachments shared within accessible channels. |
| get_channel_details | channels:read | Pulls structural metadata, descriptions, and topic listings. |
| get_channel_messages | messages:read | Extracts a specific block of text from a channel. |
| get_channels | channels:list | Lists all public channels available inside the workspace. |
| get_latest_messages | messages:read, channels:list | Loads active text quickly for real-time context. |
| get_scheduled_messages | messages:read | Displays all outbound messages waiting in the queue. |
| get_thread_replies | messages:read | Fetches all nested replies associated with a single root message. |
| get_users | users:list | Queries the workspace directory to resolve user IDs and profiles. |
| get_workspace_info | workspace:read | Displays high-level administrative parameters of the workspace. |
| reply_to_message | messages:write, files:write | Posts a threaded reply beneath a specific parent text block. |
| schedule_message | messages:write, files:write | Queues a text message to be delivered at a specific future timestamp. |
| search_messages | messages:read, channels:list | Runs search queries across accessible chat logs. |
| send_message | messages:write, files:write | Dispatches real-time messages directly to channels or direct messages. |
Moreover, you can use the following native MCP server built-in prompts to complete complex actions quickly.
| Tool | Required scopes | Definition |
|---|---|---|
| create-channel-with-initial-users | channels:write | Bundles channel creation and user invitations into a single command loop. |
| explain-pumble-mcp | No scopes required | Forces the connected model to output its own schema limitations and interface rules. |
| send-channel-message | channels:read, messages:write | Speeds up automated formatting for posting to public streams. |
| send-dm-message | channels:read, messages:write | Automatically structures user-to-user private messages. |
Which one should you choose?
To help you make the most informed decision, here’s a reference table to map your requirements to the most suitable Pumble automation interface.
| Use case requirements | Optimal interface selection | Implementation method |
|---|---|---|
| Scripted notifications, CI/CD pipeline webhooks, server downtime alerts, or rigid cron-job automation posts | Pumble API | Standard outbound HTTP POST requests using bearer tokens |
| In-channel brainstorming sessions, direct user queries, or automated workspace thread summaries | Pumble AI Assistant addon | Workspace application setup combined with an enterprise provider API key (BYOK) |
| Allowing external software development agents (e.g., Claude CLI) to search code contexts, read chats, and execute commands from your terminal | Pumble MCP server | Local client configuration using the pumble.com endpoint definition |
Perguntas frequentes
Can the Pumble AI Assistant summarize chat threads?
Yes. Enter the /ai-summarize slash command inside any conversation thread. The Assistant will break down the past text and output an organized summary. This works automatically in public channels. For private channels and group DMs, the Assistant must first be added as a member of that specific channel.
Can the Pumble AI Assistant read all my messages?
No. The AI Assistant operates under a strict scoped-context framework. It cannot read channel history passively. It can only load and process text from messages where it is explicitly mentioned using a @mention.
Does Pumble support Anthropic Claude as an in-channel assistant?
No. Pumble’s in-channel AI Assistant addon currently supports OpenAI ChatGPT and Google Gemini. Support for Anthropic Claude, Perplexity, and Grok is planned for future updates. To use Claude with Pumble today, connect via the native Pumble MCP server using your local Claude command-line toolchain.
Create smarter workflows in Pumble by CAKE.com
Integrating AI Assistants, custom APIs, and the MCP server transforms Pumble from a team chat app into a powerful developer hub that reduces context switching and automated manual workflows.
This way, Pumble lets you streamline complex backend tasks and allows your engineering team to build a faster and more context-aware environment inside the chat interface.
Explore more about Pumble’s integration capabilities!
Como avaliamos esta publicação: Nossos escritores e editores monitoram as postagens e as atualizam quando novas informações ficam disponíveis, para mantê-las atualizadas e relevantes.