Onboarding Guide for Workspace Creators and Admins
Pumble lets you create a workspace where you can communicate with your teammates and collaborate. Team members can share messages, files, voice messages, and much more by joining your workspace.
In this guide, we will help you set up your workspace and start using Pumble.
Register and create a workspace #
The first step is to create a Pumble account and a workspace. Here’s how you can do it:
- Open the Pumble sign-up page
- Continue with Google/Apple/Microsoft/email
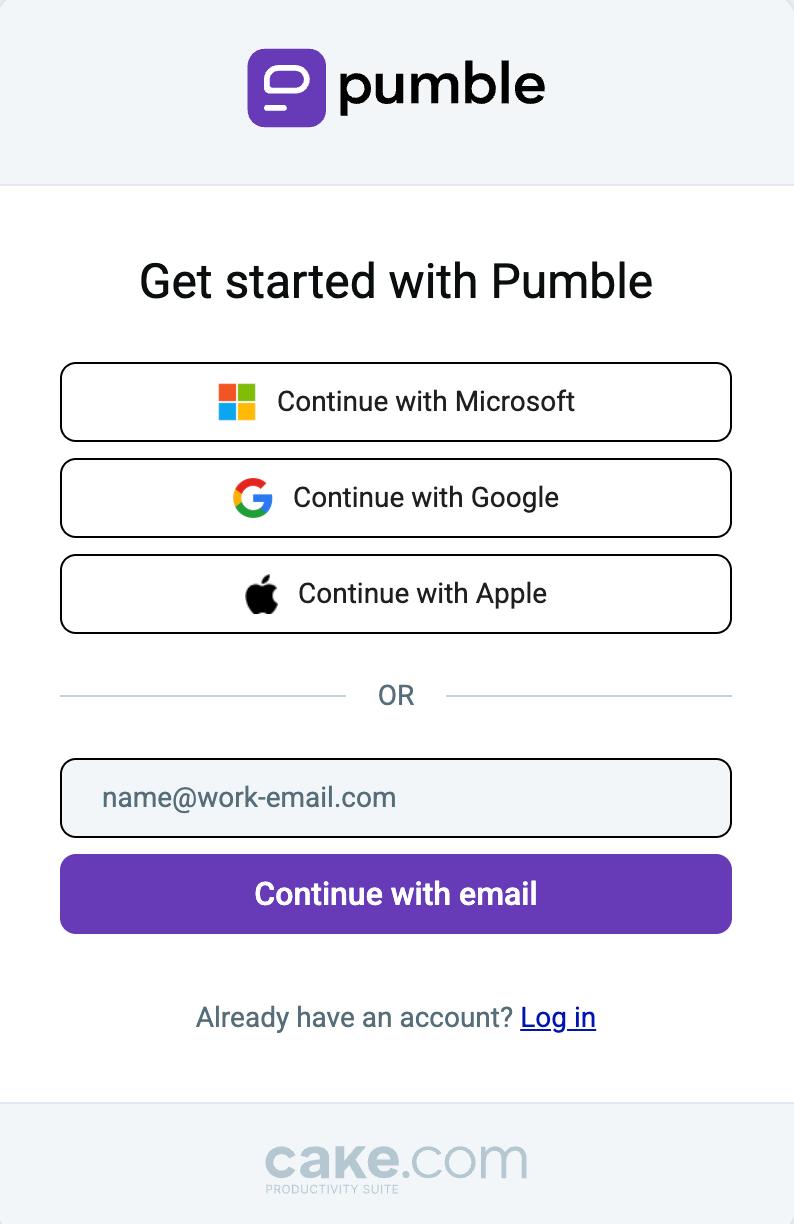
- Enter the verification code sent to your email
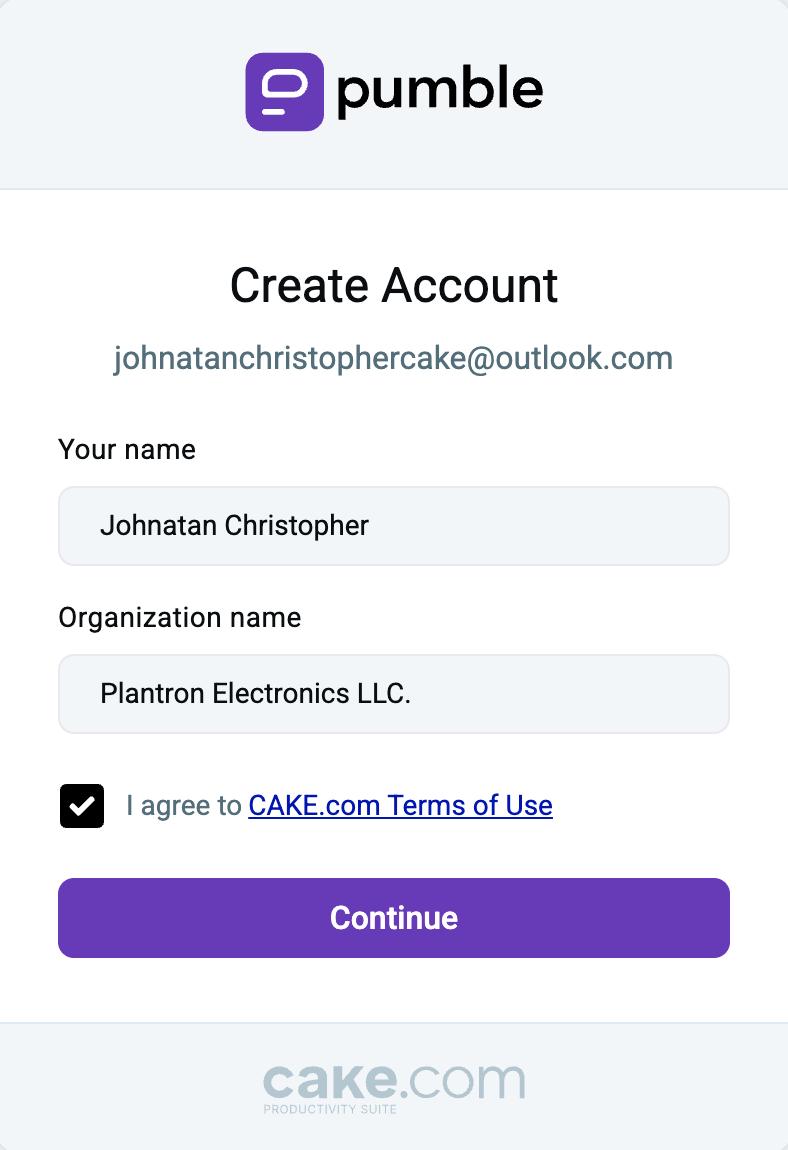
- Enter your name
- Enter your Organization name (this name will be used for your workspace)
- Agree to CAKE.com Terms of Use
- Click Continue to complete the registration
Once you have registered successfully, you can proceed to set up your workspace.
If you are new to Pumble, check out our article on how to use Pumble.
Configure your workspace settings #
Pumble allows you to customize your workspace according to your needs and offers numerous features across all its plans.
You can access General settings, Permissions, Manage members, and Configure apps. Here’s what you can do:
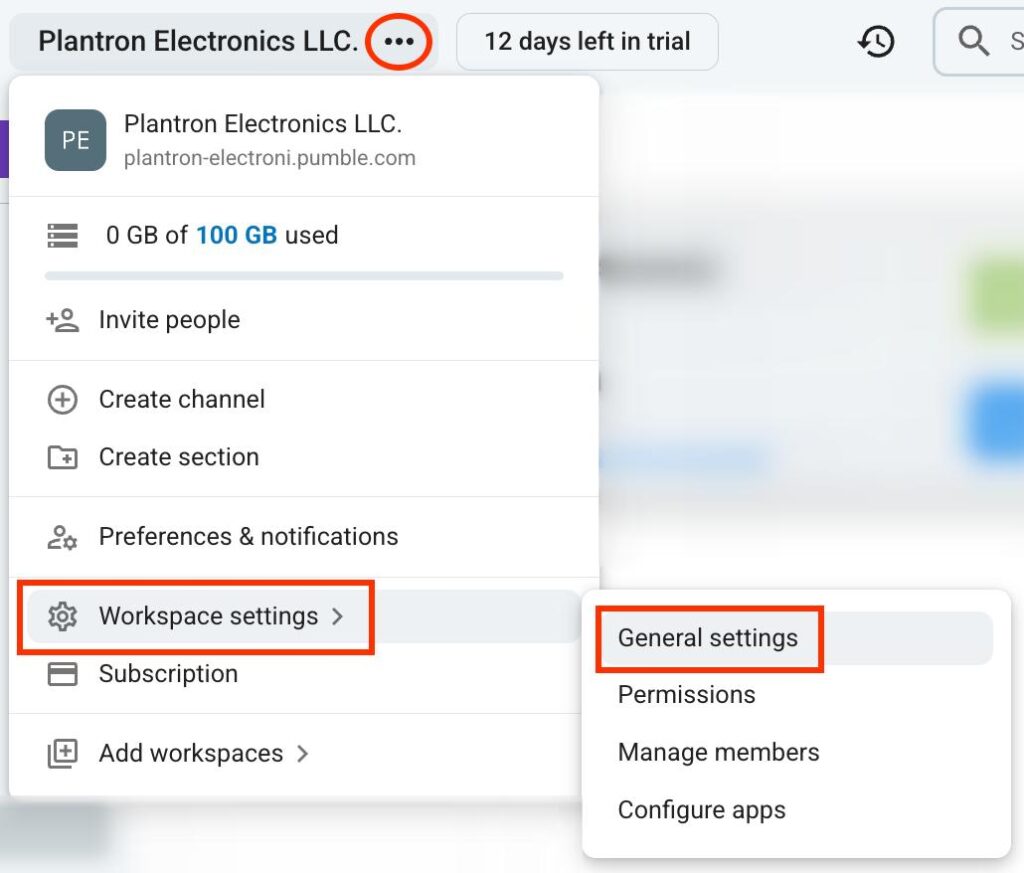
Workspace settings can only be accessed via the web or desktop app.
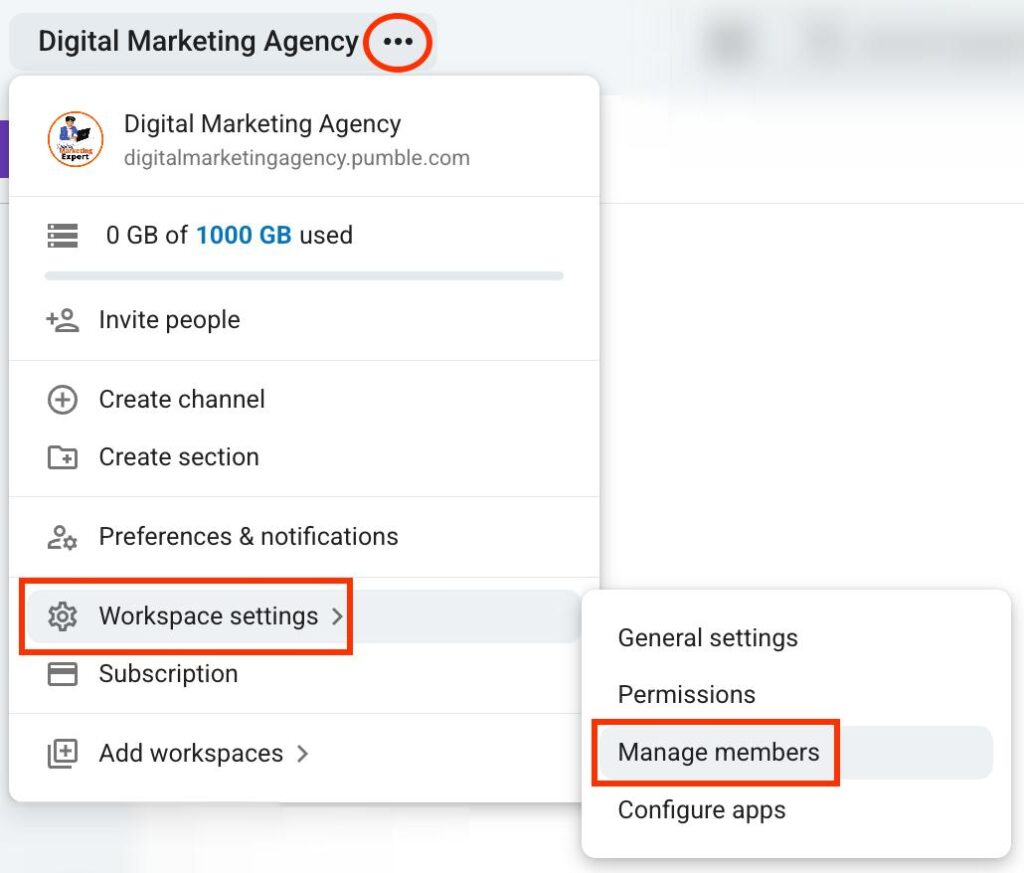
- Click on the three dots next to your workspace name
- Navigate to Workspace settings
- Click on General settings
In general settings, you can modify:
- Default channels — set the default channels that users will join automatically
- Manage email display — set if the user’s email address will be shown on their profile
- Channel join & leave messages — send messages when a member joins or leaves a channel
- Notify of new users — set notifications for members when a new user joins the team
- File history — determine whether files will be deleted after some time
- Workspace icon — add an icon for your workspace
- Workspace name & URL — change your workspace name and URL
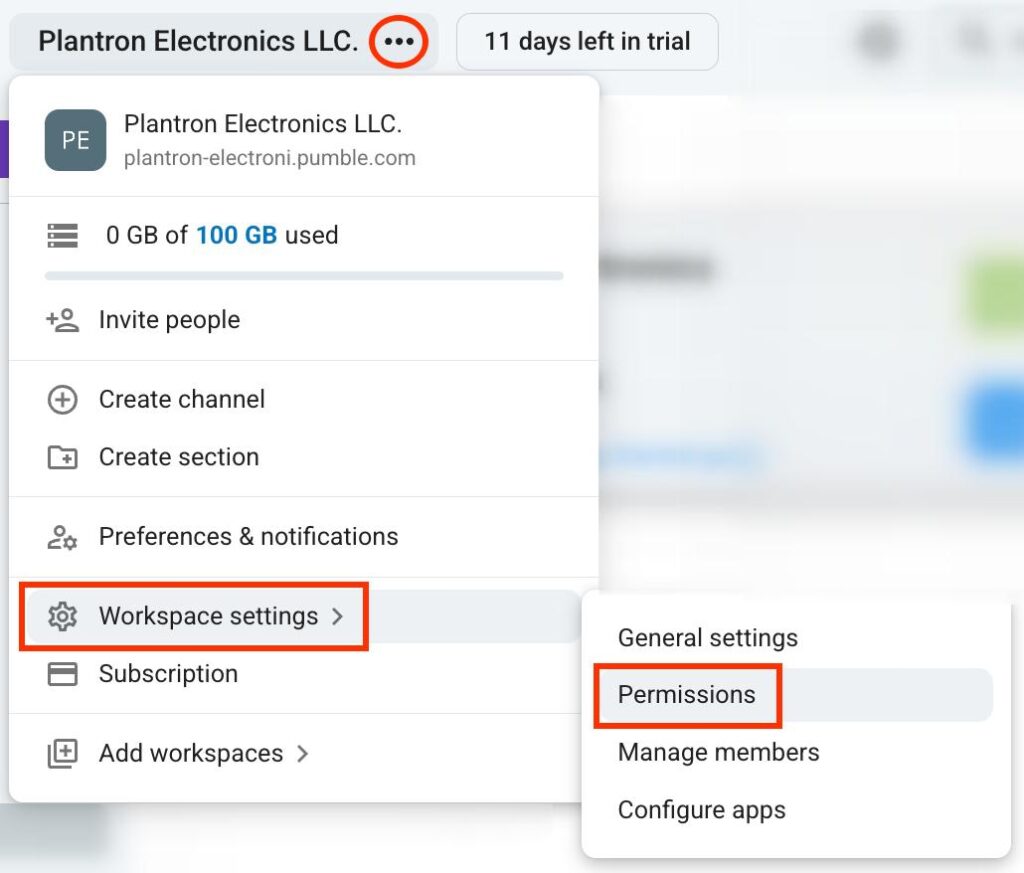
- Click on the three dots next to your workspace name
- Navigate to Workspace settings
- Click on Permissions
Permissions allow you to control what users can do in your workspace. Here’s what you can modify:
- Messaging — set who can post in channels and send direct messages
- Invitations — set who can invite new users to the workspace
- Channel management — set who can create and manage channels
- User groups — set who can create and edit user groups
- Message editing & deletion — set if users can edit or delete messages
- Meetings — turn reactions in meetings on or off
- Custom emoji — set who can create custom emojis
- Click on the three dots next to your workspace name
- Navigate to Workspace settings
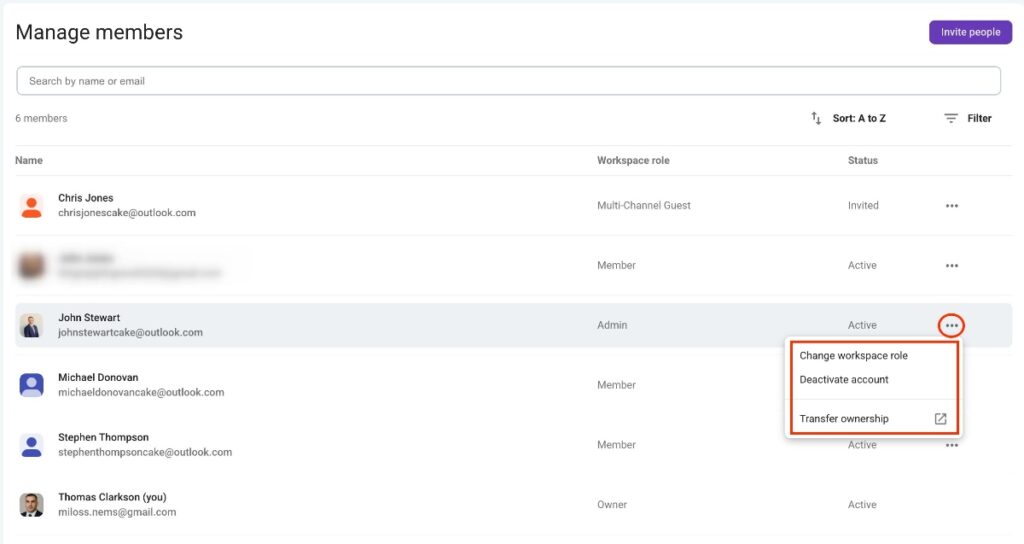
- Click on Manage members
In this section, you can change member roles and deactivate their accounts. Moreover, you can transfer workspace ownership to admins. Here’s how to do this:
- Click on the three dots in the far right column
- Select the desired action
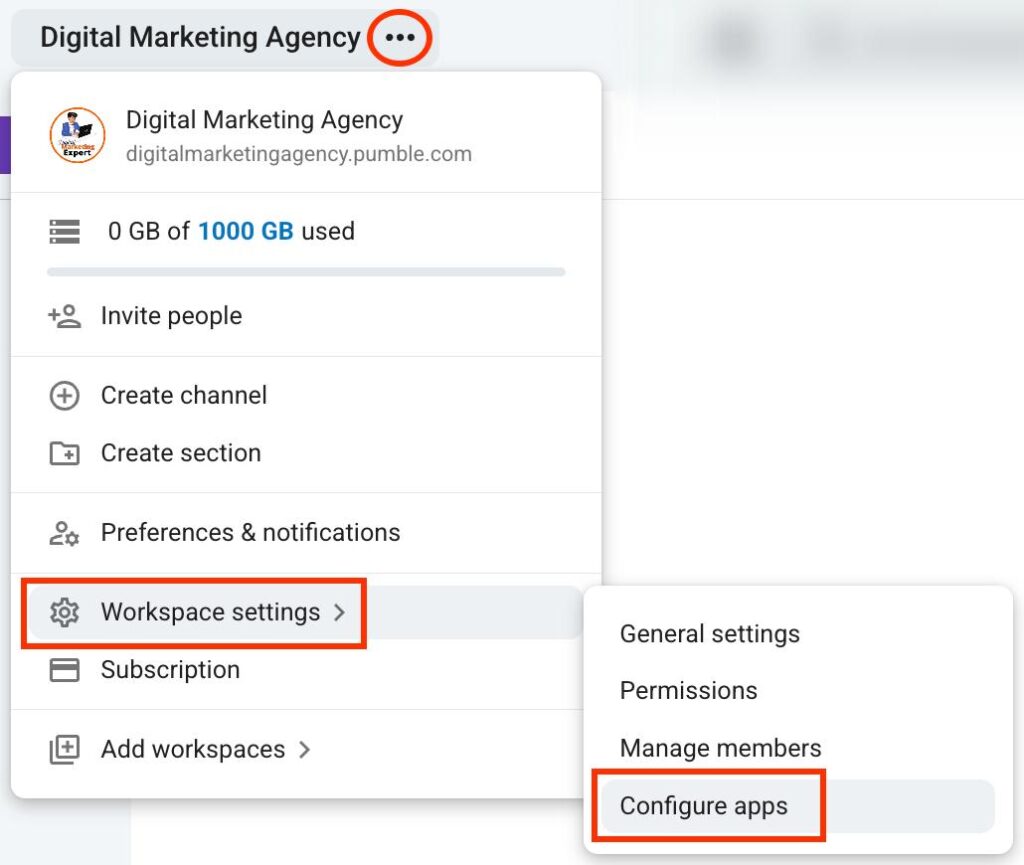
- Click on the three dots next to your workspace name
- Navigate to Workspace settings
- Click on Configure apps
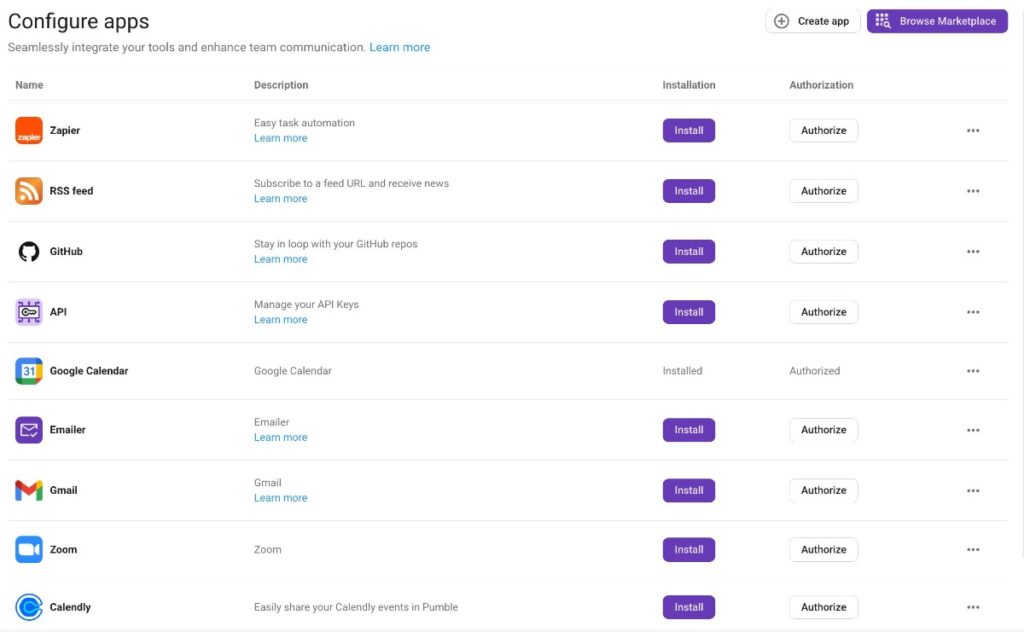
Here you can set up integrations and connect different tools with your Pumble workspace. You can create integrations with popular tools such as:
- Zapier
- GitHub
- Google Calendar
- Gmail
- Calendly
Invite members to your workspace #
When your workspace settings are configured, you can start inviting members. Adding members is essential for efficient collaboration, and you want to ensure that all your teammates are on board.
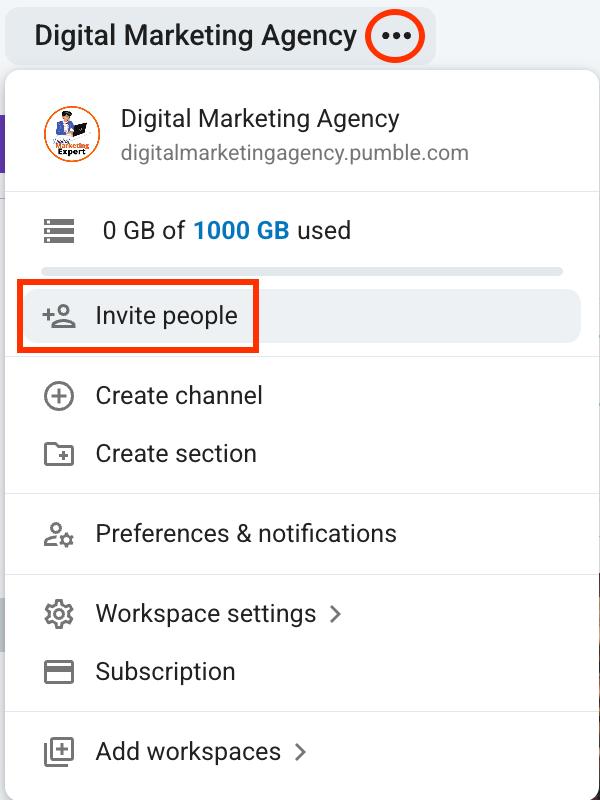
Here’s one way you can invite members:
- Click on the three dots next to your workspace name
- Click on Invite members
- Write down the email address of the user you want to invite
- Choose their role in the Invite as section
- Click on Send invite to complete the action
Another way to invite members is through the People & User Groups section. Here’s how:
- Click on People & user groups in the left sidebar
- Click on Invite people in the right corner
- Write down the email address of the user you want to invite
- Choose their role in the Invite as section
- Click on Send invite to complete the action

Choose a subscription plan #
Although Pumble comes with a lot of features on its FREE plan, choosing a subscription plan can unlock several additional features for you and your team.
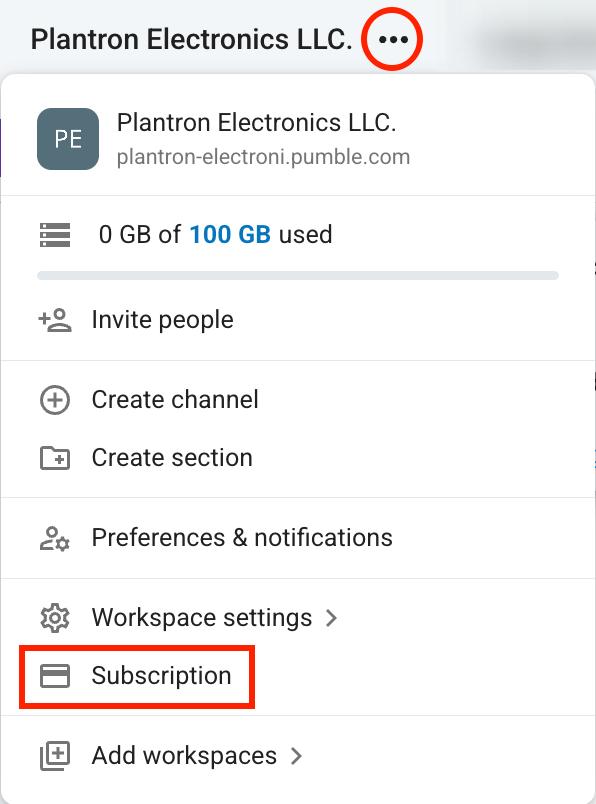
Here’s how you can upgrade your subscription:
- Click on the three dots next to your workspace name
- Click on Subscription
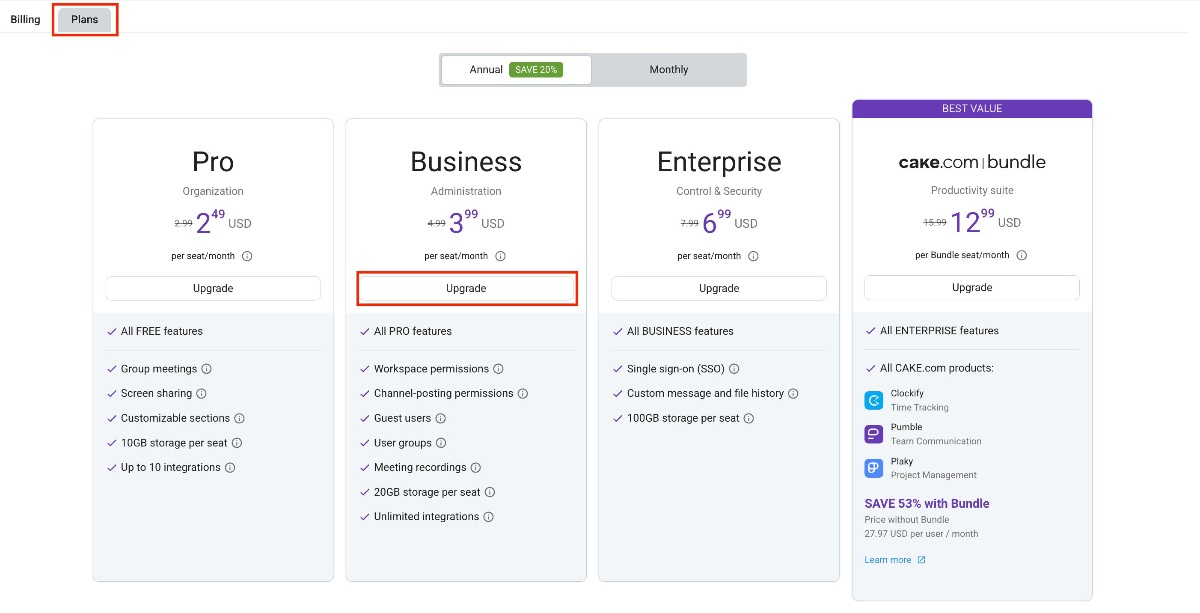
- Open the Plans tab
- Click Upgrade on your preferred plan
- Enter customer, invoice, and payment info
- Click on Finish payment to complete the process