Zapier Integration
Zapier integration lets you connect Pumble with thousands of other applications, automating repetitive tasks and streamlining communication within your team. In this guide, we’ll walk you through the step-by-step process of integrating Pumble with Zapier.
Step #1: Add Zapier to Pumble #
To connect Pumble and Zapier, start by adding Zapier to your Pumble workspace. Here’s how you can do this:
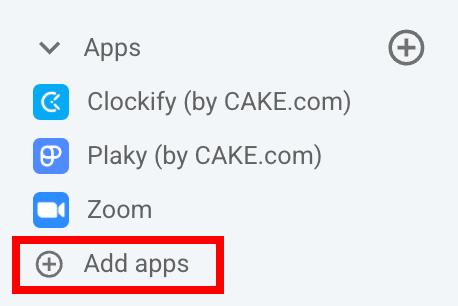
- Click on the +Add apps button at the bottom of the left sidebar
- Click on the Install button next to the Zapier app
Or
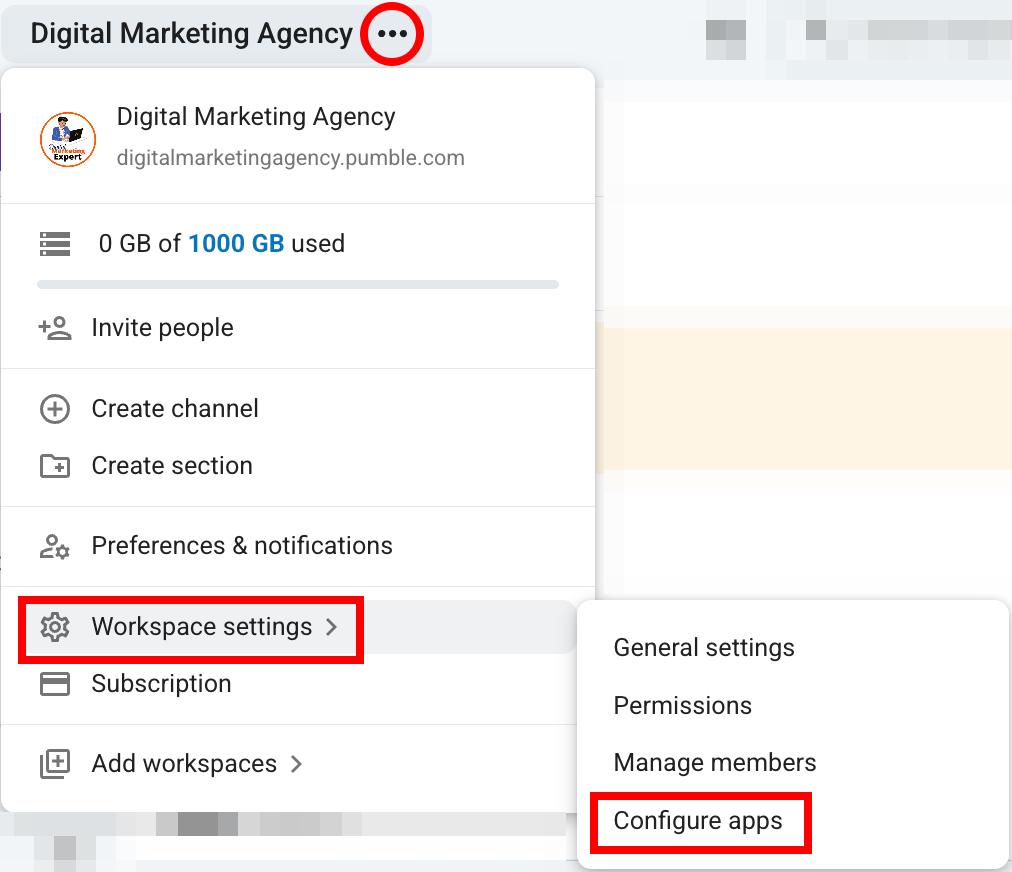
- Click on the three dots next to your workspace name
- Hover over Workspace settings
- Click on Configure apps
- Click on the Install button next to the Zapier app
If the app has already been installed in your workspace by another user, you will need to authorize it to use it.
Step #2: Log in or Sign up to Zapier #
When you’ve added Zapier to your workspace, it will automatically redirect you to Zapier’s website. Log in to Zapier, or create an account if you don’t have one. To create a Zapier account:
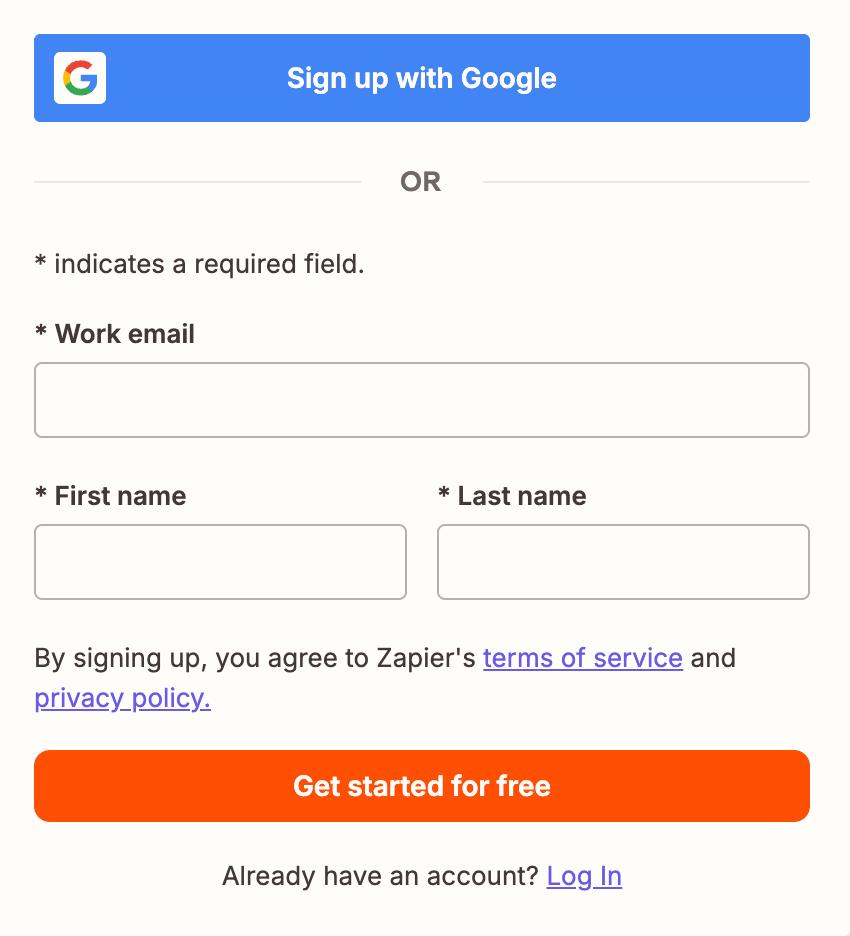
- Open the Zapier Sign up page
- Sign up with your email or Google
The email address you use for your Zapier account must be the same one you use for Pumble.
Step #3: Create a Zap #
To connect Pumble with other apps via Zapier, you will need to create a Zap. It is an automated workflow that connects Pumble with another app and handles processes between them. In this example, we will create a Zap that connects Pumble with Google and creates a new folder when a message is posted in a Pumble channel. Here’s how to do it:
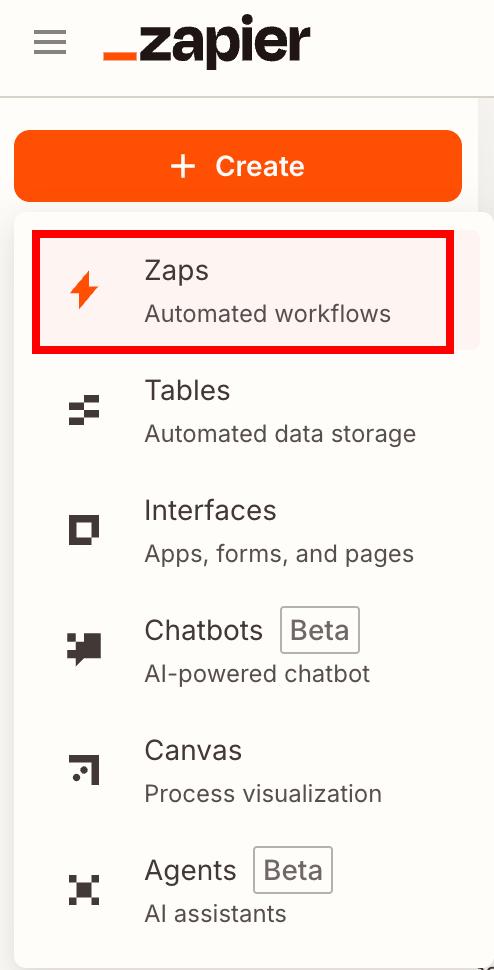
- Click on +Create in the top left corner
- Click on Zaps
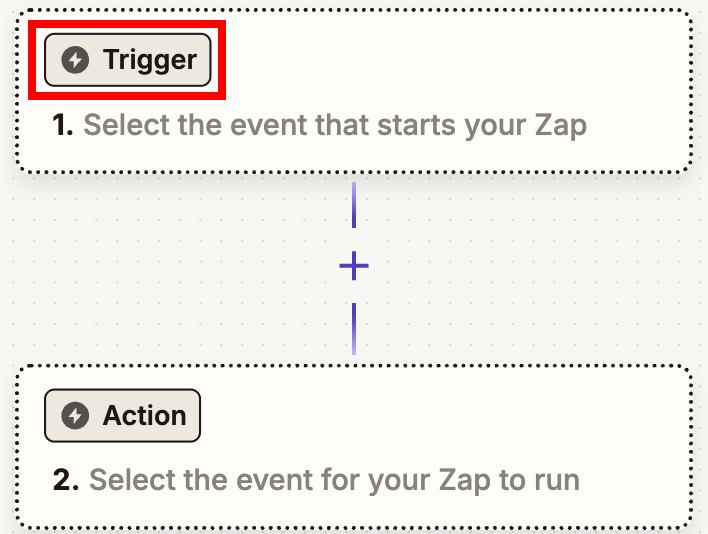
Once the modal is open, you will need to create a trigger for your Zap. A trigger is an event that must occur before the automation starts.
- Click on Trigger
- Select Pumble from the list of apps
- Select a trigger event (e.g., new message posted to channel)
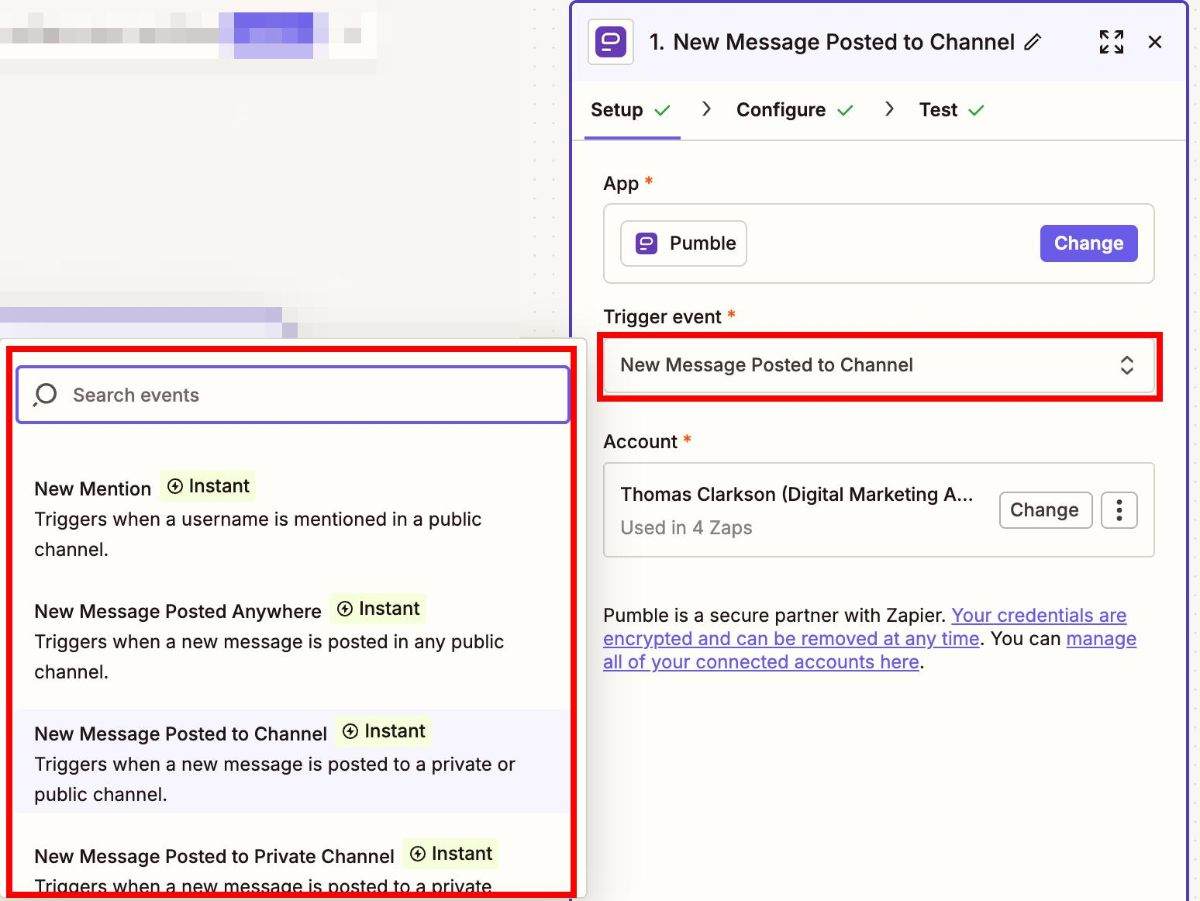
- Choose a Pumble account
- Move to the Configure tab
- Select the channel for your trigger
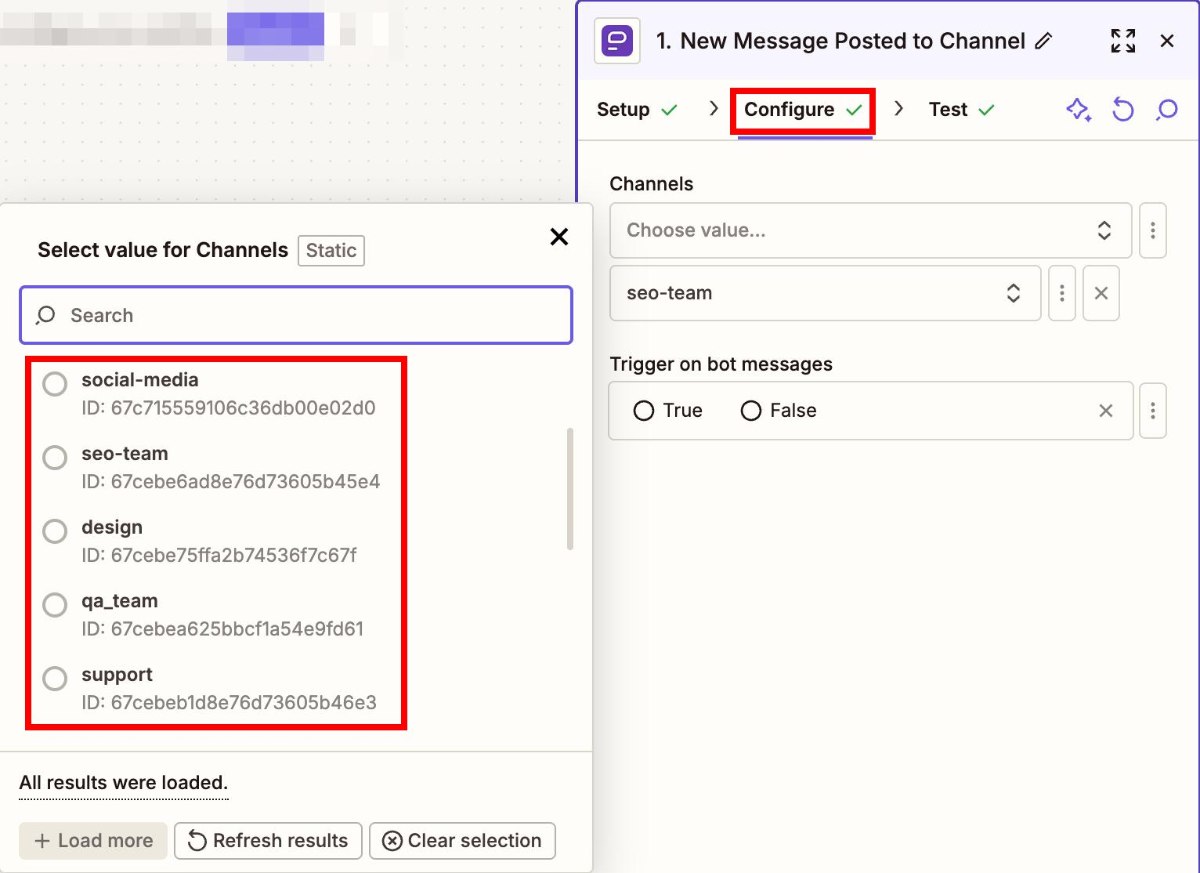
- Test the trigger
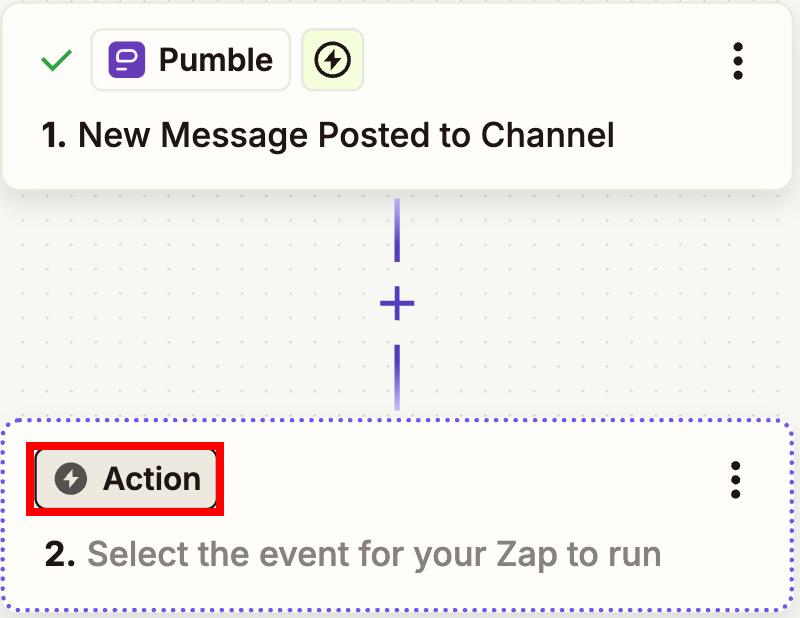
When you have created a trigger for your Zap, you can move on to creating an action.
- Click on Action
- Select the app from the list
- Select the Action event
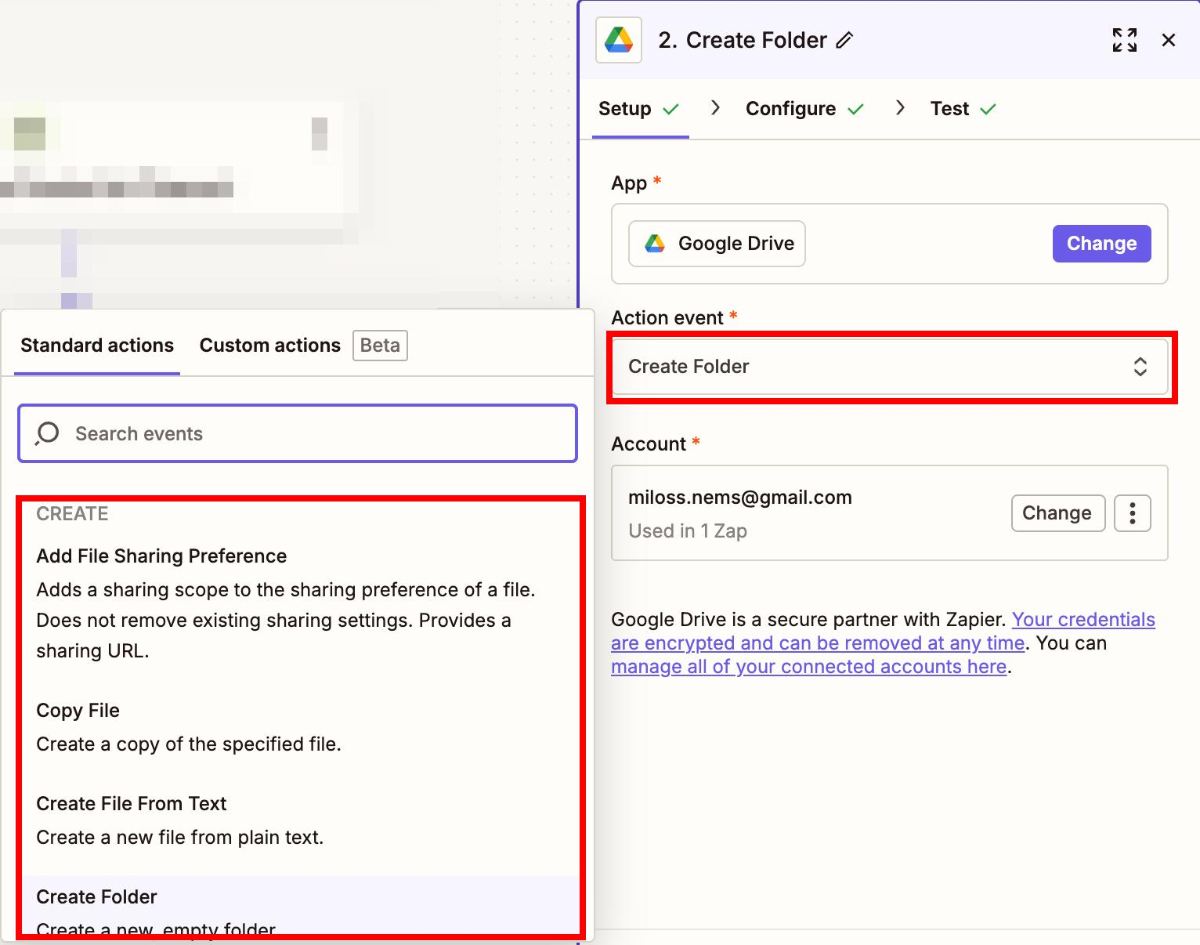
- Choose an account
- Click on the Configure tab
- Fill out the information
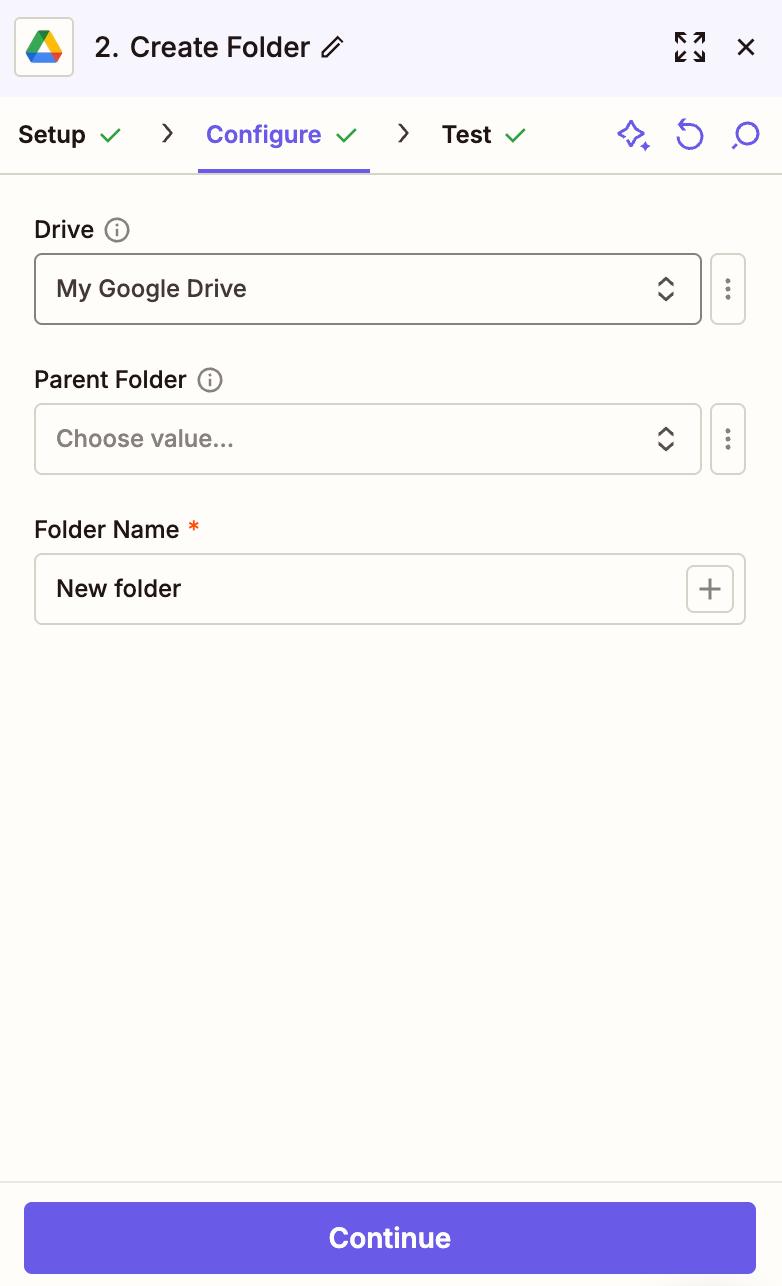
- Test the action
- Click Publish to complete the action
You can create an unlimited number of Zaps (depending on your Zapier plan) with different events and triggers. After installing the Zapier integration and creating your first Zap, all you need to do is log in to your Zapier account and add a new Zap. It is important that you are logged in to your Pumble Workspace so that you can connect it to a new Zap.