Calendly integration
By integrating Pumble with Calendly, you can streamline your scheduling process, making it more efficient and convenient for both you and your clients or team members. This guide will walk you through the steps to integrate Pumble with Calendly, enabling you to schedule meetings and appointments effortlessly within your Pumble workspace.
To connect Pumble with Calendly, follow these steps:
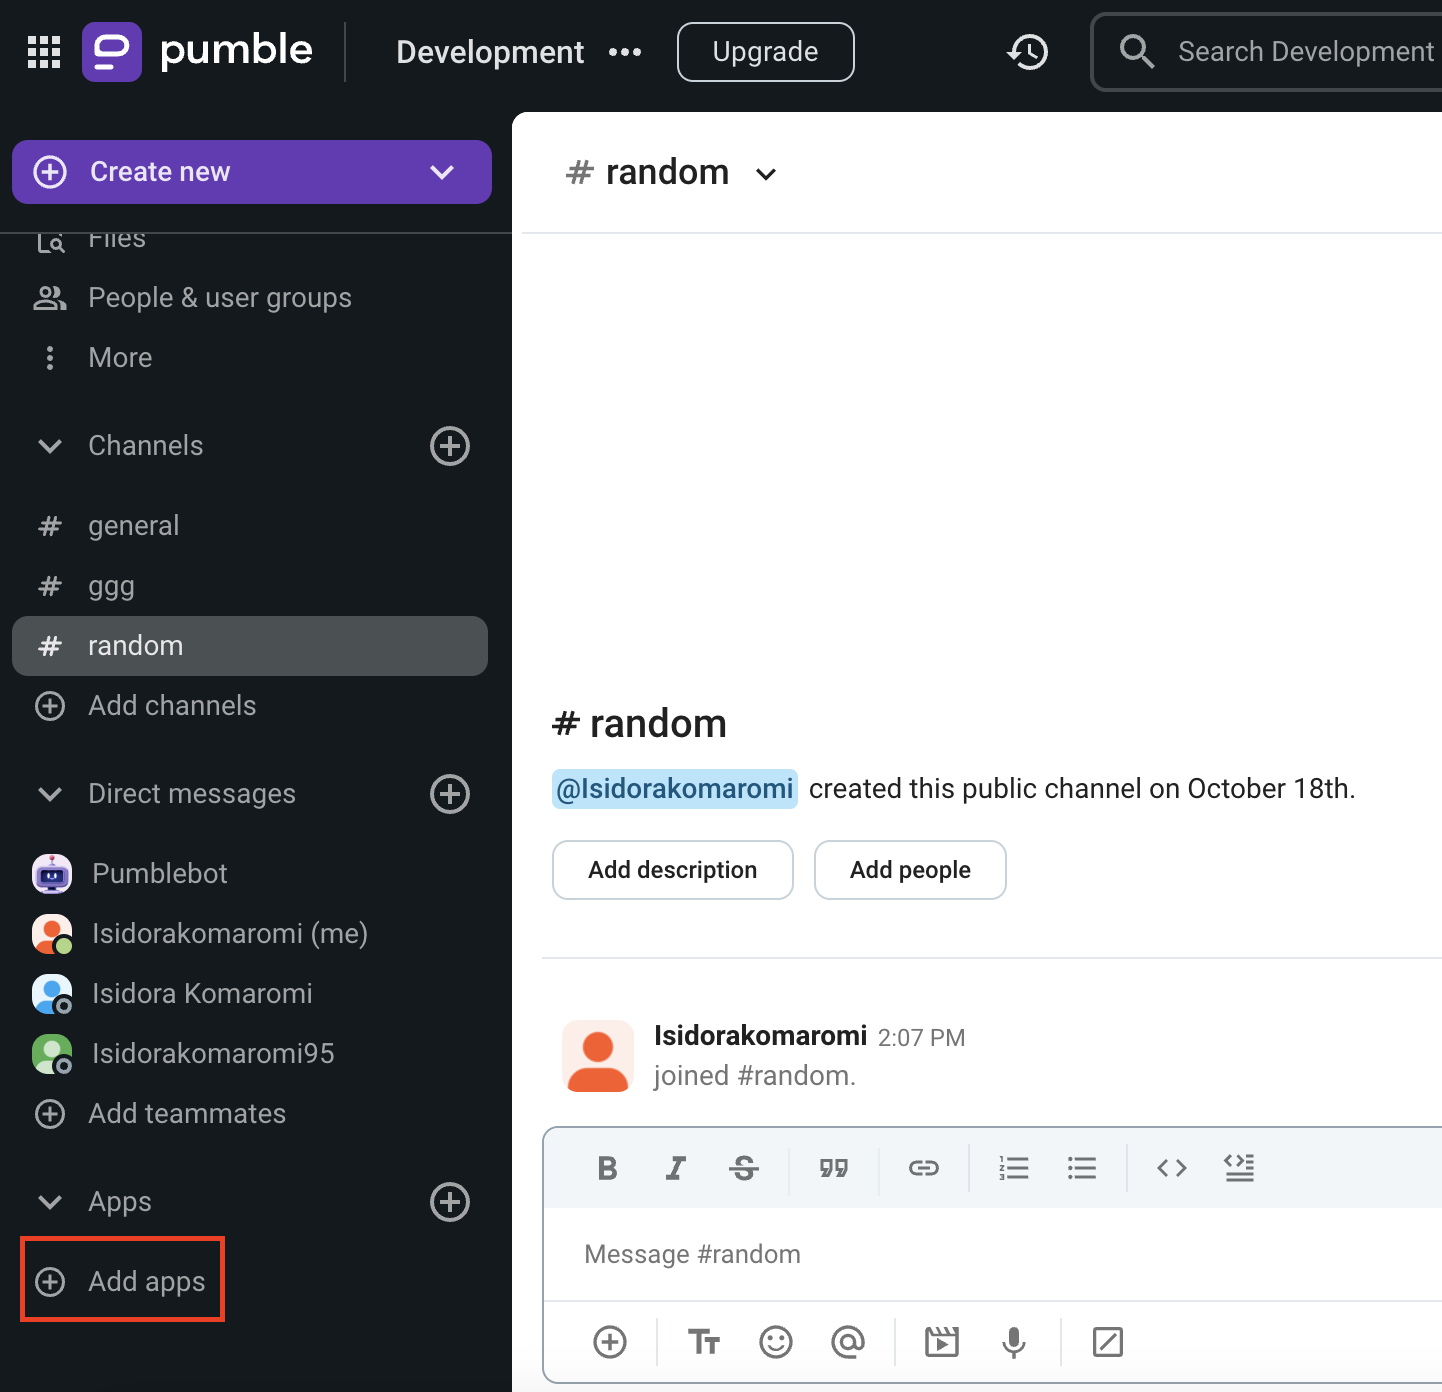
- Click on +Add apps button at the bottom of the left sidebar
- Click on Install button next to the Calendly app and a new tab will open with the consent form and integration specifics
It’s possible that the app has already been installed on your workspace by another user, and you will need to authorize it so that you can use it. To do it, click on the Authorize button next to the app name. - Set permissions:
- Select the Workspace from the dropdown
- Review and select information and messages Calendly can access
- Specify the actions Calendly is allowed to perform
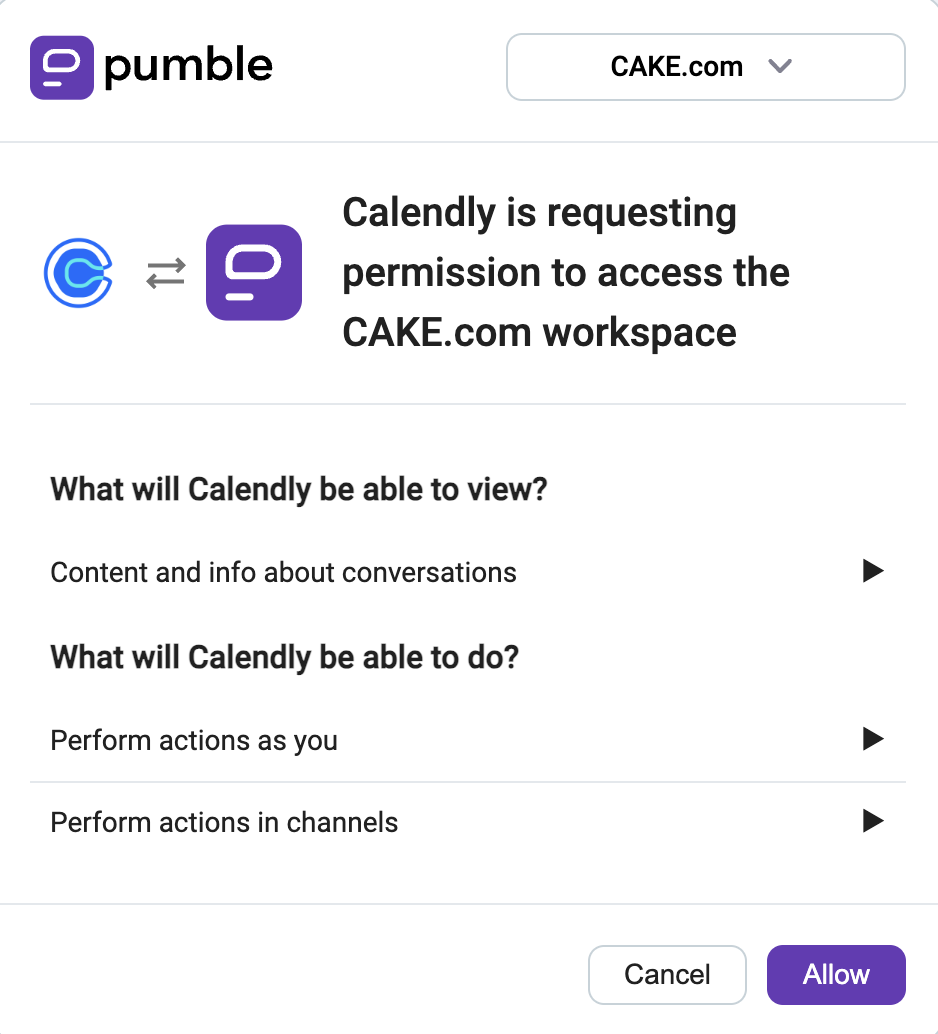
It is important that you are logged in to the Pumble Workspace that you choose from the dropdown.
Click Allow to finalize the process.
If you’re not logged into Calendly, you’ll be prompted to log in to connect your Pumble Calendly add-on with your Calendly account.
For teams working remotely or across different time zones, scheduling meetings can be challenging. With Calendly integrated into Pumble, team members can easily book meeting slots that work for everyone without the need for lengthy email chains. Pumble notifications will alert team members of upcoming meetings, ensuring everyone is on the same page.
If you have a paid Calendly subscription with webhooks enabled, you will receive messages from Calendly bot informing you about any scheduled or canceled events within your workspace after you have successfully installed Calendly integration on your Pumble workspace.
Valid commands #
There are a few specific actions that can be used to interact with Calendly integration:
• /calendly events – List events
• /calendly share [slug] – Share event in the current channel
• /calendly logout – Logout Calendly account from this addon
• /calendly help – List all valid commands you can use