User Groups
Create user groups and add relevant team members so that you can notify everyone at once by mentioning the group. Also, you can set default channels for group members and add multiple users to channels via groups.
Take a look at a short video, or read the instructions below to learn how to use and configure user groups.
Creating a user group #
- Click on the People & user groups in the left sidebar
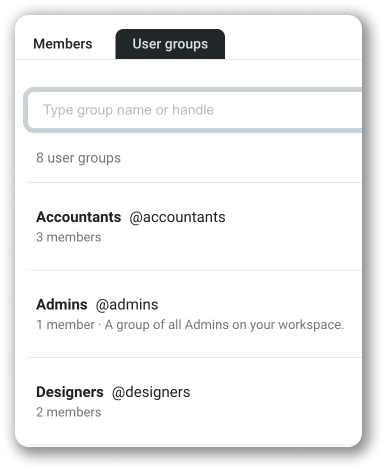
- Choose User groups tab
- Navigate to the New user group button
- Choose a name (e.g. Accounts Team) and handle (e.g. accounts-team) for your user group
- Optionally, set purpose and choose default channels that members of this user group will be added to
- Click Next
- Under Add members, search for and select the members you’d like to add
- Click Create group when you’re done
Adding or removing members #
- Click on the People & user groups in the left sidebar
- Click on the User groups tab at the top of the screen
- Click on the user group
- Choose Edit Members on the right
- Choose if you need to add or remove member
- Click Save to complete the process
Editing a user group #
- Click on the People & user groups in the left sidebar
- Choose the User groups tab at the top of the screen
- Click on the user group you’d like to manage
- Click on the three dots icon next to Edit members on the right
- Choose Edit group details from the dropdown
- Edit Name, Handle, Purpose or Default channel
- Click Save to complete the process
Deactivating a user group #
To deactivate your user group:
- Click on the People & user groups in the left sidebar
- Choose the User groups tab at the top of the screen
- Click on the user group you’d like to manage
- Click on the three dots icon next to Edit members on the right
- Choose Deactivate group
- Click Deactivate to confirm the action
Deactivating a user group does not delete it from your list of groups. All members will remain in the group unless removed. Deactivated user group cannot be mentioned (with a handle, e.g. @accounts-team).
Showing deactivated accounts #
In Pumble, deactivated user accounts are hidden by default. With this action, you will be able to see user accounts that were deactivated in your workspace. This way, all user accounts (active and deactivated) will be displayed in the People & user groups list.
To show deactivated accounts:
- Navigate to People & user groups in the left sidebar
- Choose the Members tab
- Click on the Filter at top right corner of the page
- Check the Show deactivated accounts box
Accounts of deactivated users will be displayed in your Members tab.
Please note that these filtering settings only affect your view of users and user groups.
To stop using this filter, click the Reset button, or simply reload the page.