Create Channel
3 min read
jovana
By default, all team members in your workspace have the ability to create both public and private channels.
Channel names can have up to 80 characters.
Desktop
Android
iOS
- Click on the three dots next to a Channel section in the left sidebar
- Choose Create new channel
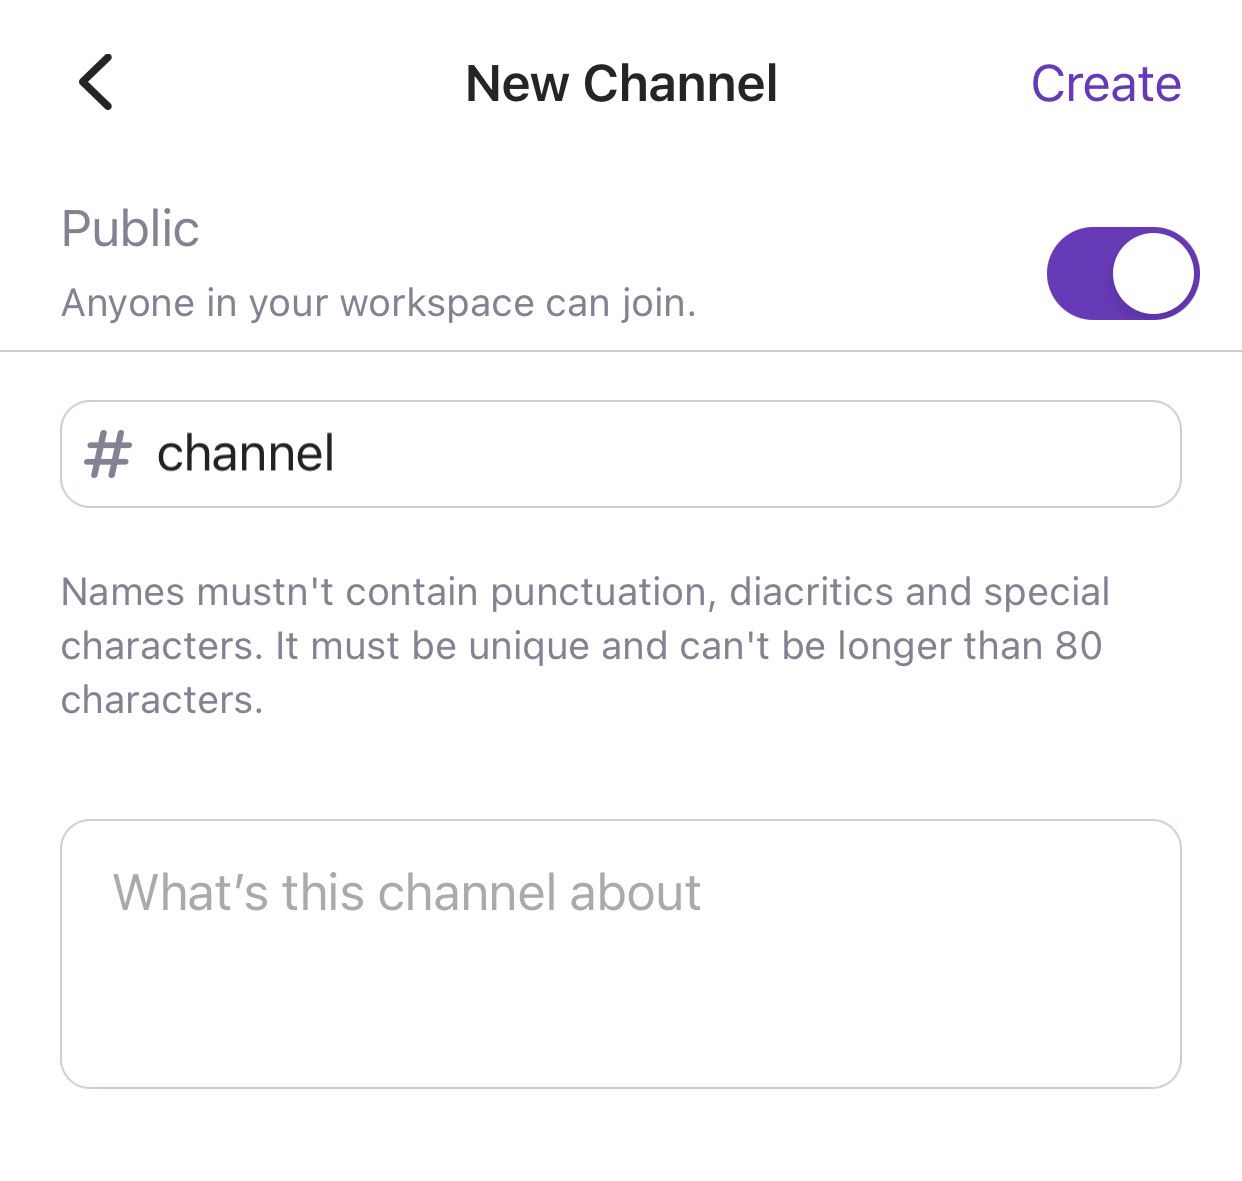
- Name your channel (channel name can only contain letters, numbers, underscores, hyphens, and must be between 1 and 80 characters long)
- Provide a brief description so that other team members would know what the channel is about (not required)
- Set the channel as public or private
- Click Create once you’re done
Or
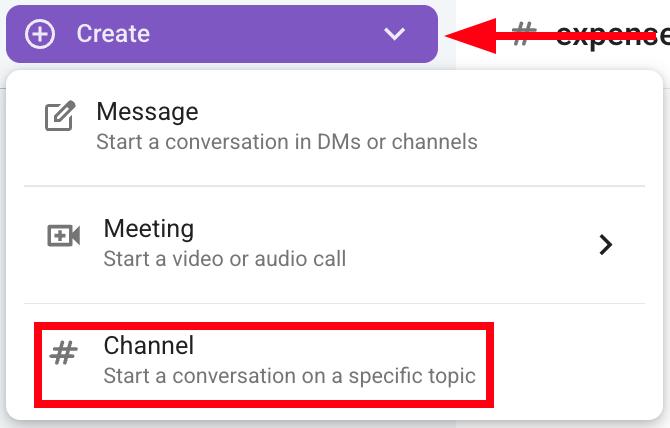
- Click on the Create button in the top left corner
- Click on Channel
- Name your channel (channel name can only contain letters, numbers, underscores, hyphens, and must be between 1 and 80 characters long)
- Provide a brief description so that other team members would know what the channel is about (not required)
- Set the channel as public or private
- Click Create once you’re done
Or
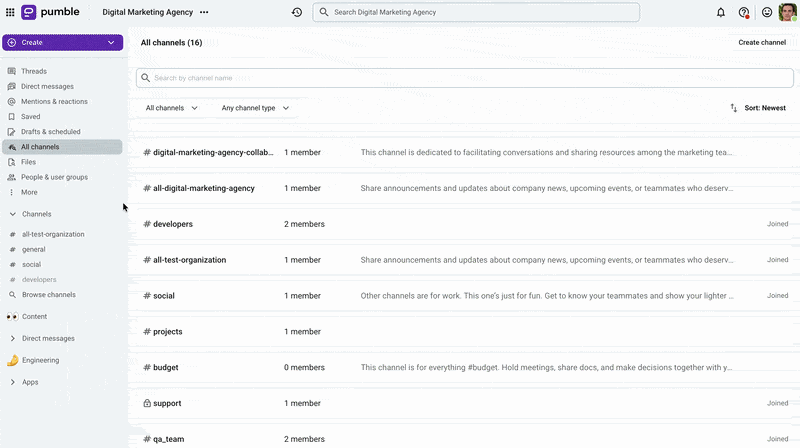
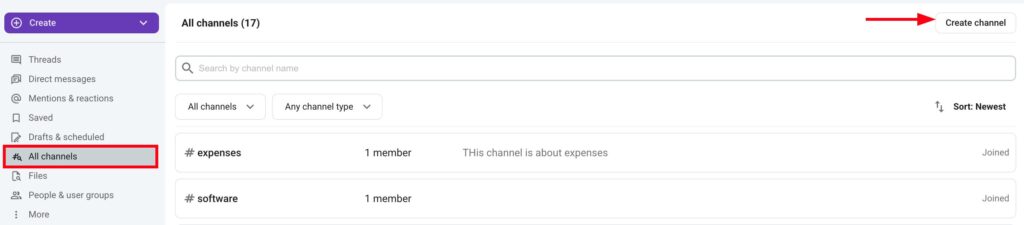
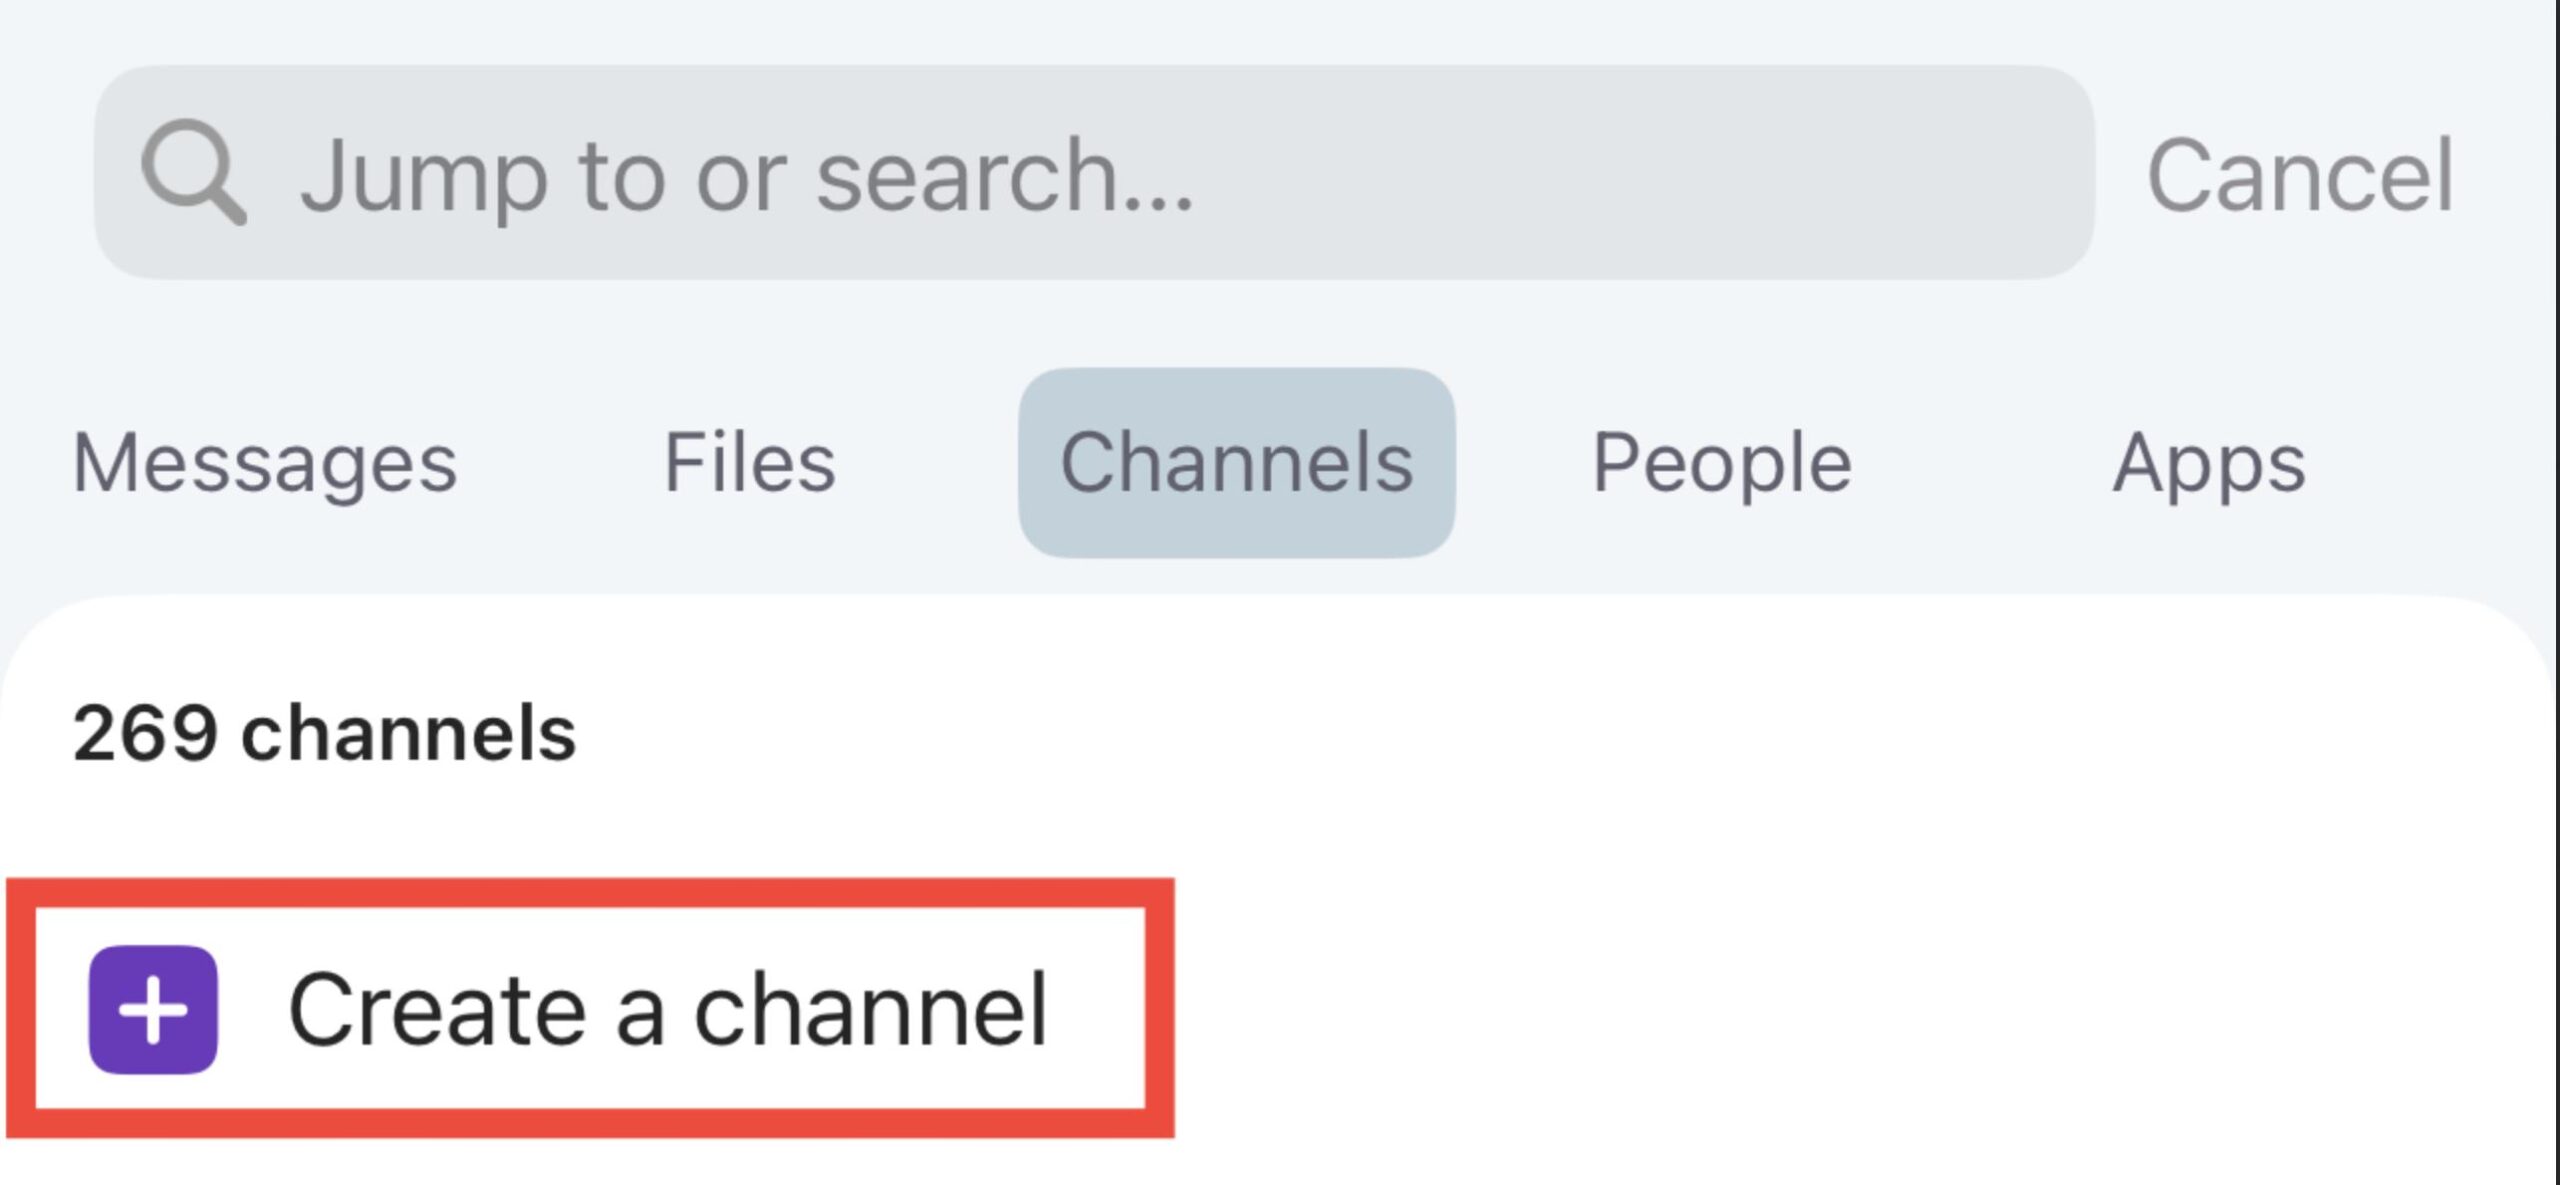
- Click on All channels in the left sidebar
- Click on Create channel in the top right corner
- Name your channel (channel name can only contain letters, numbers, underscores, hyphens, and must be between 1 and 80 characters long)
- Provide a brief description so that other team members would know what the channel is about (not required)
- Set the channel as public or private
- Click Create once you’re done
Start adding team members if the created channel is set to private.
For more information about private and public channels, check out Channel basics article.
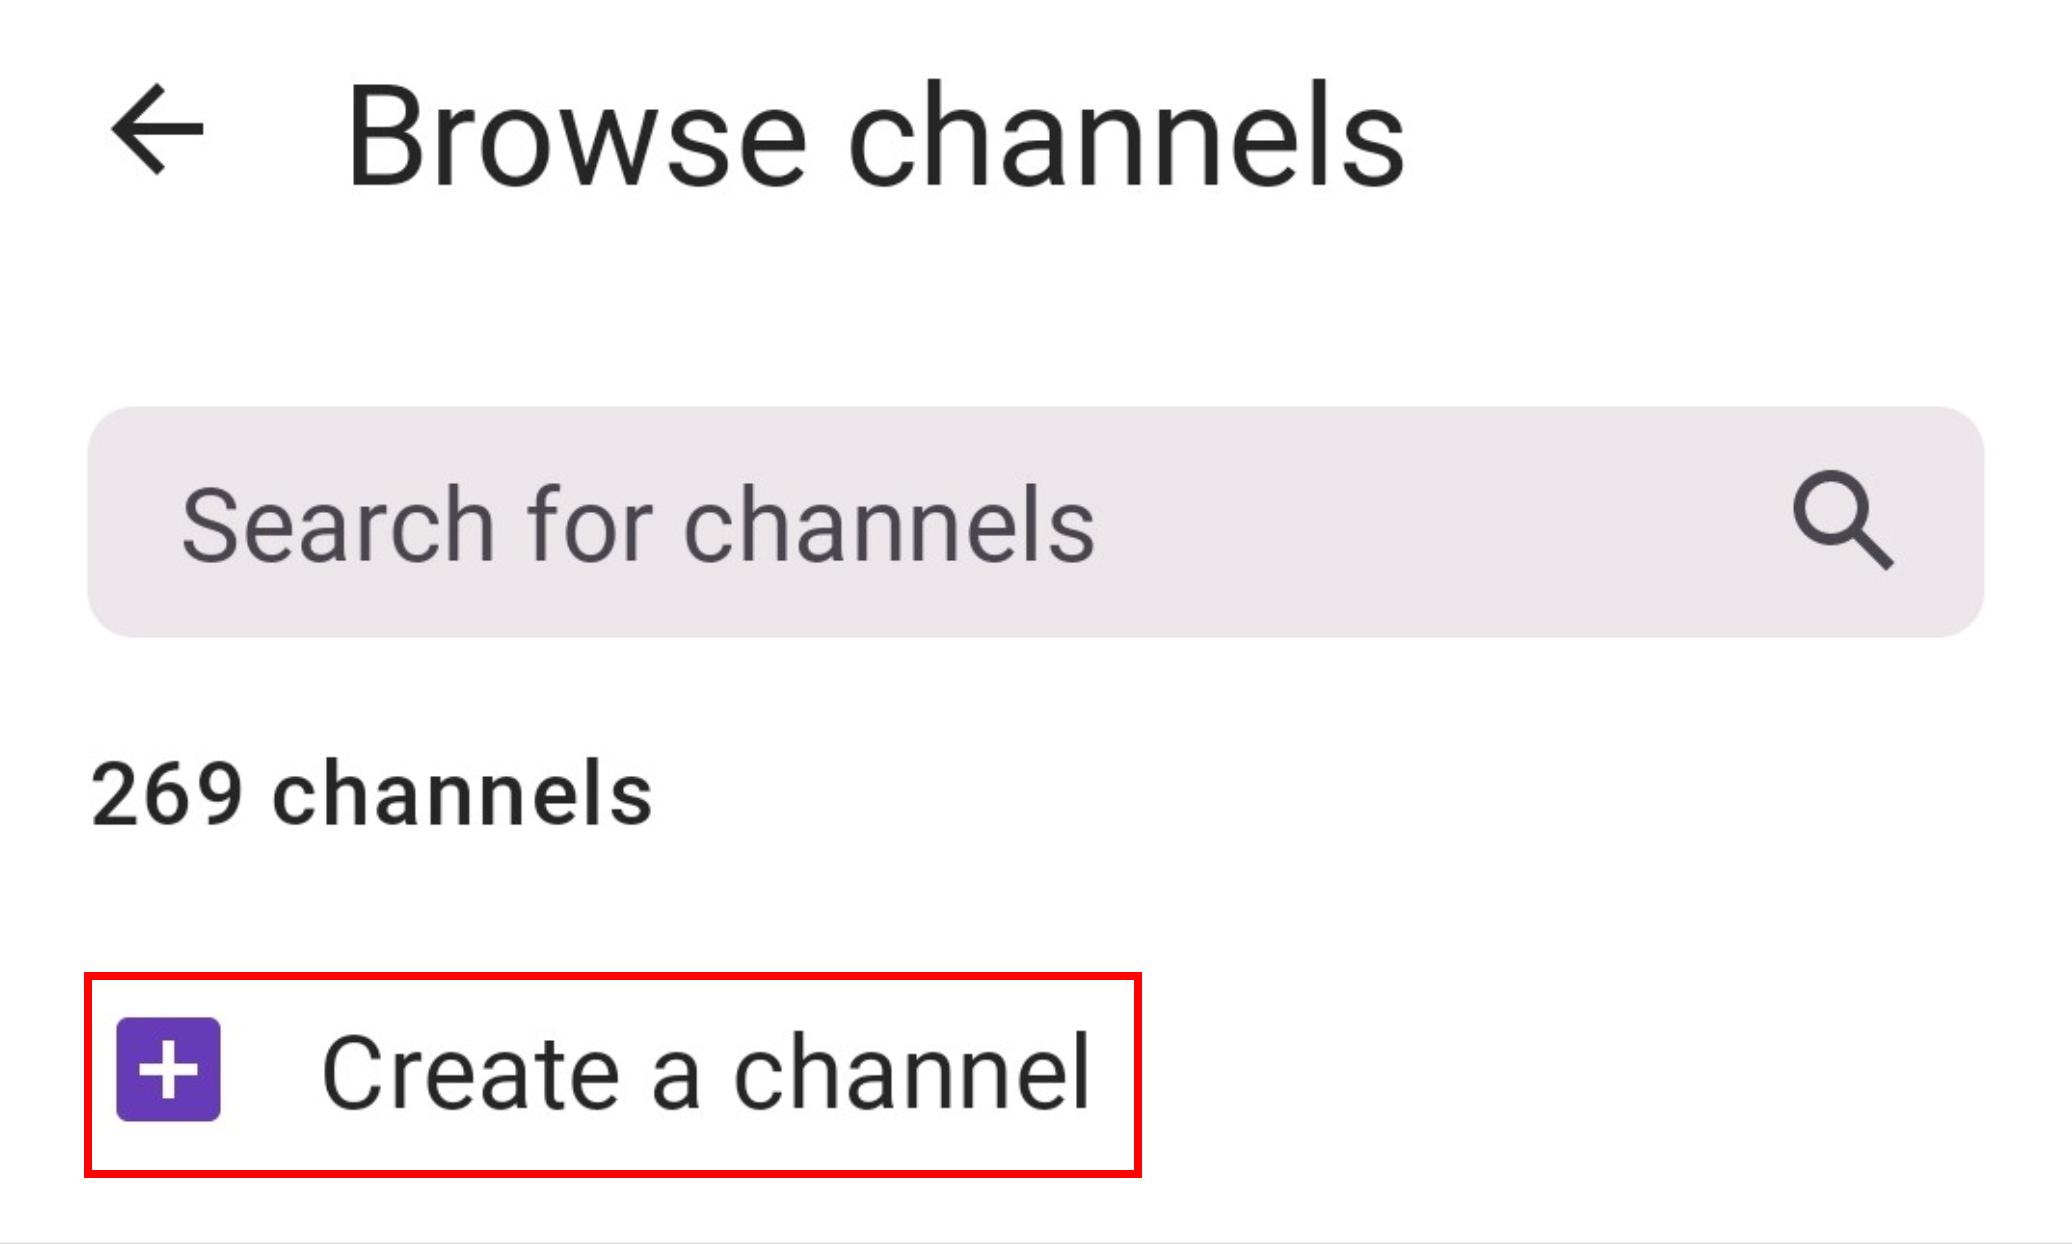
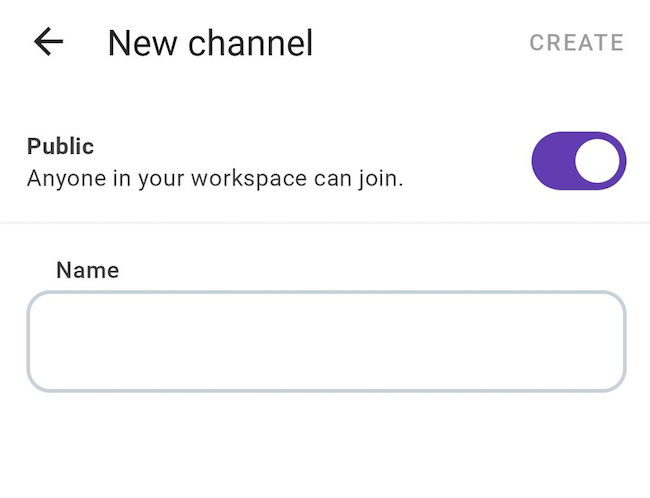
- Tap on the + icon next to Channels
- Tap on Create a channel
- Name your channel (channel name must be lowercase, without space or periods, and it can’t be longer than 80 characters)
- Decide if the channel will be public (anyone can join) or private (you invite new users to join)
- Once you’re done tap on Create
Or
- Tap on the + button in the bottom right corner
- Tap on Channel
- Name your channel (channel name must be lowercase, without spaces or periods, and it can’t be longer than 80 characters)
- Decide if the channel will be public (anyone can join) or private (you invite new users to join)
- Provide a brief description so that other team members would know what the channel is about (not required)
- Tap on Create
Start adding team members if the created channel is set to private.
- Tap on the Jump to button at the bottom of the screen
- Tap on Channels
- Tap on Create a channel
- Name your channel (channel name must be lowercase, without space or periods, and it can’t be longer than 80 characters)
- Decide if the channel will be public (anyone can join) or private (you invite new users to join)
- Provide a brief description so that other team members would know what the channel is about (not required)
- Once you’re done tap on Create
Or
- Tap on the + button in the bottom right corner
- Tap on Channel
- Name your channel (channel name must be lowercase, without spaces or periods, and it can’t be longer than 80 characters)
- Decide if the channel will be public (anyone can join) or private (you invite new users to join)
- Provide a brief description so that other team members would know what the channel is about (not required)
- Tap on Create
Start adding team members if the created channel is set to private.
Was this article helpful?
Thank you! If you’d like a member of our support team to respond to you, please drop us a note at support@pumble.com