Getting Started with Pumble
This guide walks you through everything you need to know on how to get started in Pumble, from registering to your new workspace to providing your team with all the details they need to start collaborating within it.
What is Pumble? #
Pumble is a free team messaging app that allows teams of all sizes to communicate and collaborate. Unlike other team messaging apps, it offers unlimited users and messages history – all for free.
It’s available on all platforms, primarily as a web browser app, but also accessible on desktop — Windows, Mac, Linux, and mobile — Android and iOS.
For more information on how to get started with Pumble app for mobile application, check out article: Getting Started with Mobile app.
What is a Pumble workspace? #
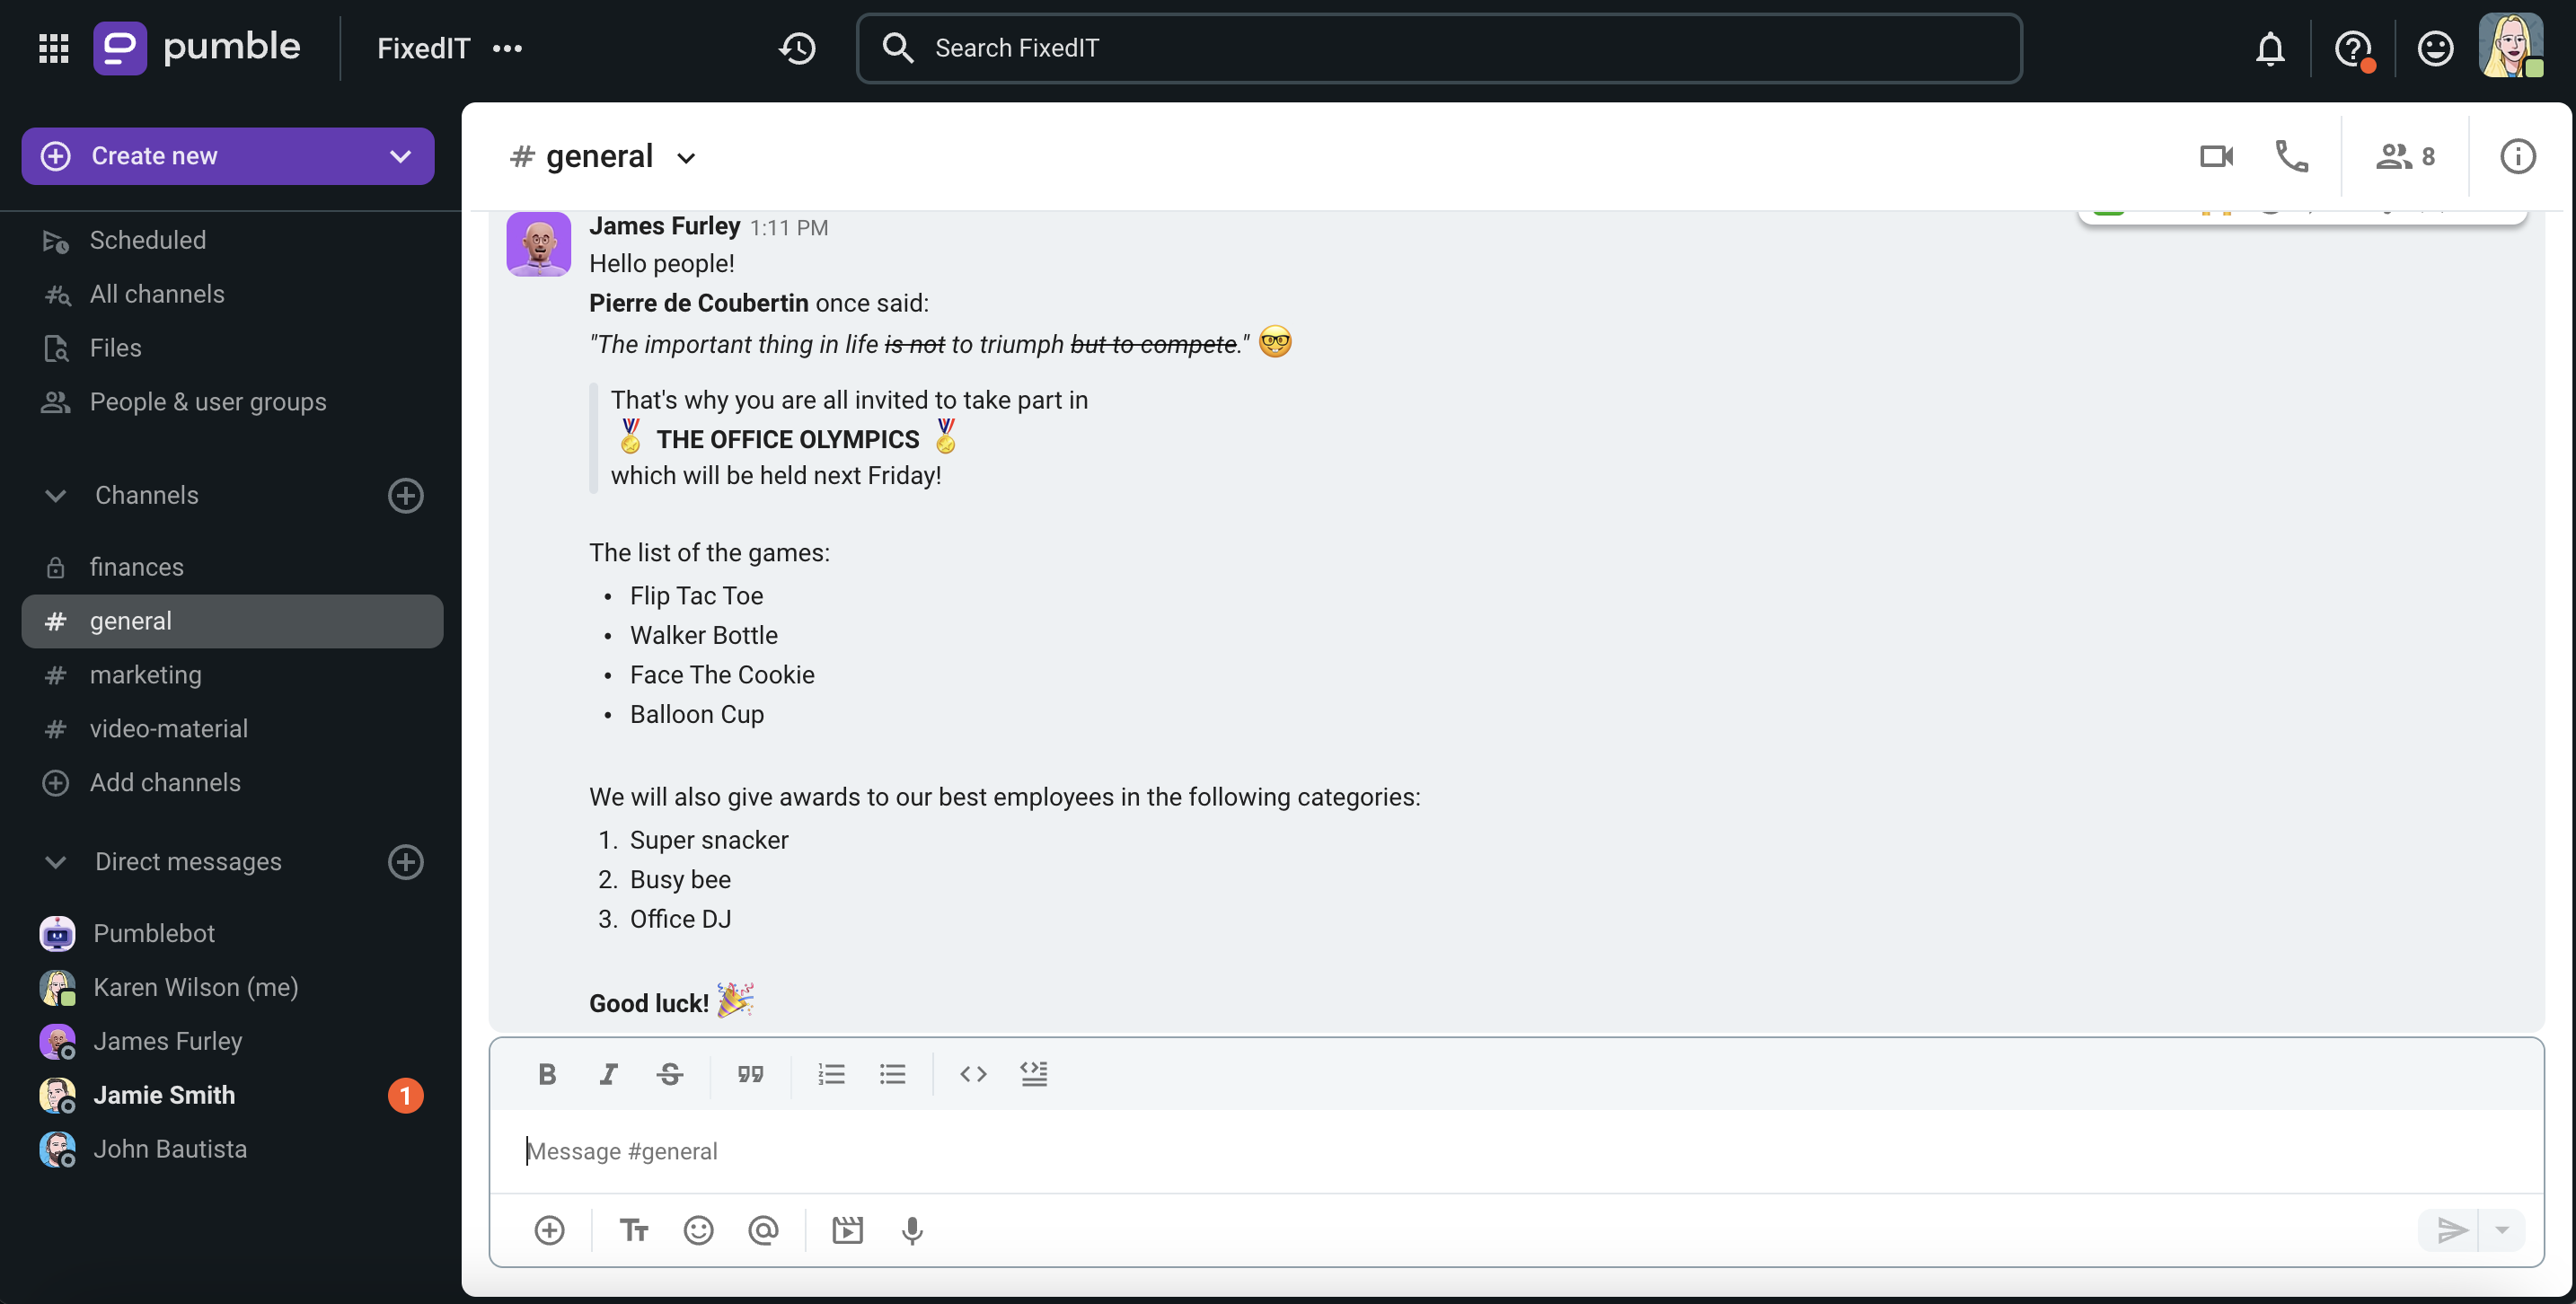
A Pumble workspace is a place where all communication happens. It’s a place where your collaboration shines.
Pumble workspace contains the left sidebar where you can see:
- List of channels you joined and your Direct Messages
- Notifications for specific conversations
- Option to compose new messages
The main part consists of:
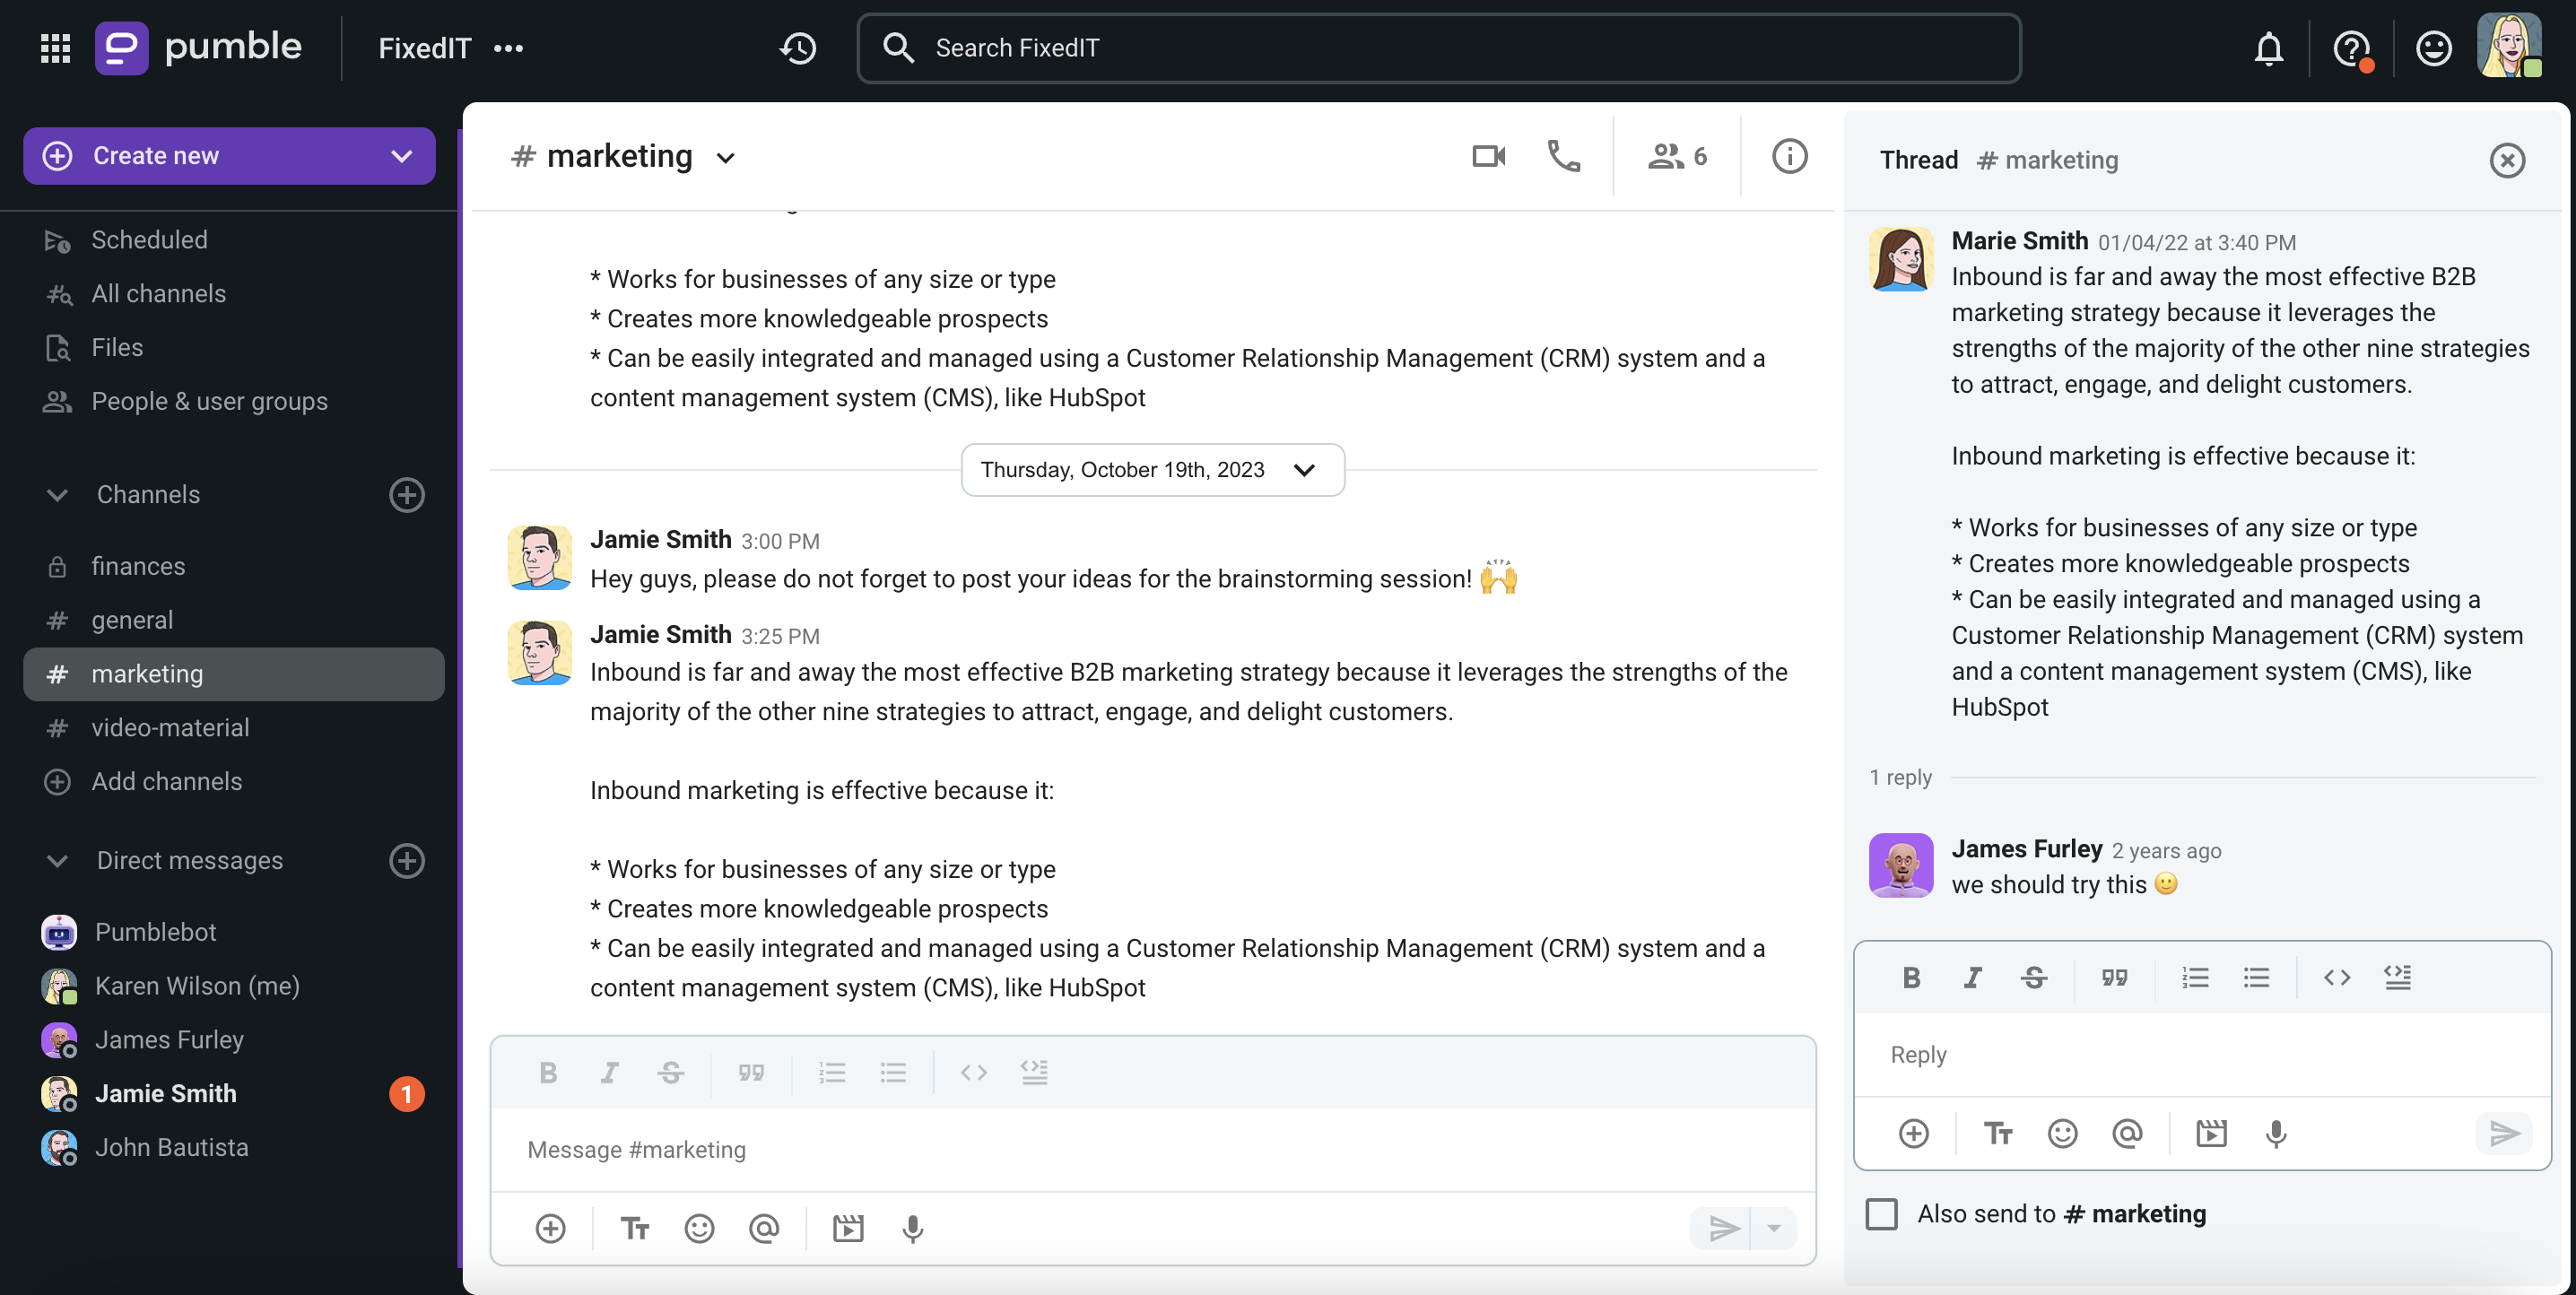
And the right sidebar consists of:
- Threads
- Pin messages
- Details about your colleagues
How create or join a Pumble workspace? #
The first thing you should do to create your first Pumble workspace is go to the Registration page, or accept an invitation sent by your teammate to join a Pumble workspace. Check out this article to learn more about Registration to Pumble.
After you’ve successfully registered, your Pumble Workspace and CAKE.com account are successfully created. You can continue by setting up your profile and main information. Check out this article to learn how to do it.
Now, when you set up your profile, you can start communicating with colleagues in Channels.
What is a channel? #
You will find all information about a certain topic in the right channel.
Whether you’re launching a new website, designing, tracking sales, or planning the next team party, a channel is a place to organize tasks, make decisions important for the project with all small details, and most importantly, collaborate with your team.
Unlike email, discussions in channels are focused on specific topics. You can join and leave public channels as needed.

💡 If you’ve been invited to a workspace as a guest, you can only send messages in channels you have access to, and send Direct Messages to people who belong to the same channels.
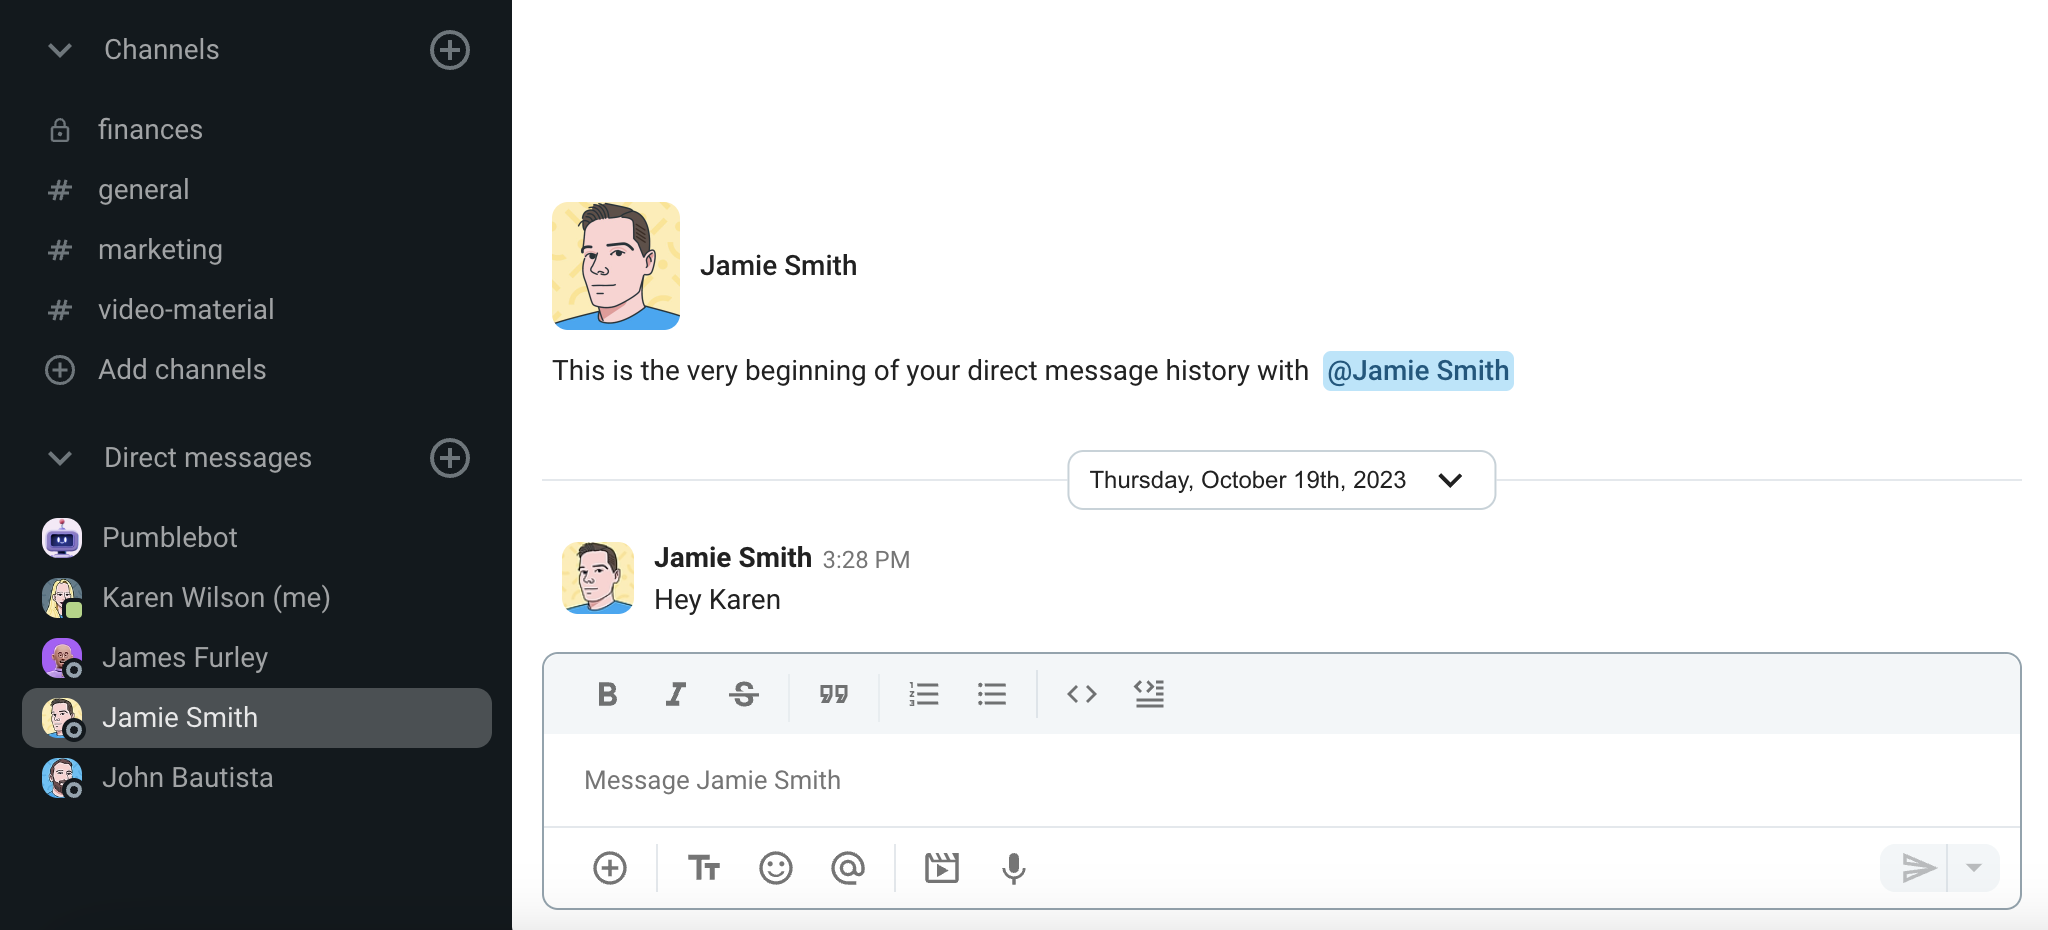
What is a DM? #
Private messages between you and your teammates are Direct Messages.
If you want to share texts, photos, videos, or files with just one team member, find a teammate and send a message.
Another type of direct messaging is a group conversation with up to seven other team members.
Designed for a group hangout, or yoga class — everything can happen on group chat.
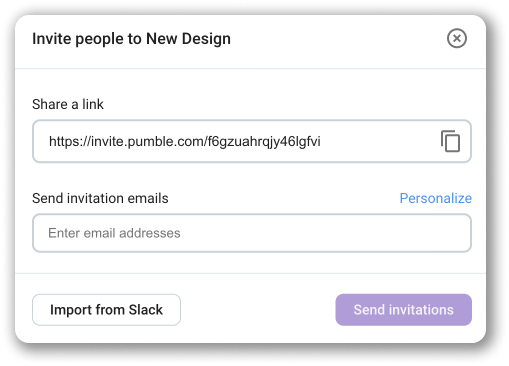
Invite your team member to join a workspace #
Now, when you know the basics, as a workspace owner, you have a chance to invite your team members to your workspace.
Go to the button to invite members and start typing their email addresses.
Once they receive an email with the invitation link, they should accept it and can immediately start chatting.
💡 If you need to add many people from one team to a channel at once, create a user group and add people to that channel via user group. Note that user groups are a feature available on Business and Enterprise plans.
Conclusion #
Once your workspace is set up, you can share the following resources to help everyone get familiar with Pumble:
- 5 tips for getting started
Learn how to set up your Pumble account, including your profile and notifications preferences, just the way you like it. - How to communicate with your team
Get a quick tour of Pumble and learn the basics. - Learn how to use Pumble
Explore our guides to learn more about working effectively in Pumble.
💡 If you have questions, search our Help Center anytime or contact our Support team. We’re happy to help if you need a hand!